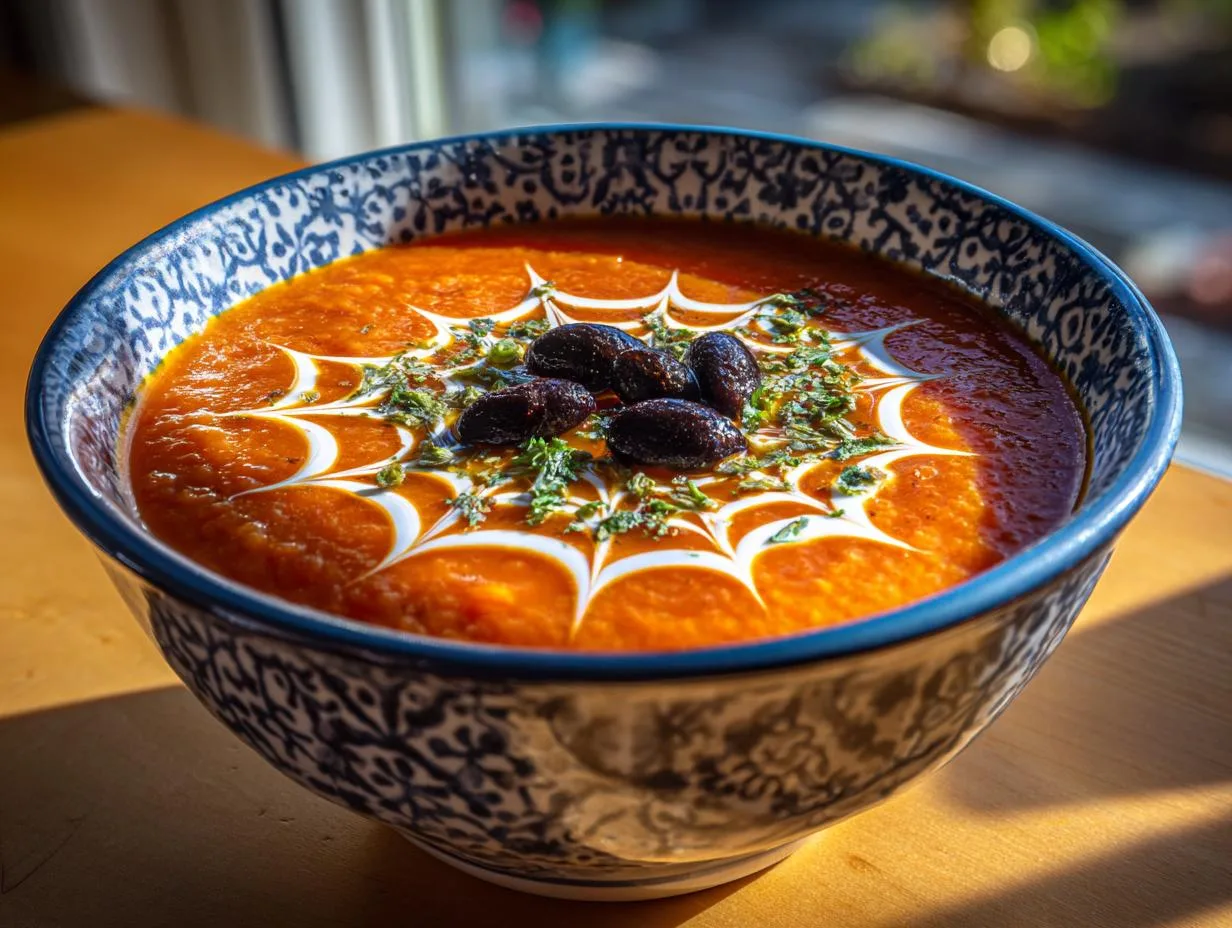
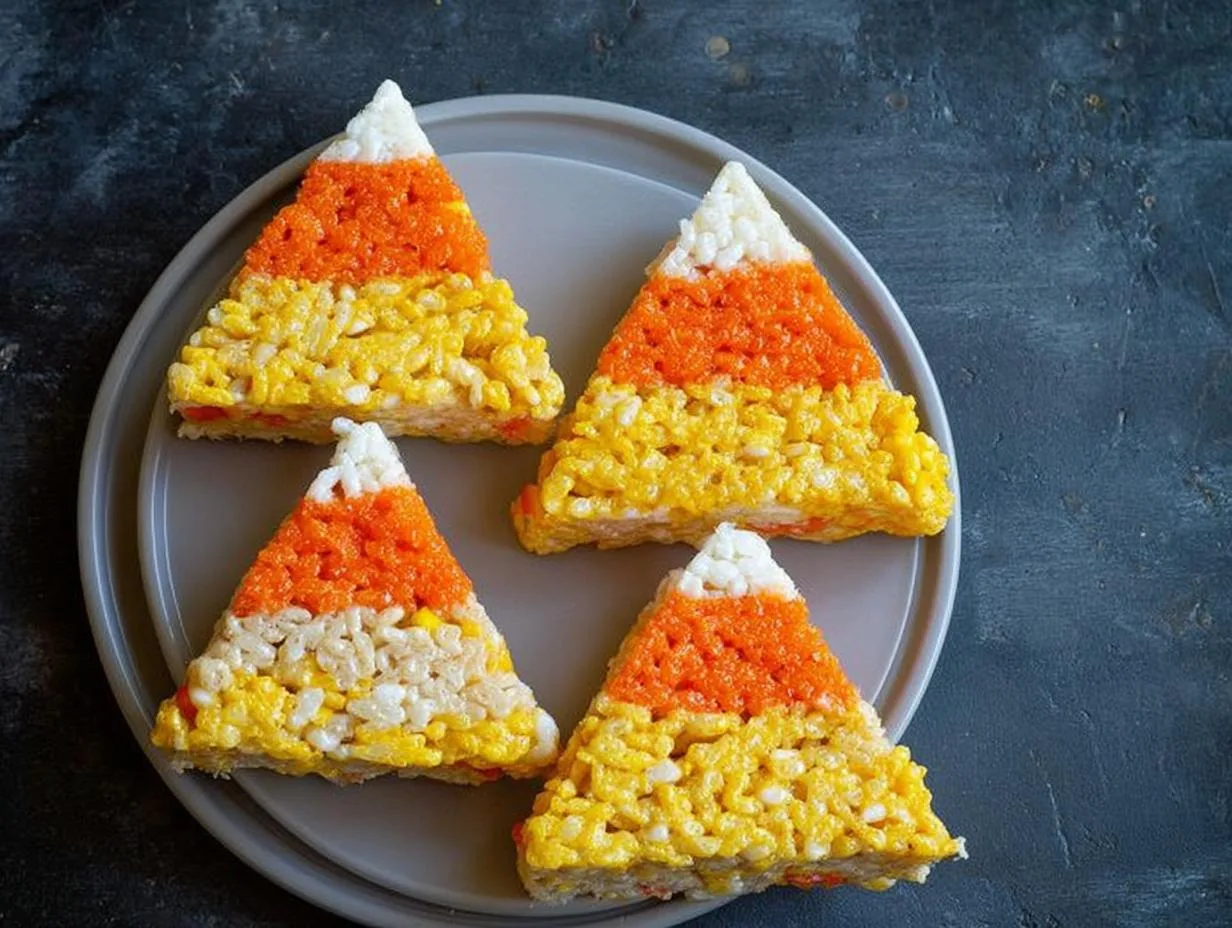
Nothing screams Halloween quite like these bloody red velvet cake pops! I still remember the first time my kids and I made them – flour everywhere, chocolate-covered fingers, and the best kind of kitchen chaos. These spooky treats have become our annual tradition, and they’re always the star of every Halloween party.
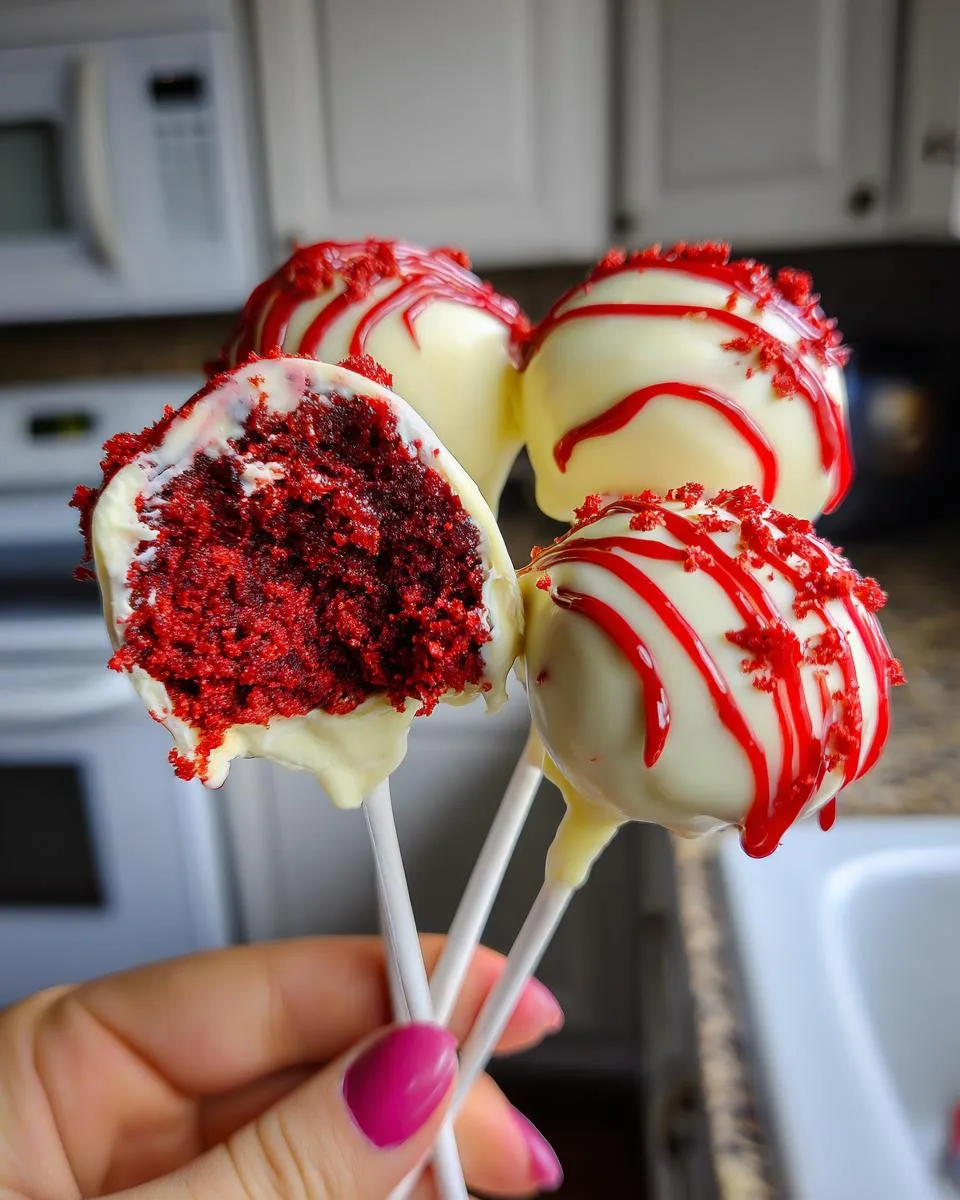
Table of Contents
Table of Contents
Why You’ll Love These Red Velvet Cake Pops
Trust me, these aren’t just any cake pops – they’re little bites of Halloween magic! Here’s why they’ve become my go-to treat every October:
- So easy – start with a box mix (no shame in shortcuts!) and transform it into something spectacular
- Kid-approved – my little monsters love rolling the cake balls and drizzling the “blood”
- Festive AF – that deep red color and dramatic drizzle scream Halloween party
- Perfect make-ahead – they actually taste better after chilling overnight
- Total crowd-pleaser – I’ve never brought these to a party without someone begging for the recipe
The best part? You probably have most ingredients in your pantry already. Let’s get spooky!
Ingredients for Red Velvet Cake Pops
Here’s everything you’ll need to create these bloody delicious treats – I’ve learned through trial and error that quality ingredients make all the difference!
- 1 box red velvet cake mix (plus whatever eggs, oil, and water it calls for – usually 3 eggs and 1/2 cup oil for most brands)
- 1/2 cup cream cheese frosting (room temperature – trust me, cold frosting won’t mix properly!)
- 2 cups white chocolate chips (I prefer Ghirardelli or Guittard for smoother melting)
- 1 tbsp vegetable oil (this helps thin the chocolate for perfect dipping consistency)
- Red candy melts OR 1/4 cup white chocolate chips + red food coloring (for that dramatic “blood” effect)
A quick note about the frosting – I’ve tried both store-bought and homemade, and while homemade is delicious, the Betty Crocker cream cheese frosting in the tub works surprisingly well (and saves time!). Just make sure it’s at room temp before mixing.
Equipment You’ll Need
No fancy gadgets required here – just good old-fashioned kitchen basics! Here’s what you’ll want to grab before diving into these cake pops:
- Large mixing bowl – for crumbling that beautiful red velvet cake
- Baking sheet – lined with parchment paper (wax paper works in a pinch!)
- Small microwave-safe bowl – for melting all that chocolatey goodness
- Toothpicks or lollipop sticks – my kids fight over who gets to drizzle the “blood” each year!
- Rubber spatula – makes mixing the cake and frosting so much easier
- Small spoon or cookie scoop – helps portion perfect little cake balls
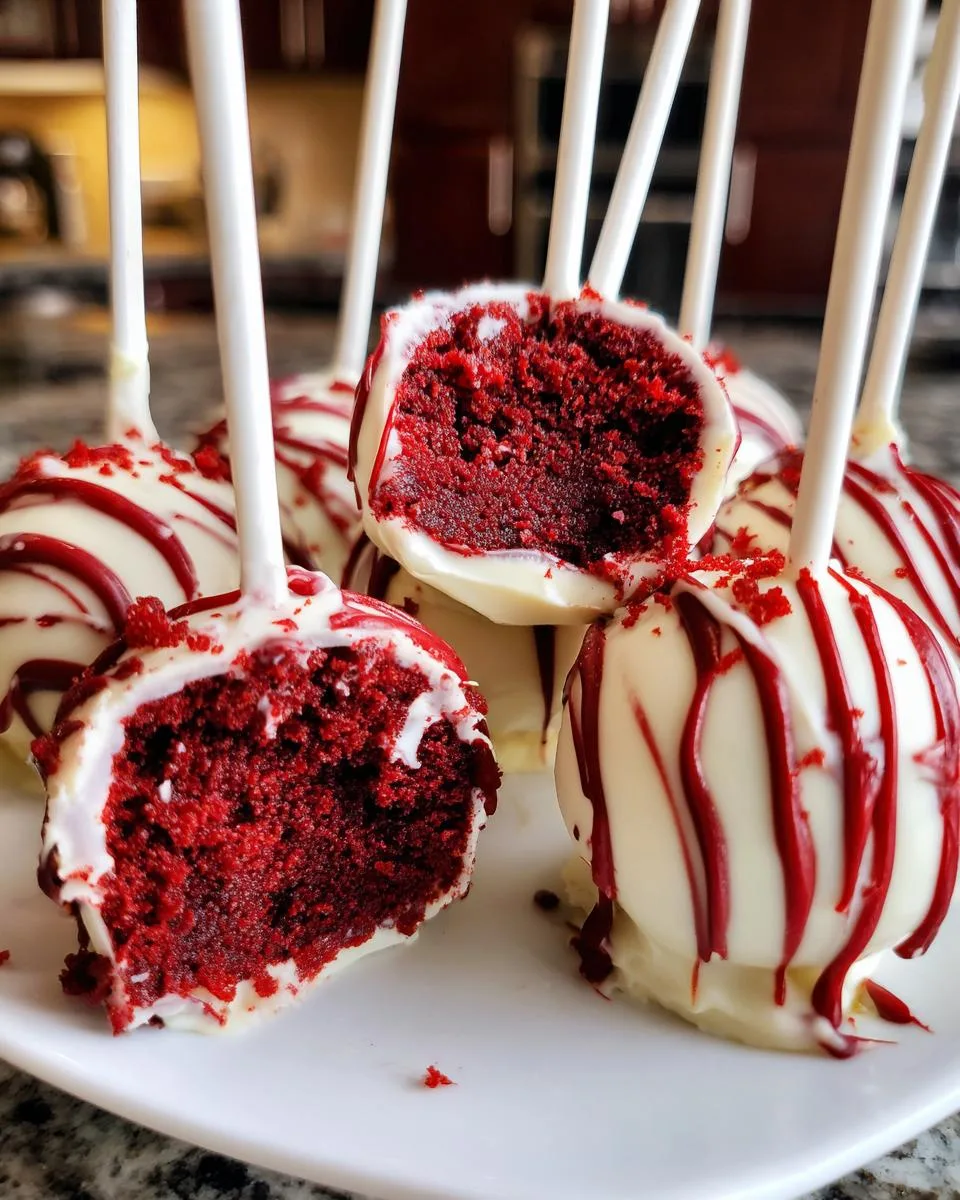
Pro tip from someone who’s made the mess before you – keep paper towels handy! That red velvet color has a way of getting everywhere (especially with little helpers in the kitchen). Oh, and if you’ve got a styrofoam block or cake pop stand, it’s great for letting the dipped pops dry upright, but you can totally just lay them flat on the baking sheet too.
How to Make Red Velvet Cake Pops
Alright, let’s get to the fun part! I’ve made these bloody beauties so many times that I could probably do it in my sleep now – but don’t worry, I’ll walk you through every step. The secret is taking your time with each stage, especially that crucial freezing step (learned that the hard way with crumbly disaster pops back in 2016!).
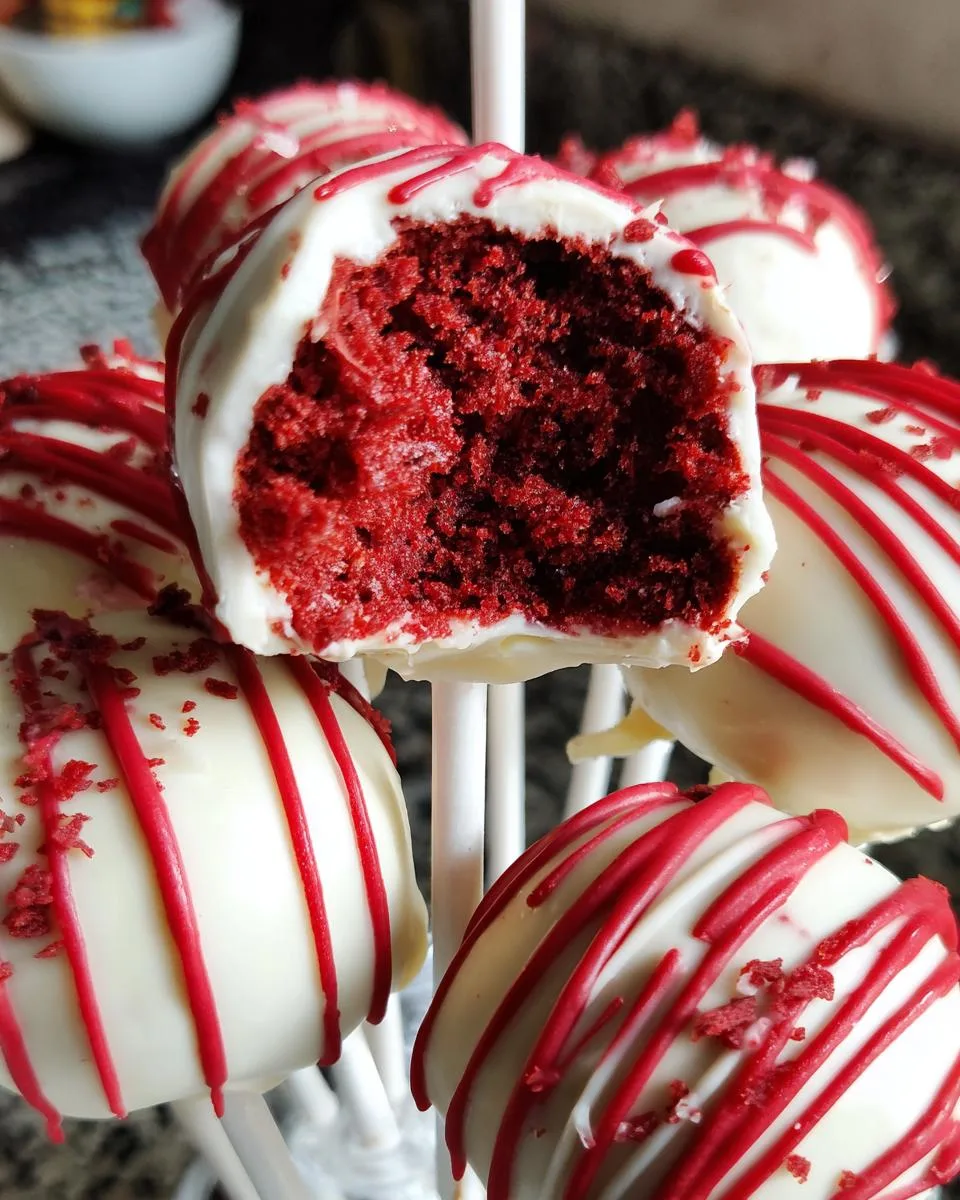
Bake and Crumble the Cake
First things first – bake that red velvet cake exactly like the box says. I use a 9×13 pan because it gives the perfect thickness. Now here’s where patience comes in – let it cool completely, I’m talking room temperature, about 2 hours. Trying to crumble warm cake? Big mistake! The crumbs will be too moist and gummy.
Once cooled, break the cake into chunks and crumble it with your fingers into a big bowl. You want fine crumbs – no big chunks! It should look like damp sand when you’re done. This is actually super therapeutic after a long day, just saying.
Mix in Frosting
Here’s where the magic happens! Add that cream cheese frosting a tablespoon at a time, mixing as you go. You might not need the full 1/2 cup – stop when the mixture holds together when you squeeze it in your palm. It should feel like Play-Doh, not sticky, not dry. Pro tip: Wash your hands and mix with them – it’s messy but gets the job done perfectly!
The first time I made these, I added too much frosting and ended up with mushy balls (ew). Now I know better – less is more! The mixture should just barely hold its shape when rolled.
Shape and Freeze the Cake Balls
Roll tablespoon-sized portions between your palms into smooth balls – shoot for about 1 inch diameter. Place them on a parchment-lined baking sheet as you go. This is where kids LOVE to help (just be prepared for some oddly shaped “monster” cake pops!).
Now the most important step – freeze those babies for at least 1 hour. I know, waiting is hard, but this makes all the difference for clean dipping later. If you skip this, you’ll have chocolate-covered crumbs instead of perfect pops. Trust me on this – set a timer and walk away!
Dip and Decorate
Time for the fun part! Melt your white chocolate with the vegetable oil in 30-second bursts, stirring between each. The oil makes it perfectly dippable. Spear each frozen cake ball with a toothpick and dunk it, letting excess drip off. Place back on parchment – they’ll set in about 15 minutes.
For the “blood,” melt red candy melts (or tint white chocolate with food coloring) and drizzle artistically with a toothpick. Channel your inner vampire! Let them set completely before serving – if you can resist that long. The contrast of white and red is seriously spooktacular.
Print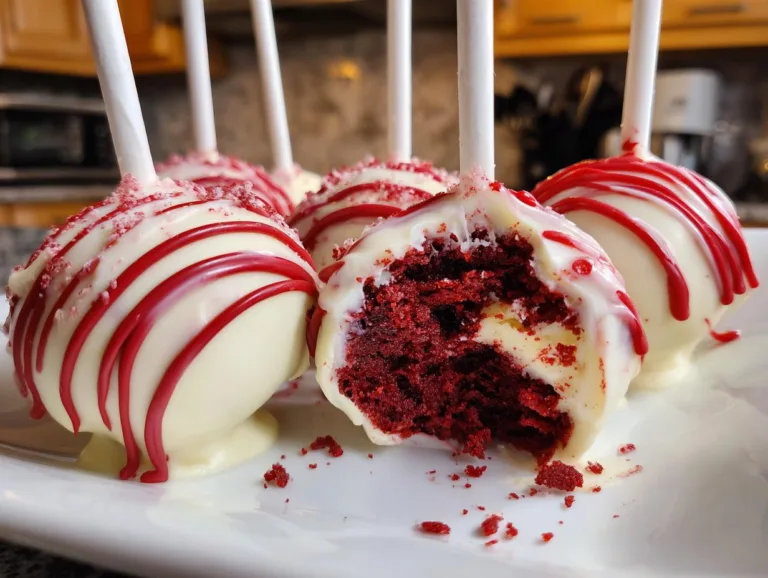
Bloody Red Velvet Cake Pops – 5 Spooky Secrets for Halloween Magic
Bloody Red Velvet Cake Pops are both eerie and delicious. The rich red velvet cake is coated in white chocolate and drizzled with ‘blood’ (red-colored chocolate) for a spooky effect.
- Total Time: 1 hour 50 minutes
- Yield: 10 cake pops 1x
Ingredients
- 1 box red velvet cake mix (plus ingredients listed on the box)
- 1/2 cup cream cheese frosting
- 2 cups white chocolate chips, melted
- Red food coloring or red chocolate melts
Instructions
- Prepare the red velvet cake according to the package instructions. Allow the cake to cool completely.
- Crumble the cake into a large bowl and mix in the cream cheese frosting until the mixture holds together.
- Roll the mixture into 1-inch balls and place them on a baking sheet lined with parchment paper. Freeze for 1 hour.
- Dip each cake ball into the melted white chocolate and place it back on the baking sheet.
- Use red food coloring or melted red chocolate to drizzle ‘blood’ over each cake pop.
- Let the cake pops set at room temperature before serving.
Notes
- Freeze cake balls for easier dipping.
- Use a toothpick for precise ‘blood’ drizzles.
- Prep Time: 20 minutes
- Cook Time: 30 minutes
- Category: Dessert
- Method: Baking
- Cuisine: American
- Diet: Vegetarian
Nutrition
- Serving Size: 1 cake pop
- Calories: 250
- Sugar: 20g
- Sodium: 200mg
- Fat: 12g
- Saturated Fat: 6g
- Unsaturated Fat: 4g
- Trans Fat: 0g
- Carbohydrates: 35g
- Fiber: 1g
- Protein: 3g
- Cholesterol: 20mg
Tips for Perfect Red Velvet Cake Pops
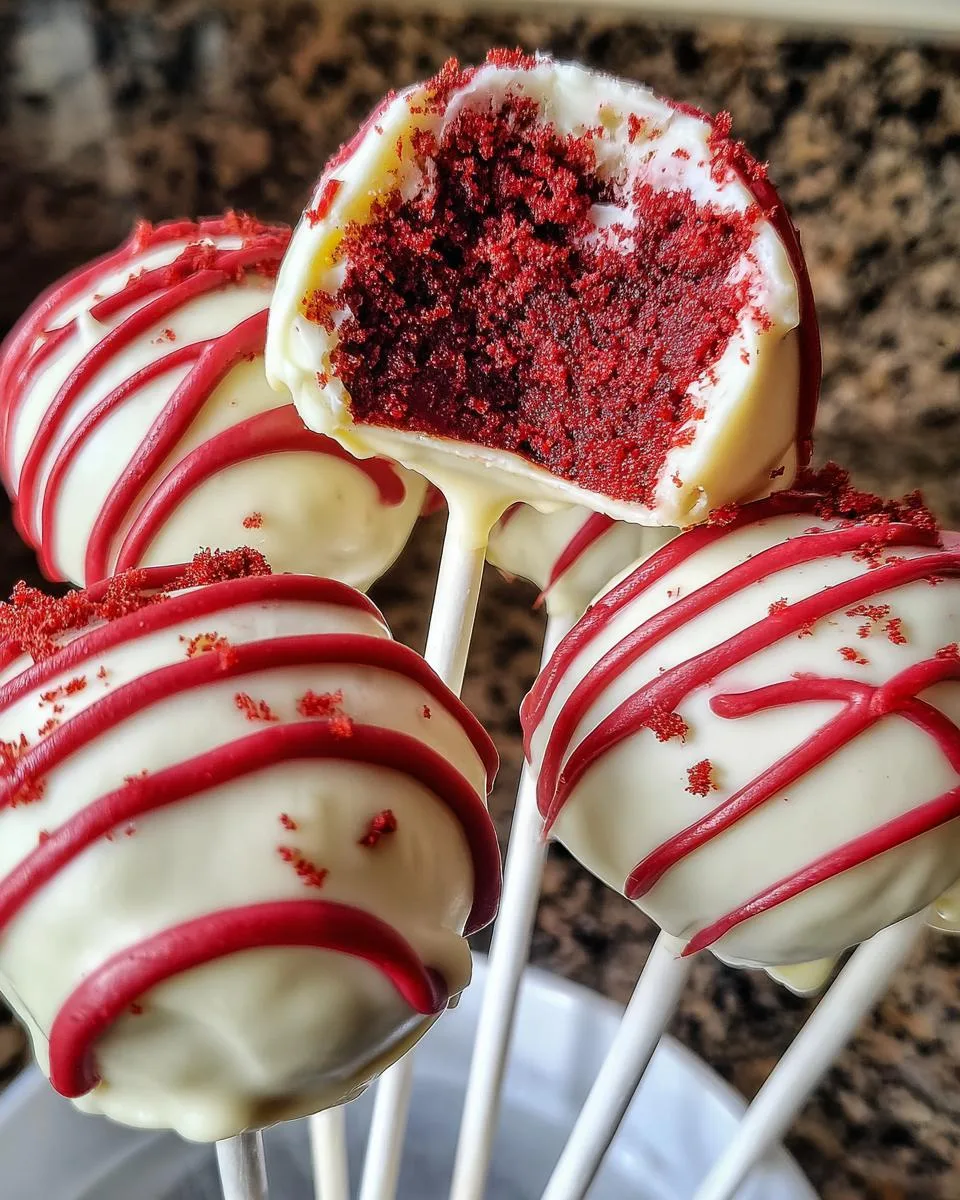
After making more batches of these cake pops than I can count (and yes, plenty of messy fails along the way!), I’ve picked up some game-changing tricks that’ll save you from the mistakes I made:
Freeze those cake balls good and proper – If they’re still soft after an hour, give them more time in the freezer. I once tried rushing this step and ended up with cake pop soup in my chocolate! Now I always do the squeeze test – if the ball doesn’t hold its shape firmly, it’s not ready for dipping.
Candy melts are your friend – While you can use chocolate chips, candy melts give that smooth, professional-looking coating. They’re formulated to melt perfectly every time. My favorite trick? Add a tiny bit of vegetable oil (about 1/2 teaspoon per cup) to make it extra silky for dipping.
Keep your chocolate warm – I keep my melted chocolate over a bowl of warm (not hot!) water while working. Cold chocolate equals lumpy, thick coatings. If it starts to set up, just microwave for 10 seconds to loosen it back up.
The toothpick trick – When drizzling the “blood,” dip a toothpick in the red chocolate and let it drip down the sides naturally. Trying to pipe it looks too perfect – you want that creepy, organic blood trail effect!
Work in small batches – Only take 4-5 cake balls from the freezer at a time. Room temperature cake balls = crumbly mess in your chocolate. I learned this the hard way during my first Halloween party panic!
Patience is key – Let each layer set completely before adding the next. Rushing means smudged designs and fingerprints in your chocolate. I put on some spooky music and enjoy the process – it’s part of the Halloween fun!
Variations for Red Velvet Cake Pops
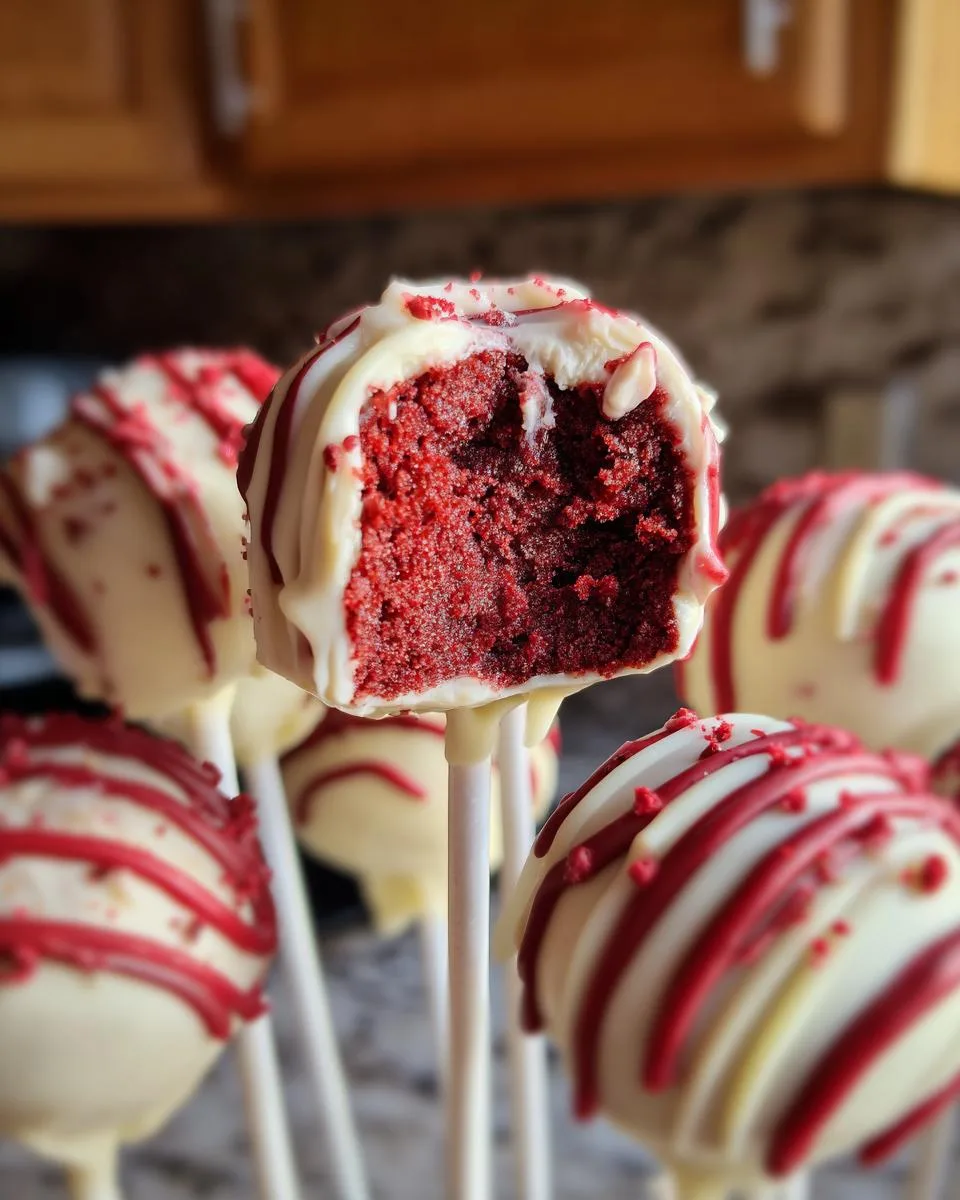
Okay, confession time – I can never leave well enough alone with recipes! Over the years, I’ve had way too much fun playing around with different versions of these cake pops. Here are some of my favorite twists that still keep that spooky spirit:
Dark chocolate vampire bites – Swap the white chocolate for dark chocolate coating (I use Ghirardelli 60% cacao chips). The rich, almost bitter chocolate makes the sweet red velvet center pop, and the dark color looks extra eerie. Bonus: drizzle with red and white “blood” together for a creepy contrast!
Crunchy graveyard pops – After dipping in white chocolate, roll them in crushed Oreos or chocolate cookie crumbs before they set. The texture reminds me of freshly dug earth (in the best possible way!). Stick a little tombstone decoration on top with some icing – instant graveyard scene!
Monster eyeball pops – This one’s a hit with kids! Before the white chocolate sets, press a mini chocolate chip in the center (pupil) and pipe a thin red icing circle around it. Suddenly your cake pops are staring back at you! My daughter insists we make half of every batch this way now.
The beauty of these? You can mix and match! Last Halloween I did a platter with all three variations, and people went nuts trying to “collect them all.” Just remember – no matter which version you choose, that red velvet and cream cheese combo will always steal the show.
Serving and Storing Red Velvet Cake Pops
Here’s the thing about these cake pops – they’re almost too pretty to eat! Almost. After all that work, you’ll want to show them off right. I always arrange mine on a vintage cake stand or spooky platter at room temperature for about 20 minutes before serving. That little rest lets the chocolate soften just enough for the perfect bite – cold straight from the fridge? No thanks!
Now, let’s talk storage because I know you’ll have leftovers (or maybe you’re smart like me and make extra!). Pop them in an airtight container with parchment between layers. They’ll keep beautifully in the fridge for 3 days – any longer and the cake can dry out. I learned this the hard way when I forgot a batch in the back of my fridge last October. Tragic!
Want to get ahead of the Halloween rush? These freeze like a dream! Just wrap each pop individually in plastic wrap, then tuck them into a freezer bag. They’ll stay perfect for up to 2 months. When the craving hits (or when your kid suddenly remembers they volunteered you to bring treats to school), just thaw at room temp for 30 minutes. The “blood” drizzle might need a quick touch-up, but the cake stays wonderfully moist.
Pro tip from my many Halloween hosting fails: If you’re setting these out at a party, keep them in a cool spot away from direct sunlight or heat sources. Nothing ruins a spooky aesthetic faster than melted chocolate puddles! I usually put out half at a time and refresh the platter from the fridge as needed.
Red Velvet Cake Pops Nutritional Information
Okay, let’s be real – we’re not eating cake pops for their health benefits! But I know some folks like to keep track (or need to for dietary reasons), so here’s the scoop on what’s in these bloody delicious treats. Just remember – these numbers can vary depending on your exact ingredients, especially which brand of cake mix and frosting you use.
Per cake pop (about 1.5 oz):
- Calories: 250
- Total Fat: 12g (6g saturated)
- Cholesterol: 20mg
- Sodium: 200mg
- Total Carbohydrates: 35g
- Fiber: 1g
- Sugars: 20g
- Protein: 3g
Now, if you’re watching sugar intake (or making these for a school party), here’s my little hack: Use sugar-free cake mix and frosting – I’ve done this for my diabetic niece, and honestly? Nobody could tell the difference once they’re coated in chocolate. You can also make them slightly smaller to cut the numbers down – just adjust your bake time accordingly.
Remember, these are treats meant to be enjoyed in moderation. I always tell my kids they can have one or two at the Halloween party, then we save the rest for special occasions. That way, they stay something magical instead of everyday snacks!
FAQs About Red Velvet Cake Pops
After years of making these spooky treats (and fielding countless questions from friends and readers!), I’ve rounded up the most common head-scratchers. Save yourself some trial and error with these handy answers!
Can I use homemade red velvet cake instead of box mix?
Absolutely! I’ve done both, and homemade adds that extra special touch. Just bake your favorite red velvet recipe in a 9×13 pan and let it cool completely before crumbling. The texture might be slightly different – homemade tends to be more tender, so you may need less frosting to bind it. My grandma’s recipe works beautifully if you want to go full scratch!
Help! My chocolate coating keeps cracking – what am I doing wrong?
Oh honey, I’ve been there! This usually happens when the cake balls are too cold (shocking, right?). Try letting them sit at room temp for 5 minutes before dipping. Also, make sure your melted chocolate isn’t too thick – that 1 tbsp of vegetable oil really helps. If cracks do appear, just drizzle more chocolate over them and call it “spiderweb texture!”
Can I make these cake pops ahead of time?
You’re speaking my language! These actually taste better after chilling overnight. Just store them in an airtight container in the fridge for up to 3 days, or freeze for 2 months. The blood drizzle might need a quick refresh before serving, but the cake stays wonderfully moist. Pro tip: Write the date on your freezer bag so you don’t pull out last year’s batch by accident (yes, I’ve done this).
What’s the best way to transport cake pops to a party?
After one disastrous car ride where my pops ended up in a chocolatey pile, I learned this trick: Stick them in a styrofoam block (the kind from floral arrangements works great) and place it in a shallow box. Keep them cool during transport – I throw an ice pack in the box if it’s warm out. For local deliveries, my kids call this the “cake pop ambulance!”
My cake balls keep falling off the sticks – any fixes?
This used to drive me nuts! First, make sure your cake balls are firm from freezing. Then, dip the tip of each stick in melted chocolate before inserting – it acts like edible glue. Push it about halfway through the ball. Let that set for a minute before full dipping. If some still rebel, just serve them as “cake bites” – nobody will complain!
For More recipes Follow me on Facebook!

