You know that moment when you pull a tray of peanut butter cookies from the oven, and the whole kitchen smells like a warm, nutty hug? That’s the magic I’ve been chasing since I was a kid, standing on a stool next to my mom, licking peanut butter off the mixing spoon. These classic peanut butter cookies are my go-to—simple, soft, and just chewy enough to make you close your eyes after the first bite. After 15 years of tweaking (and a few overbaked batches—oops!), I’ve nailed the perfect balance of sweetness and that rich peanut butter punch. Trust me, these disappear faster than you can say “criss-cross.”
Why You’ll Love These Classic Peanut Butter Cookies
These aren’t just any peanut butter cookies—they’re the kind that make you sneak back to the kitchen for “just one more.” Here’s why they’ve become my forever favorite:
- Quick & easy – From bowl to plate in under 30 minutes (even my kids can help!)
- No fancy ingredients – Just pantry staples you likely have right now
- That perfect texture – Soft centers with slightly crisp edges that melt in your mouth
- Works for any occasion – Bake sales, holiday tins, or when 3pm hunger strikes
- Smells like childhood – That warm peanut butter aroma is pure nostalgia
Seriously, these disappear faster than I can make them—every single time.
Ingredients for Classic Peanut Butter Cookies
Gather these simple ingredients for cookies that taste like pure peanut butter happiness. I promise—every one plays a special role in creating that perfect chewy texture!
- 1 1/2 cups all-purpose flour (180g) – Spoon and level it, friends! No packing
- 1/2 cup unsalted butter (113g), softened – Leave it out for 30 minutes (should dent when pressed)
- 1 cup peanut butter (250g) – I’ll tell you my brand secret below
- 1/2 cup brown sugar (100g), lightly packed – The molasses makes them extra moist
- 1/2 cup sugar (100g) – Plain white sugar balances the brown
- 1 tsp vanilla extract (5mL) – Pure, not imitation—it matters!
- 1 large egg, room temp – Cold eggs make sad, greasy cookies
- 3/4 tsp baking powder (3g) – Not soda—they’re different!
- 1/4-1/2 tsp sea salt (optional) – My salty-sweet weakness
Ingredient Notes & Substitutions
Peanut butter: Creamy Jif or Skippy works best—natural PB makes dry cookies (sorry health nuts!). Butter: Use real butter, not margarine. Sea salt: Skip if using salted butter. Egg: No substitutes here—it’s the glue! Flour: For gluten-free, use 1:1 GF flour (add 1/4 tsp xanthan gum).
Equipment You’ll Need for Classic Peanut Butter Cookies
No fancy gadgets needed—just grab these basics from your kitchen (I bet you already have most!):
- Stand mixer or hand mixer – For that perfect “light and fluffy” butter-sugar mix (though strong arms and a wooden spoon work too!)
- Large mixing bowl – My favorite well-loved ceramic one always does the trick
- Baking sheets – Two if you’re impatient like me and want to bake batches back-to-back
- Parchment paper – Lifesaver for easy cleanup and no stuck cookies
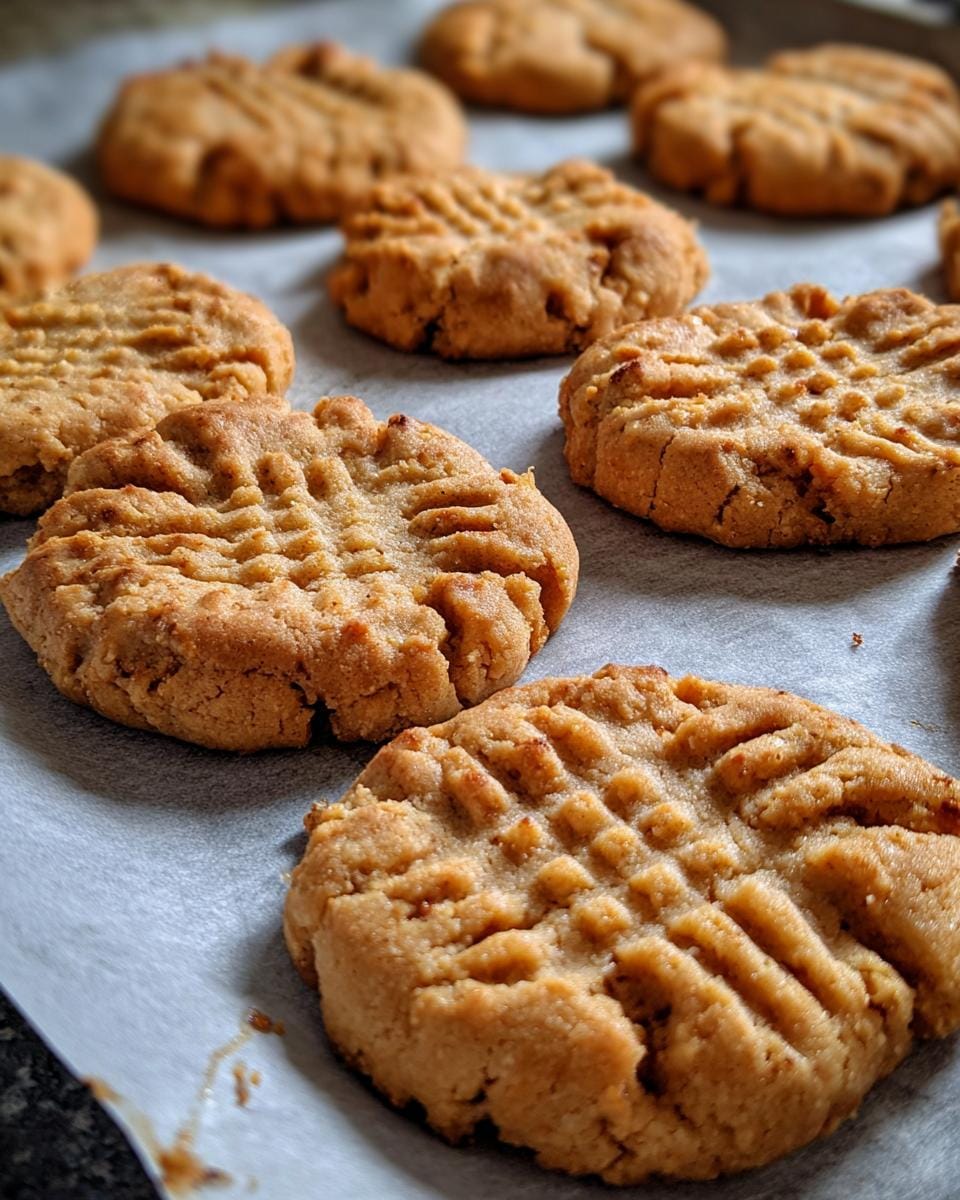
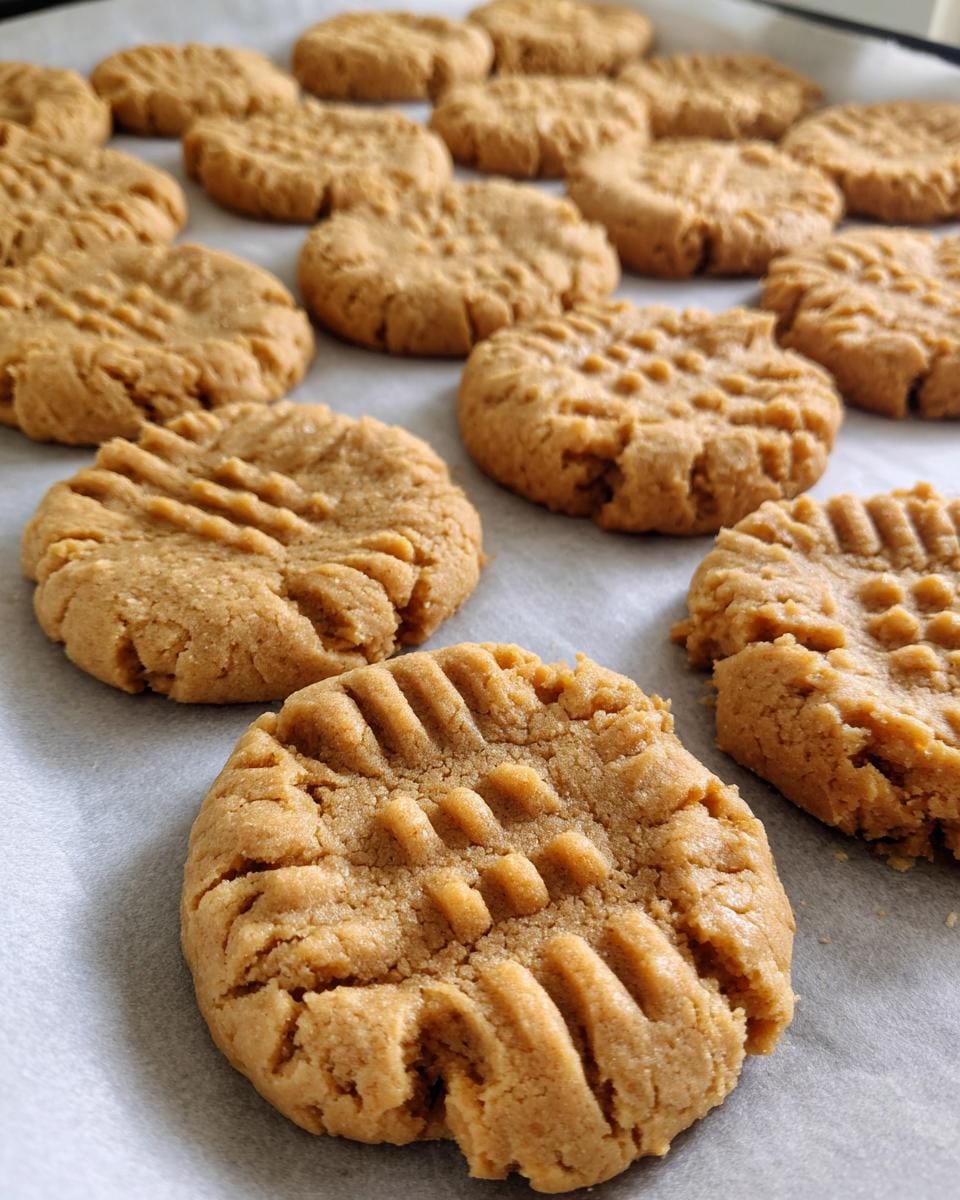
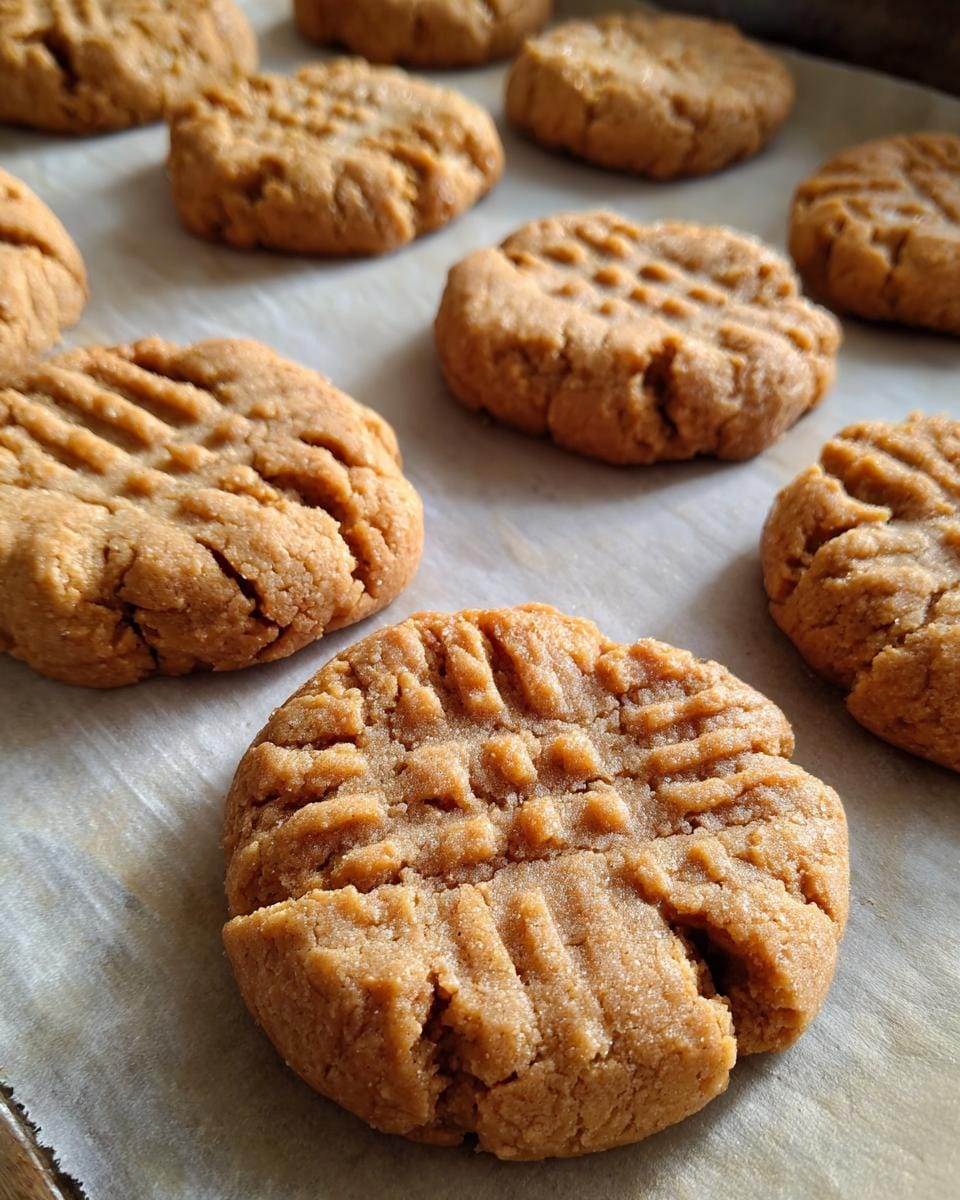
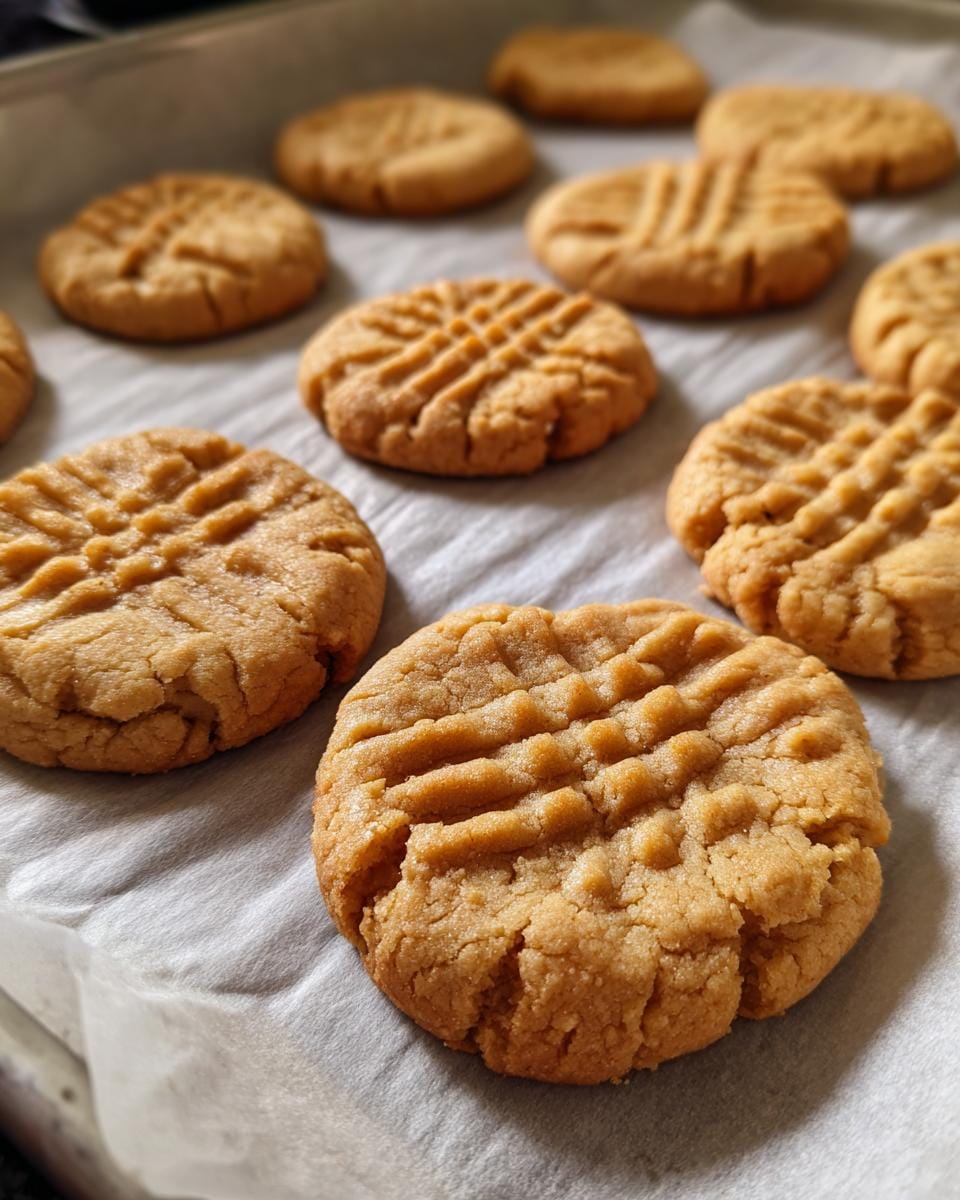
- Fork – That classic criss-cross pattern isn’t just pretty—it helps them bake evenly
- Measuring cups/spoons – Because eyeballing peanut butter always ends in sticky regrets
See? Told you it was simple. Now let’s make some magic!
How to Make Classic Peanut Butter Cookies
Alright, let’s get baking! These cookies come together in no time, but there are a few key steps that make all the difference between “good” and “OMG I need the whole batch” peanut butter cookies. Follow along—I’ll walk you through each step like I’m right there in your kitchen with you!
Step 1: Prep Dry Ingredients
First things first: preheat that oven to 350°F (175°C). While it’s warming up, let’s tackle the dry ingredients. Grab a medium bowl and sift together the flour and baking powder. I know sifting feels like an extra step, but trust me—it prevents those dreaded little flour lumps in your cookies. Give them a good whisk to make sure they’re fully combined. Set this aside while we work on the good stuff—the butter and sugars!
Step 2: Cream Butter & Sugars
Now for the magic! In your stand mixer (or a large bowl if you’re using a hand mixer), beat the softened butter, brown sugar, and white sugar together on medium speed. Don’t rush this part—we’re aiming for “light and fluffy,” which usually takes about 2-3 minutes. You’ll know it’s ready when the mixture turns pale yellow and looks almost like wet sand. This step creates tiny air pockets that make your cookies tender, not dense.
Next, add the peanut butter and mix until fully incorporated—about 1 minute. Scrape down the sides of the bowl, then beat in the egg and vanilla. The batter should smell amazing already! Now, with the mixer on low, gradually add the flour mixture. Mix just until combined—overmixing leads to tough cookies, and nobody wants that!
Step 3: Shape & Bake Cookies
Time for the fun part! Roll the dough into 1-inch balls (I use a small cookie scoop for this—less sticky hands!). Place them about 2 inches apart on parchment-lined baking sheets. Now, grab a fork and gently press down in a criss-cross pattern. Pro tip: Dip the fork in sugar between cookies to prevent sticking. Don’t flatten them too much—they’ll spread just enough while baking.
Bake for exactly 10 minutes—they might look underdone, but that’s perfect! They’ll firm up as they cool. Let them sit on the baking sheet for 5 minutes (this is crucial for setting), then transfer to a wire rack. Try not to eat them all while they’re still warm… though I won’t judge if you do!
Print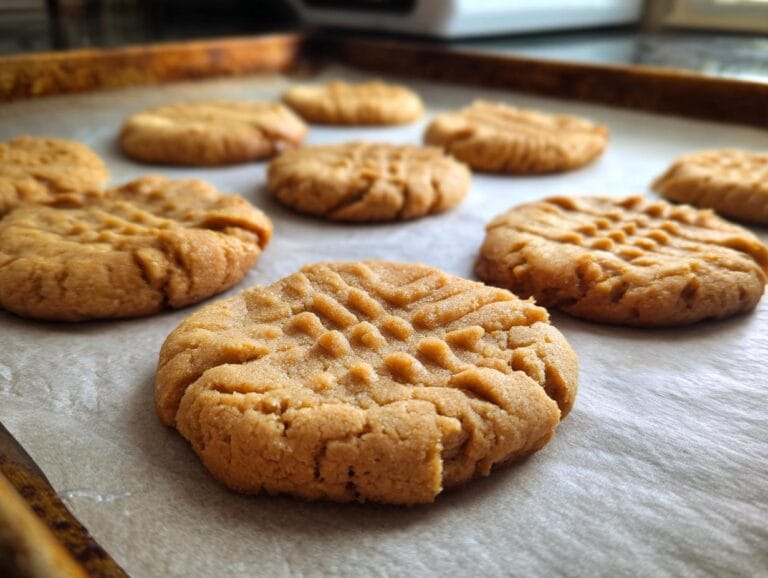
Best Classic Peanut Butter Cookies
Classic peanut butter cookies with a soft, chewy texture and rich peanut butter flavor.
- Total Time: 25 minutes
- Yield: 24 cookies 1x
Ingredients
- 1 1/2 cups all-purpose flour (180g)
- 1/2 cup unsalted butter, room temperature (113g)
- 1 cup peanut butter (250g)
- 1/2 cup brown sugar, lightly packed (100g)
- 1/2 cup sugar (100g)
- 1 tsp vanilla extract (5mL)
- 1 large egg, room temperature
- 3/4 tsp baking powder (3g)
- 1/4–1/2 tsp sea salt (optional)
Instructions
- Preheat oven to 350°F.
- Sift flour and baking powder together, then whisk to combine.
- Cream butter and sugars in a stand mixer fitted with a paddle attachment. Add optional sea salt if desired.
- Add peanut butter and mix until fully incorporated.
- Mix in egg and vanilla extract, then add flour mixture and beat until combined.
- Roll dough into one-inch balls and place on a parchment-lined baking sheet.
- Flatten cookies with a fork in a criss-cross pattern.
- Bake for 10 minutes.
- Let cookies cool completely on the baking sheet before transferring.
Notes
- Use room temperature ingredients for better mixing.
- Do not overbake for a softer cookie.
- Store in an airtight container for up to 5 days.
- Prep Time: 15 minutes
- Cook Time: 10 minutes
- Category: Dessert
- Method: Baking
- Cuisine: American
- Diet: Vegetarian
Nutrition
- Serving Size: 1 cookie
- Calories: 120
- Sugar: 8g
- Sodium: 60mg
- Fat: 7g
- Saturated Fat: 2.5g
- Unsaturated Fat: 3.5g
- Trans Fat: 0g
- Carbohydrates: 12g
- Fiber: 1g
- Protein: 3g
- Cholesterol: 15mg
Tips for Perfect Classic Peanut Butter Cookies
After countless batches (and a few flops!), I’ve learned these secrets for peanut butter cookie perfection every time:
- Room temp is key – That butter and egg need to be properly softened. Cold ingredients just won’t cream right.
- Mix with care – Stop the mixer the moment the flour disappears. Overmixed dough = tough cookies.
- Underbake slightly – They should look barely set at 10 minutes. They’ll firm up as they cool on the sheet.
- The fork trick – Dip it in sugar before each criss-cross to prevent sticking and add extra sparkle.
- Let them rest – I know it’s hard, but those 5 minutes on the baking sheet make all the difference!
Follow these, and you’ll get soft, chewy cookies that stay perfect for days (if they last that long!).
Variations for Classic Peanut Butter Cookies
While I adore the classic version, sometimes I like to shake things up! Try mixing in 1/2 cup chocolate chips for a PB-cup effect, or drizzle with melted chocolate after baking. For extra chewiness, swap 2 tbsp sugar for honey. Feeling adventurous? A pinch of cinnamon or cayenne adds fun heat!
Serving & Storing Classic Peanut Butter Cookies
Nothing beats dunking a warm peanut butter cookie into an ice-cold glass of milk—it’s childhood in every bite! These keep beautifully in an airtight container for up to 5 days (if they last that long). For longer storage, freeze the baked cookies for 3 months—just thaw and enjoy like fresh!
Nutritional Information for Classic Peanut Butter Cookies
Each cookie (based on 24 per batch) has roughly 120 calories, 7g fat, and 3g protein—but this varies by brand. I’m no dietitian, so consider this a friendly estimate, not medical advice! Always check your specific ingredients.
FAQ About Classic Peanut Butter Cookies
Over the years, I’ve gotten so many questions about these cookies—here are the ones that pop up most often in my kitchen (and my honest answers!):
“Can I use crunchy peanut butter instead?”
Absolutely! I actually love the extra texture—just know your cookies won’t be quite as smooth. My husband prefers them this way! The ratio stays the same (1 cup), but chop any extra-large peanut pieces so they don’t make rolling tricky.
“Why do mine spread too thin?”
Ah, the dreaded flat cookie syndrome! Usually it means your butter was too soft (almost melty) or you skipped chilling the dough. Next time, pop the shaped dough balls in the fridge for 20 minutes before baking—cold dough spreads slower.
“Can I freeze the cookie dough?”
Yes! These freeze beautifully. Roll into balls, freeze on a tray until solid (1 hour), then transfer to a bag. Bake straight from frozen—just add 1-2 extra minutes. Perfect for spontaneous cookie cravings!
“Natural peanut butter vs. processed—what’s better?”
For taste? Natural wins. For texture? Processed (like Jif) gives that classic soft chew. Natural PB makes drier cookies unless you tweak the flour (reduce by 2 tbsp) and add 1 tbsp honey. I’ve tested both—it’s a trade-off!
“Help—my fork sticks to the dough!”
Been there! Dip your fork in sugar or flour between presses. Or chill dough 10 minutes first. Stubborn dough? Lightly wet your hands when rolling—works like a charm!
Share Your Classic Peanut Butter Cookies
Baking these? I’d love to see your criss-cross masterpieces! Tag me @FrostyRecipes on Instagram so I can cheer you on—and don’t forget to rate the recipe below if you loved them as much as my family does!