You know those moments when you need a dessert that looks fancy but comes together in minutes? That’s exactly why I fell in love with these mini cherry pie bites. I first made them for my daughter’s last-minute school bake sale – talk about a lifesaver! The kids went wild for them, and the teachers kept asking for the recipe.
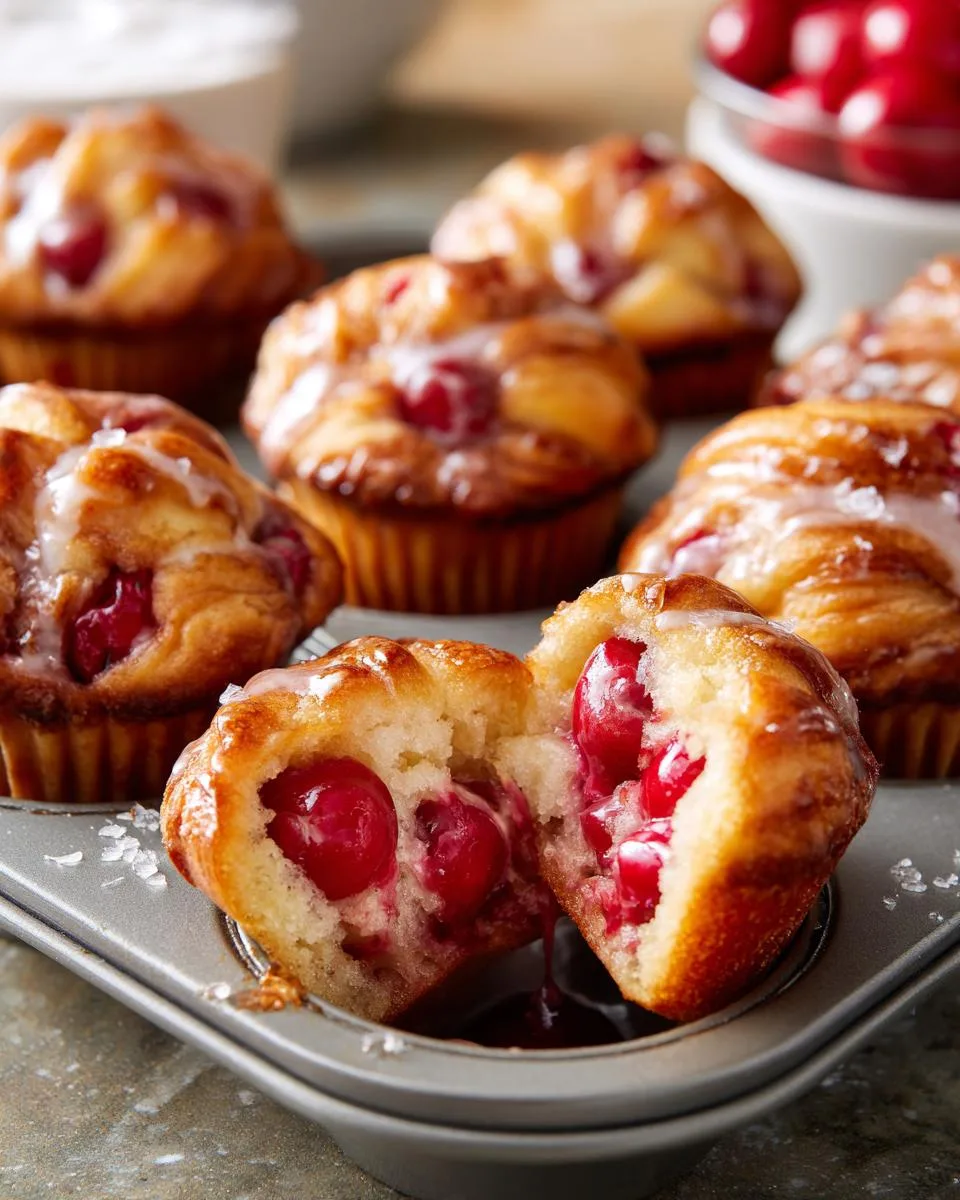
After years of testing recipes as a busy home cook, I can tell you these mini cherry pie bites check all the boxes. They’re quick (ready in under 30 minutes!), easy enough for beginners, and always disappear fast at parties. Plus, that pop of red cherry filling peeking through the dough makes them look way more impressive than the effort required. Trust me, once you try them, you’ll understand why they’ve become my go-to dessert for everything from holiday gatherings to casual weeknight treats.
Table of Contents
Table of Contents
Why You’ll Love These Mini Cherry Pie Bites
These adorable little treats have stolen my heart (and my family’s) for so many reasons:
- Quick magic: From fridge to table in under 30 minutes – perfect when surprise guests arrive!
- Minimal ingredients: Just 4 simple items you probably already have in your pantry
- Crowd-pleaser: Kids and adults alike go crazy for that cherry-pie flavor in bite-sized form
- No-fuss fancy: They look like you spent hours when really it’s just clever folding
- Versatile: Equally at home at bake sales, holiday parties, or midnight snack attacks
Seriously, I’ve never met anyone who could resist popping one (or three) of these warm, glazed bites!
Ingredients for Mini Cherry Pie Bites
One of the best things about this recipe is how few ingredients you need – I bet you’ve got most in your kitchen right now! Here’s exactly what you’ll want to grab:
- 1 (21 oz) can cherry pie filling – My secret? Look for the kind with extra cherries!
- 2 (8 oz) tubes crescent roll dough – The refrigerated kind that pops open (that sound still makes me jump!)
- 1 cup powdered sugar – For that dreamy glaze that makes them irresistible
- 1-2 tablespoons milk – Any kind works, but whole milk gives the glaze extra richness
A quick tip from my many kitchen experiments – let the crescent dough sit out for about 5 minutes before unrolling. Those sheets behave much better when they’re not ice-cold! And don’t stress if a sheet tears – we’ll be folding them anyway, so imperfections just add character.
Equipment You’ll Need
You won’t need any fancy gadgets for these mini cherry pie bites – just a few basics from your kitchen:
- Standard 12-cup muffin tin
- Small mixing bowl
- Whisk or fork
- Measuring cups
- Spoon for filling
That’s it! I sometimes use muffin liners for easier cleanup, but honestly, a quick spray of cooking oil works just as well.
How to Make Mini Cherry Pie Bites
Okay, let’s get to the fun part – transforming those simple ingredients into magical little pie bites! Don’t worry if you’re not a baking pro – I’ve made these dozens of times, and they’re practically foolproof.
Step 1: Prep the Dough and Filling
First, preheat your oven to 375°F (190°C) – this gives it time to get nice and toasty while you prep. Lightly grease your muffin tin (or use liners if you’re like me and hate scrubbing pans). Now for the dough – unroll those crescent sheets carefully. If they stick, don’t panic! Just press any tears back together – nobody will notice once they’re baked.
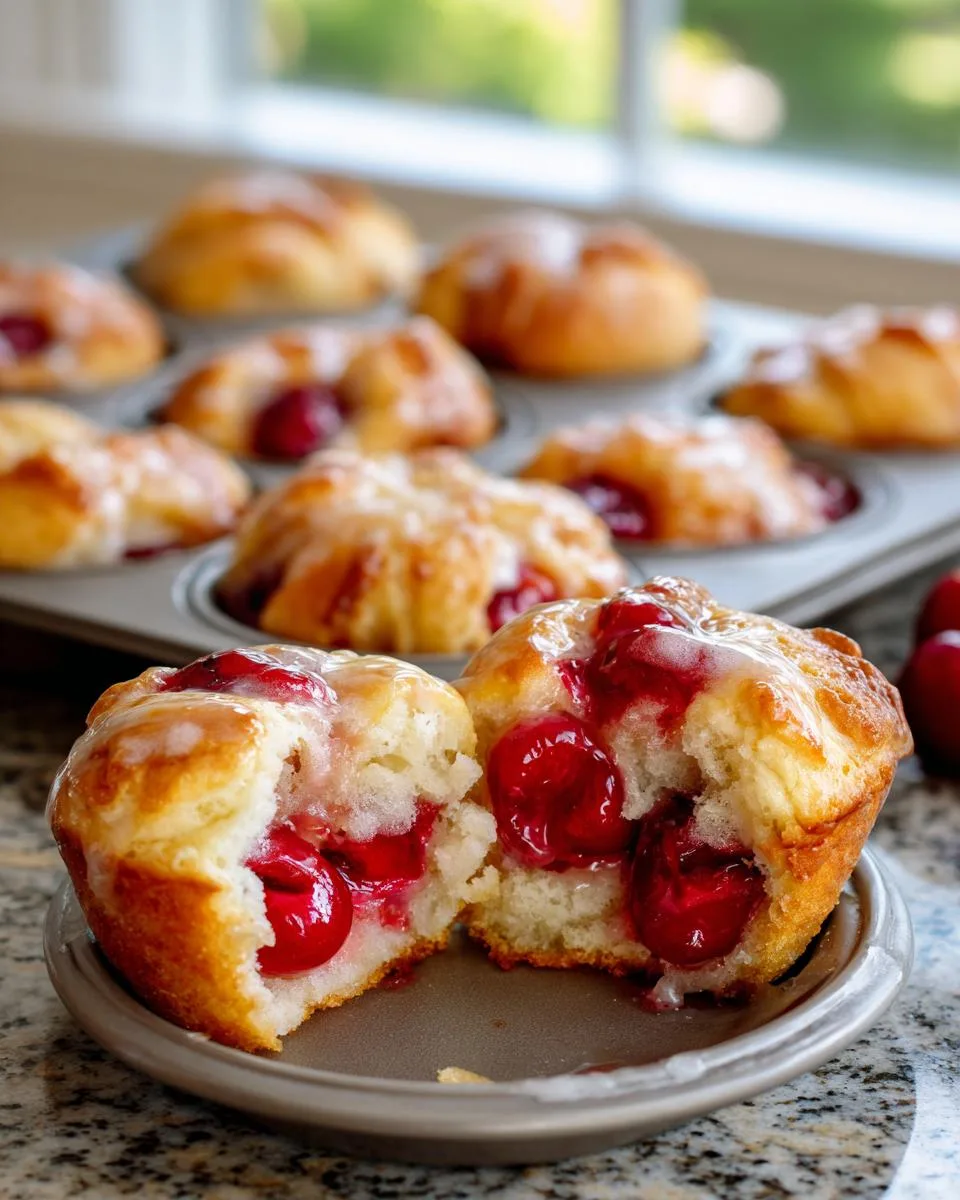
Step 2: Assemble the Mini Cherry Pie Bites
Here’s where the magic happens! Press each dough triangle into a muffin cup, letting the points hang over the edges. Spoon in about 3-4 tablespoons of cherry filling – enough to mound slightly but not overflow. Now fold those dough points over the filling like you’re wrapping a present. Don’t stress about perfection – rustic looks charming!
Step 3: Bake to Golden Perfection
Pop them in the oven for 13-14 minutes. You’ll know they’re done when the dough turns that perfect golden brown and your kitchen smells like a bakery. Pro tip: rotate the pan halfway through for even browning.
Step 4: Drizzle with Glaze
While the bites cool slightly, whisk together powdered sugar and milk until smooth. Start with 1 tablespoon milk, adding more teaspoon by teaspoon until it ribbons off your whisk. Drizzle over warm bites – the glaze will melt slightly into the flaky layers. Try not to eat them all before serving!
Tips for Perfect Mini Cherry Pie Bites
After making countless batches of these little gems, I’ve picked up some tricks that guarantee pie bite perfection every time:
- Muffin liners are lifesavers – They make cleanup a breeze and keep your bites looking neat
- Serve them warm – That’s when the filling gets gloriously gooey and the dough stays flaky
- Watch the bake time – Ovens vary, so start checking at 12 minutes to prevent over-browning
- Store leftovers properly – Keep them in an airtight container for up to 2 days (if they last that long!)
Oh, and one more thing – always make extra! These disappear faster than you’d believe.
Print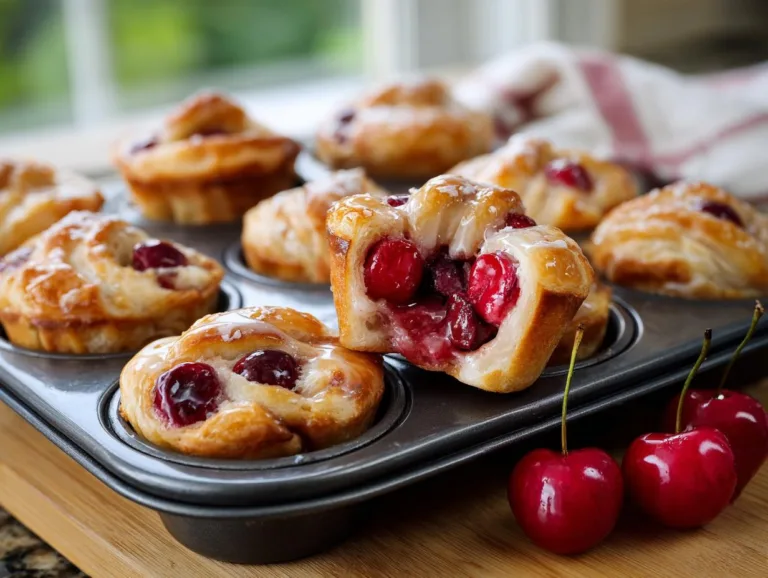
Irresistible Mini Cherry Pie Bites Ready in 30 Minutes
Mini Cherry Pie Bites are a quick and easy dessert made with crescent roll dough and cherry pie filling, perfect for any occasion.
- Total Time: 24 minutes
- Yield: 16 bites 1x
Ingredients
- 1 21 oz can cherry pie filling
- 2 8 oz tubes crescent roll dough
- 1 cup powdered sugar
- 1–2 tablespoons milk
Instructions
- Preheat oven to 375°F (190°C). Lightly grease a muffin tin.
- Unroll crescent dough and place each piece into muffin tin.
- Spoon 3-4 tablespoons of cherry filling into each dough cup.
- Fold dough corners over filling to enclose it.
- Bake for 13-14 minutes until golden brown.
- Whisk powdered sugar and milk to make glaze.
- Drizzle glaze over warm bites and serve.
Notes
- Use muffin liners for easier cleanup.
- Adjust glaze thickness with more or less milk.
- Serve warm for best texture.
- Prep Time: 10 minutes
- Cook Time: 14 minutes
- Category: Dessert
- Method: Baking
- Cuisine: American
- Diet: Vegetarian
Nutrition
- Serving Size: 1 bite
- Calories: 120
- Sugar: 10g
- Sodium: 150mg
- Fat: 5g
- Saturated Fat: 2g
- Unsaturated Fat: 2g
- Trans Fat: 0g
- Carbohydrates: 18g
- Fiber: 0g
- Protein: 1g
- Cholesterol: 0mg
Mini Cherry Pie Bites Variations
One of my favorite things about this recipe is how easily you can switch it up! Try these fun twists I’ve tested over the years:
- Apple pie filling with a sprinkle of cinnamon sugar for cozy fall vibes
- Blueberry or peach filling when you want something different (my kids love this!)
- Add almond extract to the glaze for that classic cherry-almond combo
- Cream cheese surprise – drop a teaspoon in the center before folding
The possibilities are endless – that’s why I keep extra crescent dough in my fridge at all times! If you enjoy experimenting with doughs, check out these creative sourdough discard recipes.
Serving Suggestions for Mini Cherry Pie Bites
Oh, let me tell you how we love to serve these little cuties! They’re amazing all on their own, but add a scoop of vanilla ice cream while they’re still warm and watch the magic happen. The cold cream melting into the hot cherry filling? Absolute perfection. For something lighter, a dollop of whipped cream and a sprinkle of powdered sugar makes them feel extra special. My kids even like them for breakfast (shh, don’t tell!) with a drizzle of yogurt instead of glaze.
Storing and Reheating Mini Cherry Pie Bites
Here’s how I keep these little treats tasting fresh (though honestly, they rarely last long in my house!): Store cooled bites in an airtight container at room temperature for up to 2 days. For longer storage, freeze them unglazed between parchment layers – they’ll keep beautifully for a month. When you’re ready to enjoy, just pop them in a 350°F oven for 5-7 minutes until warm and flaky again. The glaze? Always add that fresh right before serving – it makes all the difference!
Mini Cherry Pie Bites FAQs
I get asked these questions all the time about my mini cherry pie bites – here are the answers straight from my recipe testing adventures!
Can I use homemade cherry pie filling instead of canned?
Absolutely! I’ve done this many times when cherries are in season. Just make sure your homemade filling isn’t too runny – you want it thick enough to stay put when spooned into the dough cups. Pro tip: cook it down a bit longer than usual to concentrate the flavors.
How long do these little cherry pies stay fresh?
They’re best eaten the day they’re made (not that they last that long in my house!). If you must store them, keep them in an airtight container at room temperature for up to 2 days. The dough loses some crispness, but a quick 5-minute warm-up in the oven brings them back to life.
Can I freeze mini cherry pie bites for later?
Yes! These freeze beautifully – just skip the glaze until serving time. After baking and cooling, freeze them in a single layer on a baking sheet, then transfer to freezer bags. They’ll keep for about a month. When ready to eat, bake frozen at 350°F for 8-10 minutes until heated through, then drizzle with fresh glaze.
Nutritional Information
Now, I’m no nutritionist, but I know folks like having the numbers – especially when popping these little cherry pie bites like popcorn! Keep in mind these are estimates based on my exact ingredients, and yours might vary slightly depending on brands.
Per bite (assuming you get 16 from this recipe):
- Calories: About 120
- Sugar: 10g (mostly from that sweet cherry filling and glaze)
- Sodium: 150mg
- Fat: 5g
- Carbs: 18g
Here’s my philosophy – these are treats meant to be enjoyed in moderation (though good luck stopping at just one!). If you’re watching sugar, you could try reducing the glaze or using a sugar-free pie filling. But honestly? Sometimes you just need that perfect bite of cherry pie goodness, and these deliver it without breaking the calorie bank! If you want to see more of my quick recipes, follow along on Facebook.
Share Your Mini Cherry Pie Bites Experience
I’d love to hear how your mini cherry pie bites turn out! Did your family go crazy for them like mine does? Snap a photo and tag me @FrostyRecipes – nothing makes me happier than seeing your kitchen creations. And if you loved this recipe as much as we do, leave a star rating so other bakers know it’s a winner!