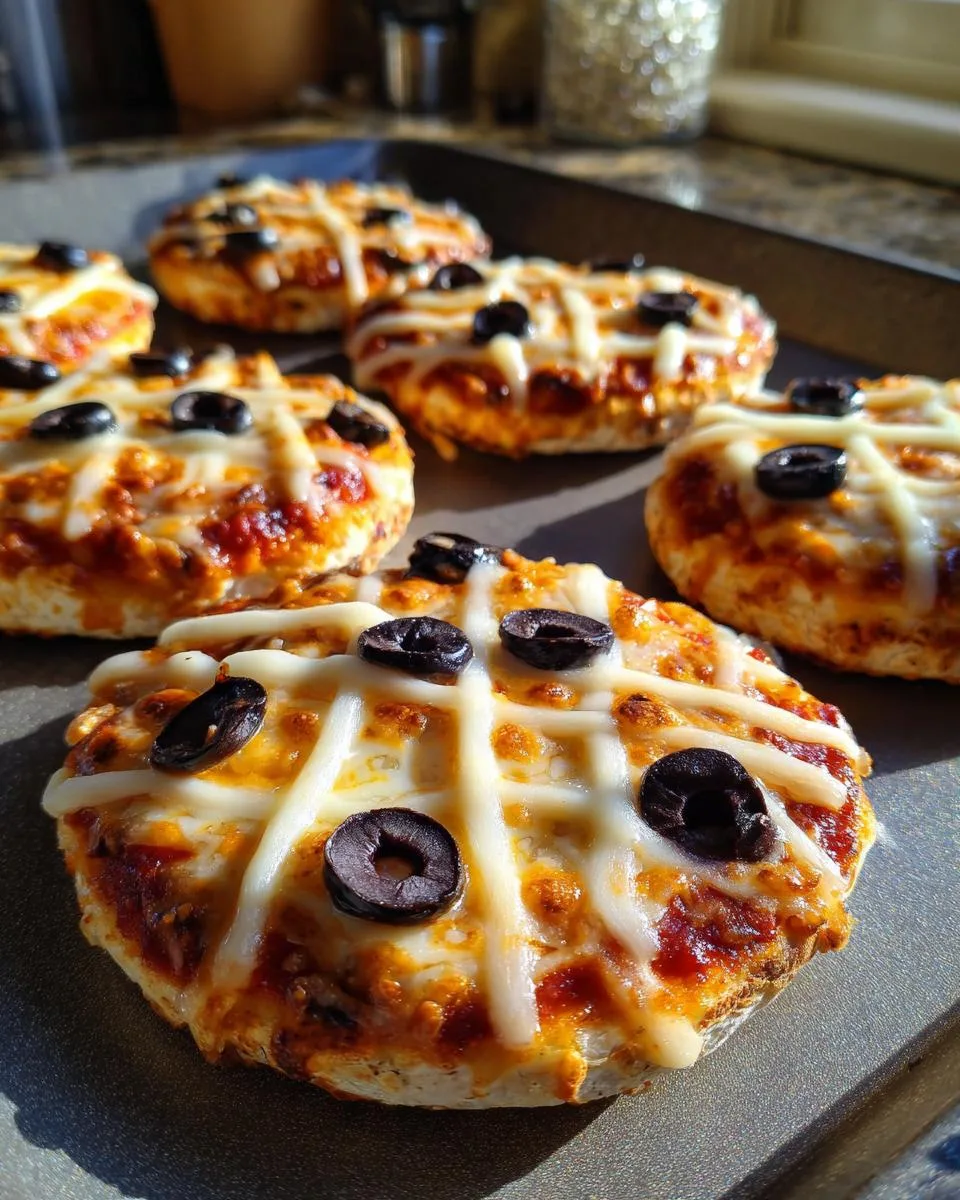
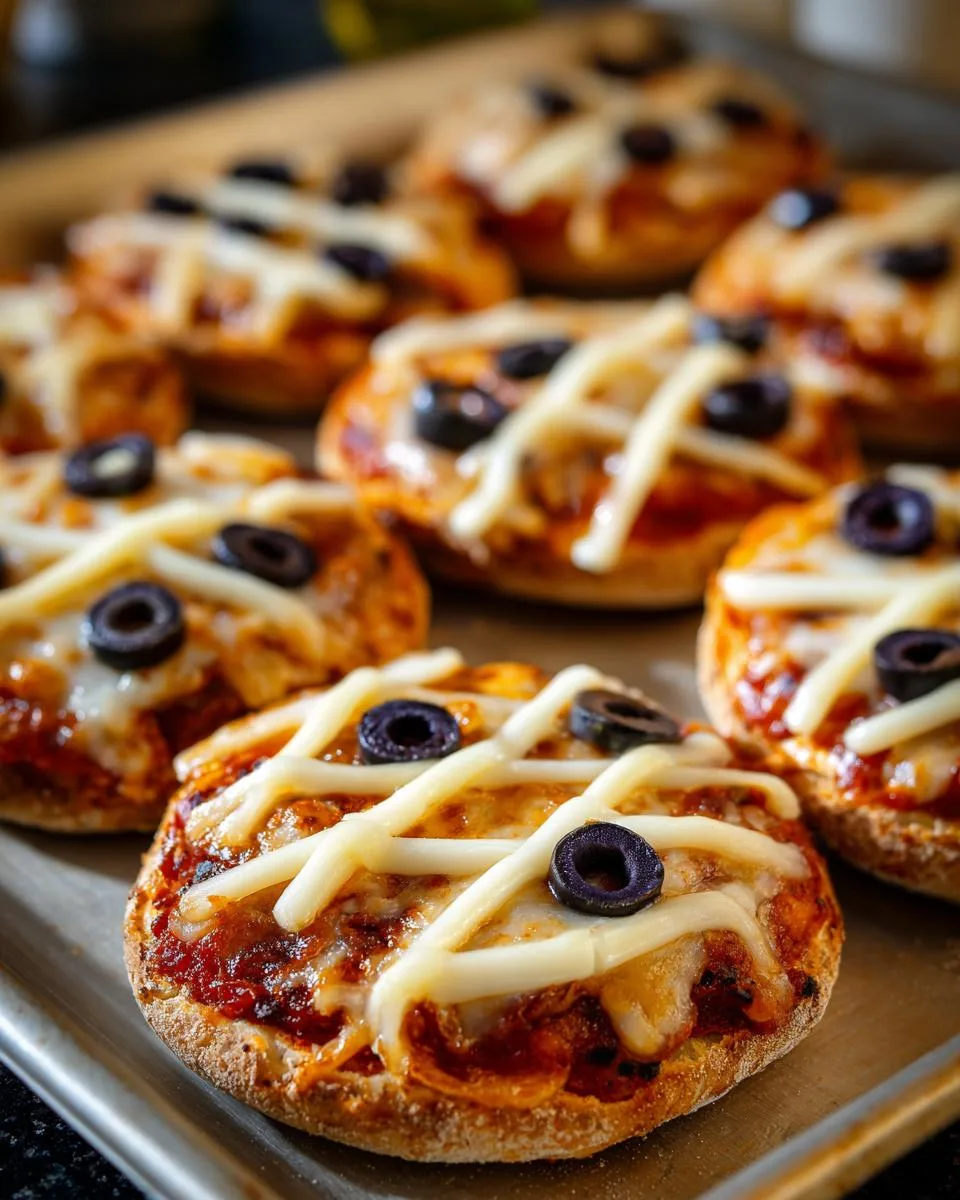
Oh my gosh, you HAVE to try these Mini Mummy Pizzas! They’re seriously the cutest Halloween snack ever, and my kids go absolutely wild for them every year. Picture this: crispy English muffins, tangy pizza sauce, gooey cheese “bandages,” and adorable olive eyes staring back at you – I mean, how fun is that?
I’ll never forget the first time we made these – my daughter squealed when she realized she could give her mummy pizza a goofy grin or scary frown just by moving the olive slices around. The best part? They come together SO fast. From fridge to table in under 25 minutes, even with little helpers “supervising” (aka sneaking cheese strips).
These Mini Mummy Pizzas have become our must-make Halloween tradition. Whether we’re hosting a spooky party or just want a festive after-school snack, they never disappoint. And trust me, if my picky eaters devour them, yours will too!
Table of Contents
Table of Contents
Why You’ll Love Mini Mummy Pizzas
Oh, these little guys are an absolute slam dunk, and I promise you’ll be making them every October! Here’s why they’ve become our family’s go-to Halloween snack:
- So dang easy: I’m talking 10 minutes of prep, tops. Even my littlest can help peel the cheese strips!
- Total kid magnet: My two think they’re the coolest thing since glow-in-the-dark stickers. They eat them up every single time.
- You make them your own: Add pepperoni bits, swap the olives for bell peppers – get creative with your mummy’s face!
- Party perfect: They look fantastic on a platter and are guaranteed to be the hit of any Halloween gathering.
Mini Mummy Pizzas Ingredients
Here’s all you need to bring these adorable mummies to life:
- 1 cup Classico pizza sauce – or your favorite brand (we swear by Classico’s rich flavor)
- 4 English muffins – split in half for perfect little pizza bases
- 8 mozzarella string cheese sticks – peeled into thin strips for those iconic mummy bandages
- 10-12 black olives – sliced up for creepy-cute eyes and noses
Ingredient Substitutions
No stress if you need to switch things up!
- Use marinara sauce instead of pizza sauce – works just fine
- Swap regular muffins for whole wheat if you prefer
- For dairy-free, vegan cheese strips make great bandages too
How to Make Mini Mummy Pizzas
Okay, let’s make some spooky magic happen! These Mini Mummy Pizzas are so simple, you’ll be done before you can say “Boo!” Here’s exactly how I do it:
Preparing the Base
First things first – preheat that oven to 425°F. While it’s warming up, split your English muffins in half and arrange them on a baking sheet. I like to line mine with parchment paper because – confession time – I hate scrubbing pans later. Spread about a tablespoon of pizza sauce on each half, leaving a tiny border around the edges. Not too thick, not too thin – just enough to make your mummy tasty!
Creating the Mummy Effect
Now for the fun part! Take your string cheese and carefully peel each stick into 4-5 thin strips. Criss-cross them over the sauce to look like messy mummy bandages – the more haphazard, the better! Leave little gaps for the “face.” Pro tip: Use kitchen shears to quickly slice your olives into eyes and mouths. Place two olive slices for eyes (I like making one slightly crooked for extra character) and a few tiny pieces for a mouth. Watch your mini mummy pizzas come to life!
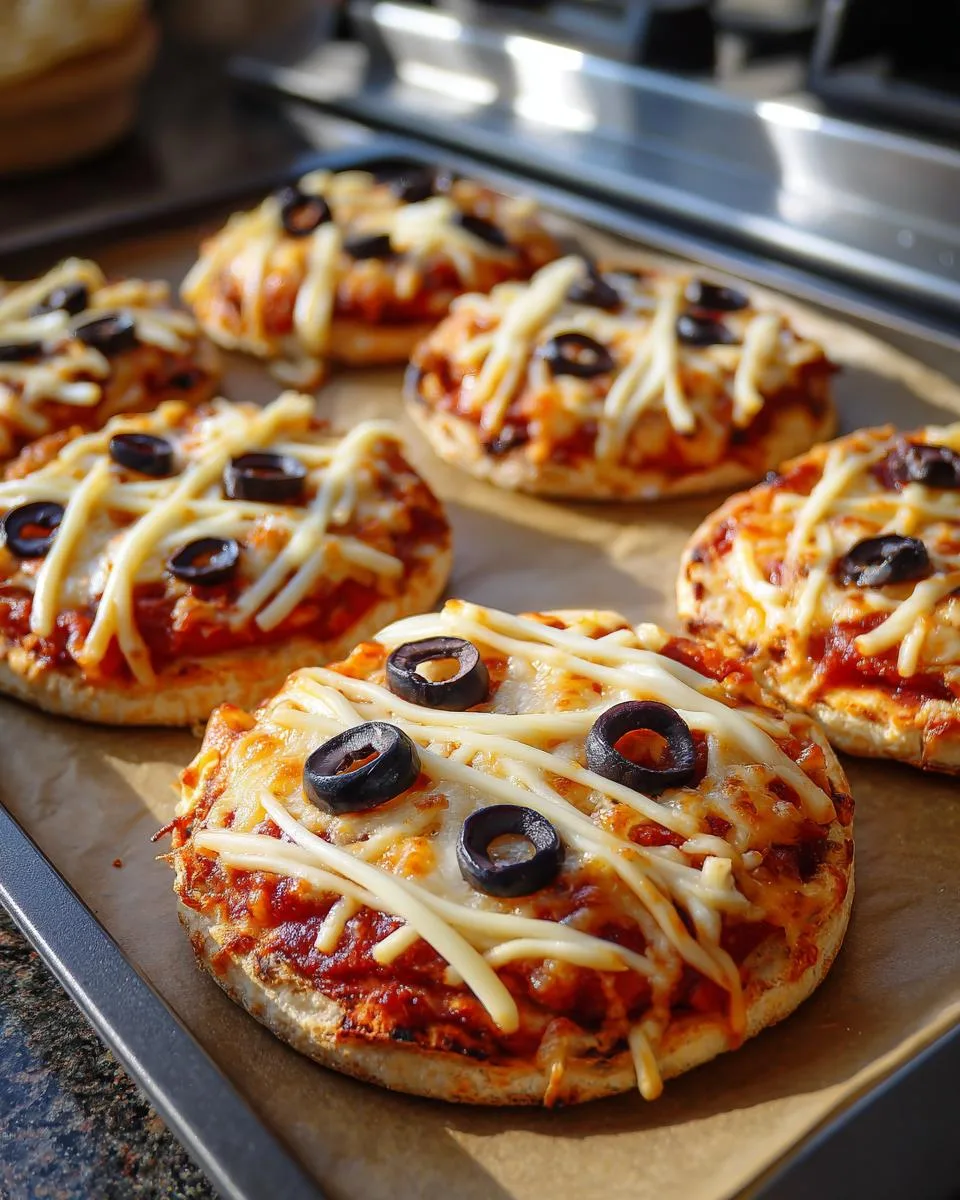
Baking Mini Mummy Pizzas
Pop those adorable little guys in the oven for 8-12 minutes. Here’s the deal: 12 minutes gives you golden, crispy edges (my husband’s favorite), while 8-9 minutes keeps the cheese nice and pale like real mummy wrappings (perfect for Instagram-worthy photos!). If you want just a touch of browning without overcooking, try 30 seconds under the broiler at the end. Just keep a close eye – they go from perfect to burnt fast! You’ll know they’re done when the cheese is melty and the muffin edges are toasty.
Print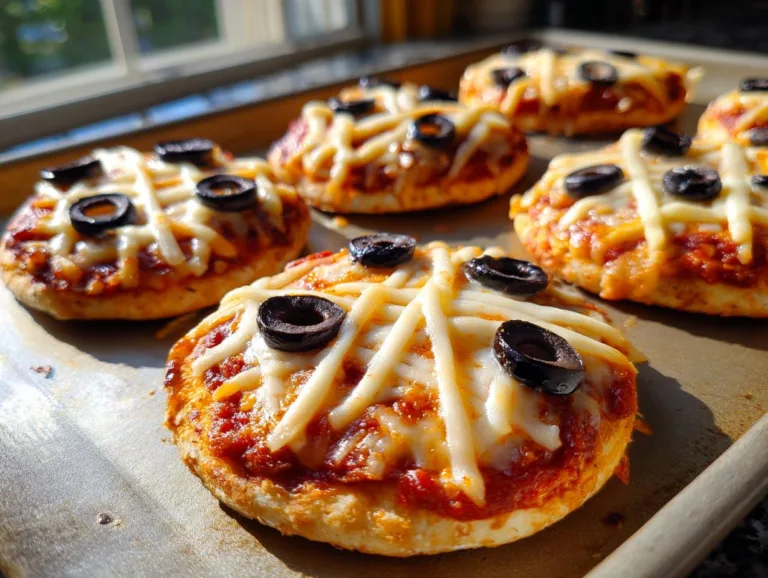
25-Minute Mini Mummy Pizzas Your Kids Will Devour
Mini Mummy Pizzas are a fun and easy Halloween treat made with English muffins, pizza sauce, string cheese, and olives.
- Total Time: 22 minutes
- Yield: 4 servings
Ingredients
- English Muffins
- Pizza Sauce (We prefer Classico brand.)
- Mozzarella String Cheese
- Black Olives
Instructions
- Cut each English muffin in half. Place on a baking sheet.
- Spread pizza sauce on each muffin half.
- Pull apart string cheese and criss-cross the pieces to create a wrapped mummy look.
- Cut olives for eyes, noses, and mouths as desired.
- Bake at 425 degrees Fahrenheit for 12 minutes, for a crisp crust and bubbly cheese. Bake for less time to keep the cheese white.
Notes
- Use Classico pizza sauce for best flavor.
- Adjust baking time for softer or crispier crust.
- Prep Time: 10 minutes
- Cook Time: 12 minutes
- Category: Appetizer
- Method: Baking
- Cuisine: American
- Diet: Vegetarian
Nutrition
- Serving Size: 1 muffin half
- Calories: 150
- Sugar: 2g
- Sodium: 300mg
- Fat: 5g
- Saturated Fat: 2g
- Unsaturated Fat: 2g
- Trans Fat: 0g
- Carbohydrates: 20g
- Fiber: 2g
- Protein: 7g
- Cholesterol: 10mg
Tips for Perfect Mini Mummy Pizzas
After making dozens (okay, maybe hundreds) of these Mini Mummy Pizzas over the years, I’ve picked up some tricks that make them foolproof every time:
- Pat those muffin halves dry! English muffins can be a bit moist – just give them a quick dab with a paper towel before adding sauce so they stay crisp.
- Chill your cheese sticks first. Cold string cheese peels into perfect “bandage” strips without sticking to your fingers. 10 minutes in the fridge does the trick!
- Let them breathe before serving. I know it’s tempting to dig right in, but waiting 2 minutes lets the cheese set so your mummy faces stay picture-perfect.
- Olive oil spray secret: A quick spritz on the pan (even with parchment) gives extra insurance against any cheese sticking.
Serving and Storing Mini Mummy Pizzas
Oh, the possibilities with these little guys! We love serving our Mini Mummy Pizzas with “bloody” blood orange punch (just add a splash of grenadine) or creepy carrot stick fingers for dipping. They disappear fast at parties, but if you somehow have leftovers – ha! – just pop them in the fridge for up to 3 days. When those midnight mummy cravings hit, reheat them in the toaster oven for that perfect crispness again. Trust me, they never last long enough to freeze!
Mini Mummy Pizzas Nutrition
Now, I’m no nutritionist – just a mom who likes to keep things real! These numbers are based on using Classico sauce and whole milk mozzarella, but your mileage may vary depending on brands and tweaks. Each mummified masterpiece comes in around 150 calories, with 7g of protein to keep those little ghosts and goblins going. Not too shabby for a festive treat that’s mostly cheese and bread – my kind of snack math!
Mini Mummy Pizzas FAQs
I get asked about these Mini Mummy Pizzas all the time – here are the answers to everyone’s burning questions!
Can I make these ahead of time?
Absolutely! You can assemble them up to 1 hour before baking. Just keep them in the fridge covered with plastic wrap. Any longer and the muffins might get soggy – learned that the hard way at last year’s Halloween party!
Are they freezable?
Honestly? Not really. The cheese gets weirdly rubbery after freezing, and the muffins turn into little hockey pucks. They’re so quick to make fresh, it’s really not worth it.
Can I use pita bread instead?
Yes! Small pita rounds work great – just reduce the bake time by 2-3 minutes since they’re thinner. Bonus: pitas make super cute mummy “heads” if you use the whole circle!
Got more questions? Slide into my DMs – I could talk about these adorable snacks all day!
Can’t wait to see your spooky creations! Tag @FrostyRecipes so I can ooh and aah over your mini mummy masterpieces – you know I’ll be making them right alongside you this Halloween!
You can also follow us on Facebook for more delicious recipes!