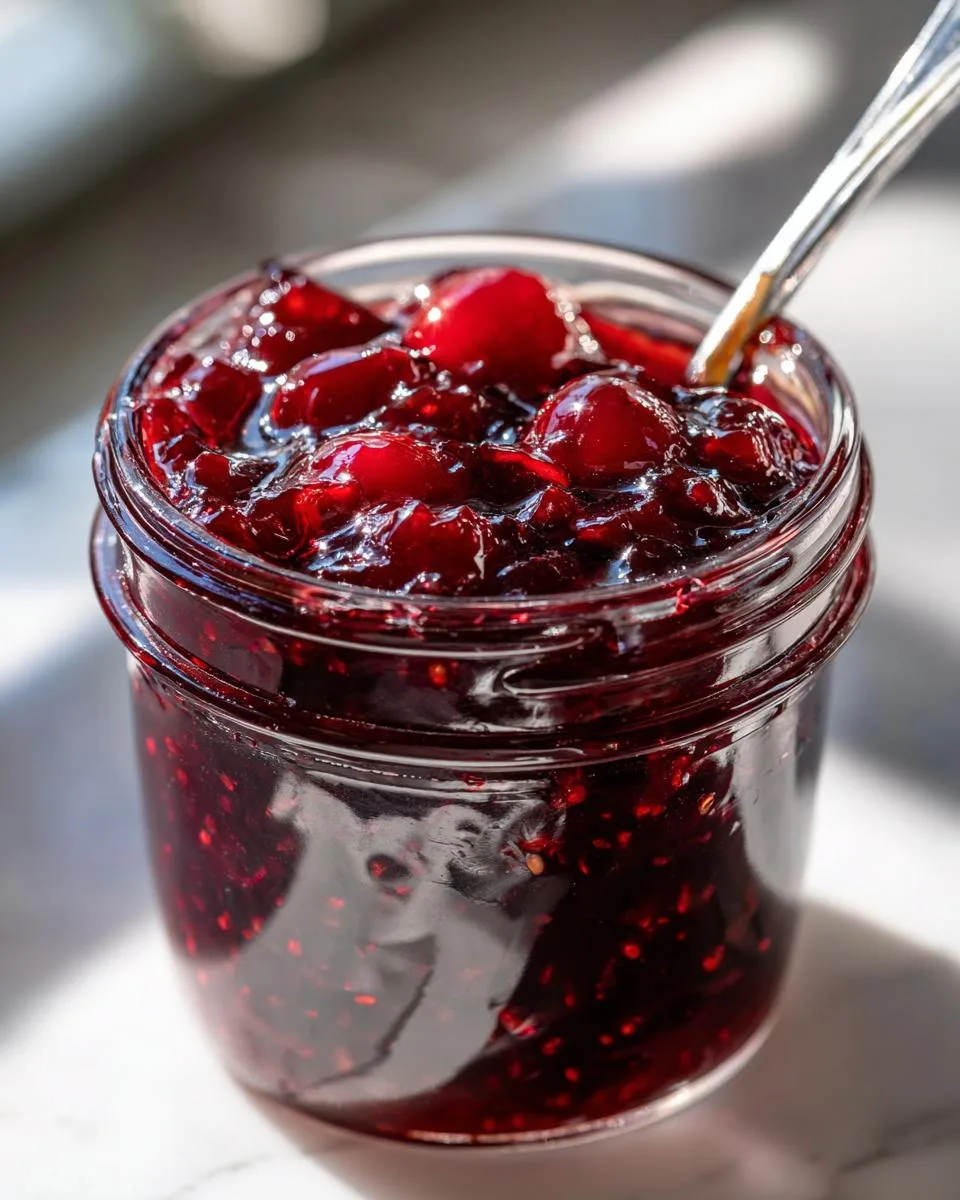
There’s nothing quite like the burst of summer in a jar! Last year, my kids and I picked way too many cherries at our local orchard—again. Instead of watching them go to waste, I whipped up this small batch cherry jam in under 30 minutes. No fancy equipment, no pectin, just pure cherry goodness that made our morning toast taste like vacation. What I love most? You don’t need mountains of fruit—just a handful of sweet cherries (fresh or frozen!), sugar, and lemon juice simmer into the most vibrant jam you’ll ever spread. Trust me, once you taste homemade, there’s no going back to store-bought.
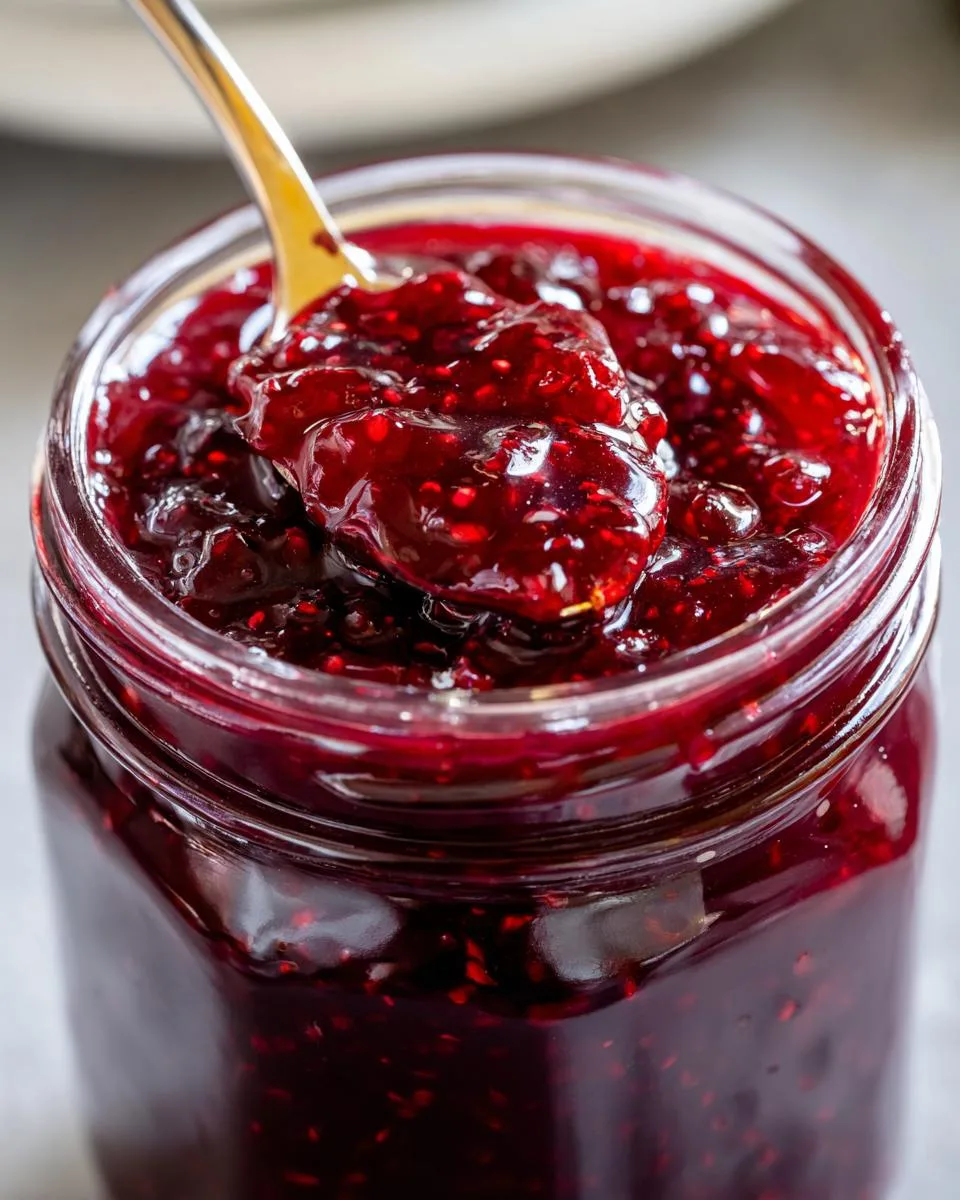
Table of Contents
Table of Contents
Why You’ll Love This Small Batch Cherry Jam
This isn’t just jam—it’s a little jar of sunshine that solves so many problems! Here’s why it’s become my go-to:
- No pectin drama: Skip the fuss of measuring powders or worrying about gelling. The natural fruit and sugar work their magic all on their own.
- Quick as a summer storm: From stove to jar in under 30 minutes? Yes, please! Perfect for when you spot overripe cherries begging to be rescued.
- Small but mighty: Makes just enough for your fridge (no canning required!), so you’re not stuck with gallons of jam you’ll never finish.
- Flexible fruit: Those forgotten freezer cherries? They work beautifully here—no need to wait for peak season.
- Instant happiness: Swipe it on biscuits, swirl into yogurt, or—my guilty pleasure—eat it straight off the spoon.
Honestly? The hardest part is waiting for it to cool before digging in!
Ingredients for Small Batch Cherry Jam
Grab these three simple things—that’s right, just three!—and you’re halfway to jam heaven:
- 2½ cups (400 g) sweet cherries – halved and pitted (fresh or frozen both work—I’ve used both in a pinch!)
- 1 cup (200 g) granulated sugar – adjust up or down by a tablespoon if your cherries are extra tart or sweet
- 2 Tablespoons (30 ml) lemon juice – fresh-squeezed from about one lemon (bottled works too, but fresh gives that bright zing)
See? Told you it was easy. Now let’s make some magic!
How to Make Small Batch Cherry Jam
Ready to turn those gorgeous cherries into jam? Let’s do this! I promise it’s easier than folding a fitted sheet (why are those things so impossible?). Just follow these simple steps, and you’ll be spreading homemade goodness in no time.
Preparing the Cherries
First things first—give those cherries some love! If you’re using fresh ones, rinse them under cool water and pat dry. Now for the fun part: pitting. I use a cherry pitter (worth every penny if you make jam often), but a sturdy straw or paperclip works in a pinch. Just twist out the pits, then halve each cherry—don’t worry about perfection here. The pieces will break down as they cook. Pro tip: Wear an apron unless you want your kitchen looking like a crime scene from all that gorgeous red juice!
If you prefer smoother jam, keep your immersion blender handy—we’ll use it later. But if you like chunky bits of fruit (my personal fave), you can skip the blending altogether.
Cooking the Jam
Now for the transformation! Dump your prepped cherries, sugar, and lemon juice into a medium pot—nonstick is my go-to to prevent sticking. Crank the heat to medium and stir occasionally until the sugar dissolves completely. Fresh cherries will melt into syrup in about 5 minutes; frozen ones take closer to 10 (they’ve got that extra ice to shed).
Here’s where the magic happens: Bring the mixture to a rolling boil—that’s when bubbles cover the entire surface and won’t stop when you stir. Set a timer for 8-10 minutes and let it bubble away, stirring occasionally to prevent scorching. Want to know if it’s ready? Spoon a little jam onto a cold plate (I pop one in the freezer beforehand). Tilt the plate after 15 seconds—if it slowly oozes instead of running like a waterfall, you’re golden!
Safety first with the immersion blender: Keep it fully submerged to avoid hot splatters, and pulse just until no big chunks remain. Pour your glorious jam into clean jars, let it cool, and try not to eat it all in one sitting (no guarantees though).
Tips for Perfect Small Batch Cherry Jam
After making this jam more times than I can count (okay, maybe I have a slight obsession), here are my foolproof tricks:
- Taste as you go: Cherries vary in sweetness—start with 3/4 cup sugar and add more if needed. Too tart? A pinch more sugar fixes everything!
- Stir, don’t scorch: That gorgeous red can turn to burnt jam fast. Medium heat and frequent stirring keeps it happy.
- Patience pays off: Jam thickens as it cools—don’t panic if it seems runny! Let it chill overnight for perfect spreadability.
- Freezer test FTW: No thermometer? That chilled plate trick never lies. Just make sure your test plate is ice-cold.
Follow these, and you’ll get jam that’ll make your grandma proud!
Print
Magical Small Batch Cherry Jam in Just 30 Minutes
A simple and quick recipe for homemade small batch cherry jam without pectin, perfect for preserving fresh cherry flavors.
- Total Time: 25 minutes
- Yield: 1.5 cups 1x
Ingredients
- 2½ cups (400 g) halved and pitted sweet cherries (fresh or frozen)
- 1 cup (200 g) granulated sugar
- 2 Tablespoons (30 ml) lemon juice (from about one lemon)
Instructions
- In a medium pot, add the prepared cherries, sugar, and lemon juice.
- Heat over medium, stirring occasionally, until the sugar dissolves and the syrup turns dark red, about 5 minutes from fresh and 10 minutes from frozen.
- Over medium heat, bring the jam to a rolling boil that cannot be stirred down. Cook for 8-10 minutes, until the jam has thickened and reached 220°F/105°C, then remove from heat.
- Test the consistency by placing a few drops of the liquid jam on a cool plate. Allow the jam to cool for 15-20 seconds, then tilt the plate vertically. If the jam starts to run, cook for another minute before re-testing. If the jam stays largely in place, remove from heat.
- Use an immersion blender to reduce the size of the cherry pieces in the jam. Ensure the blender head stays fully submerged, tilting the pan if needed, and blend for just a few seconds at a time until no large pieces of cherry remain.
- Pour into jars, seal, and refrigerate. The cherry jam will thicken as it cools; for best results, allow the jam to set overnight.
Notes
- Use fresh or frozen cherries.
- Adjust sugar based on cherry sweetness.
- Store in the refrigerator for up to two weeks.
- Prep Time: 10 minutes
- Cook Time: 15 minutes
- Category: Preserves
- Method: Stovetop
- Cuisine: American
- Diet: Vegetarian
Nutrition
- Serving Size: 1 tablespoon
- Calories: 50
- Sugar: 12g
- Sodium: 0mg
- Fat: 0g
- Saturated Fat: 0g
- Unsaturated Fat: 0g
- Trans Fat: 0g
- Carbohydrates: 13g
- Fiber: 0g
- Protein: 0g
- Cholesterol: 0mg
Storing Your Homemade Cherry Jam
Here’s the best part—no fancy canning required! Just spoon your still-warm jam into clean glass jars (I save pasta sauce jars for this) and pop them in the fridge. It’ll stay fresh and delicious for up to two weeks—if it lasts that long! The glass keeps flavors bright, and those cute little jars make perfect gifts… if you’re willing to share, that is.
Small Batch Cherry Jam Variations
Feel like playing mad scientist? Here’s how I jazz up my basic recipe when I’m feeling fancy:
- Vanilla bean dreams: Split and scrape one vanilla pod into the pot—those tiny black specks make it look AND taste luxurious.
- Cinnamon spice: A cinnamon stick simmered with the cherries adds warm depth (remove it before jarring).
- Boozy twist: Swap 1 Tbsp lemon juice for cherry liqueur or bourbon—just enough for grown-up complexity without overpowering.
Mix and match—that’s half the fun of homemade! If you want more recipe inspiration, check out our Facebook page for daily updates.
Frequently Asked Questions
Over the years, I’ve gotten all sorts of questions about this little jar of joy. Here are the ones that pop up most often – and my honest answers from trial-and-error experience!
Can I use tart cherries instead of sweet ones?
Absolutely! Just bump up the sugar by 2-3 Tablespoons to balance the tartness. My neighbor swears by Montmorency cherries this way – says it reminds her of the jam her Polish grandmother made. The lemon juice still helps set it beautifully.
How long does homemade cherry jam last?
In the fridge, it’ll stay fresh about 2 weeks (if you don’t devour it first!). I’ve frozen small jars for up to 3 months too – just leave ½ inch headspace for expansion. Thaw overnight in the fridge before using.
Why didn’t my jam thicken properly?
Usually means it needed another minute or two of boiling. No worries! Pour it back in the pot and simmer another 3-5 minutes. Pro tip: That plate test is your best friend – ignore the clock and trust the ooze test!
Can I double this small batch recipe?
Technically yes, but I don’t recommend it. Small batches cook more evenly and reduce faster. If you need more, make two separate batches – it goes quick anyway!
Do I really need an immersion blender?
Not at all! I love some texture in my jam. If you prefer smooth, you can mash with a potato masher instead or leave the chunks – it’s YOUR jam, after all!
Serving Suggestions for Small Batch Cherry Jam
Oh, the places this jam will go! My kids smear it on warm buttermilk biscuits (breakfast of champions), while I love swirling it into Greek yogurt for a tangy-sweet snack. It’s magical on vanilla ice cream, sandwiched between shortbread cookies, or—my secret indulgence—licked straight from the jar at midnight. Pure joy in every spoonful!
Nutritional Information
Just so you know what you’re diving into (not that it stops me from eating it by the spoonful!):
- Per tablespoon: About 50 calories
- Sweet stuff: 12g sugar (all natural from the fruit and a little added sugar)
- The good news: Zero fat, cholesterol, or sodium!
Of course, your exact numbers might dance around a bit depending on your cherries’ sweetness and how much sugar you use. But hey—it’s fruit! That makes it practically health food, right?
Share Your Small Batch Cherry Jam
Did you make this jam? I’d love to hear how it turned out! Drop me a note below—tell me if you went classic or added your own twist. Happy jamming, friends!