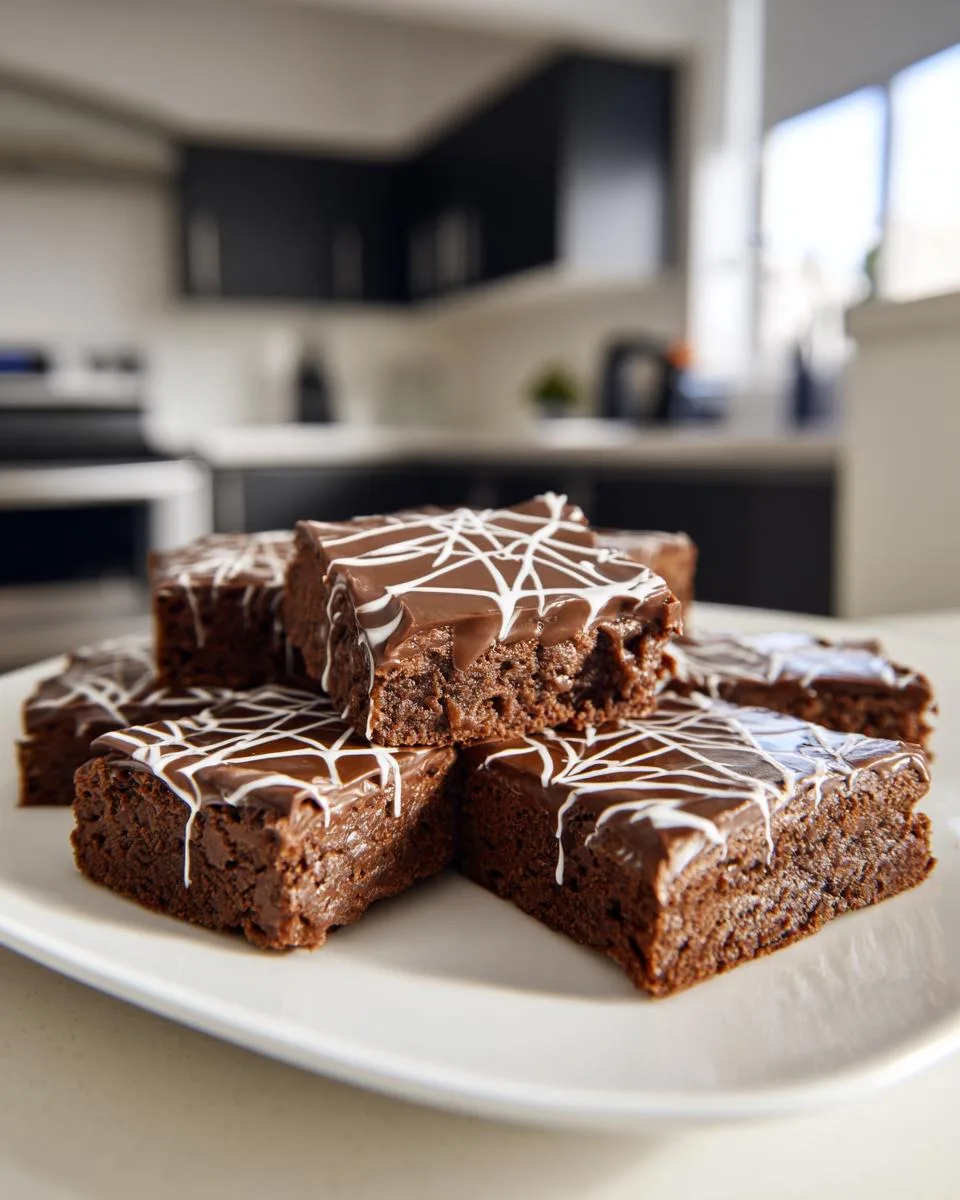
Oh my gosh, you HAVE to try these Spiderweb Brownies! They’re the perfect mix of spooky and delicious – my kids go absolutely wild for them every Halloween. I stumbled upon this idea years ago when my youngest begged me to make something “Halloween-y” for her school party. Now? It’s our annual tradition. The rich fudge brownie base pairs perfectly with the silky chocolate ganache topping, and the white chocolate spiderweb design? Pure magic. Trust me, these disappear faster than ghosts at sunrise! Whether you’re hosting a party or just craving something chocolatey with a fun twist, these spiderweb brownies are sure to be a hit.
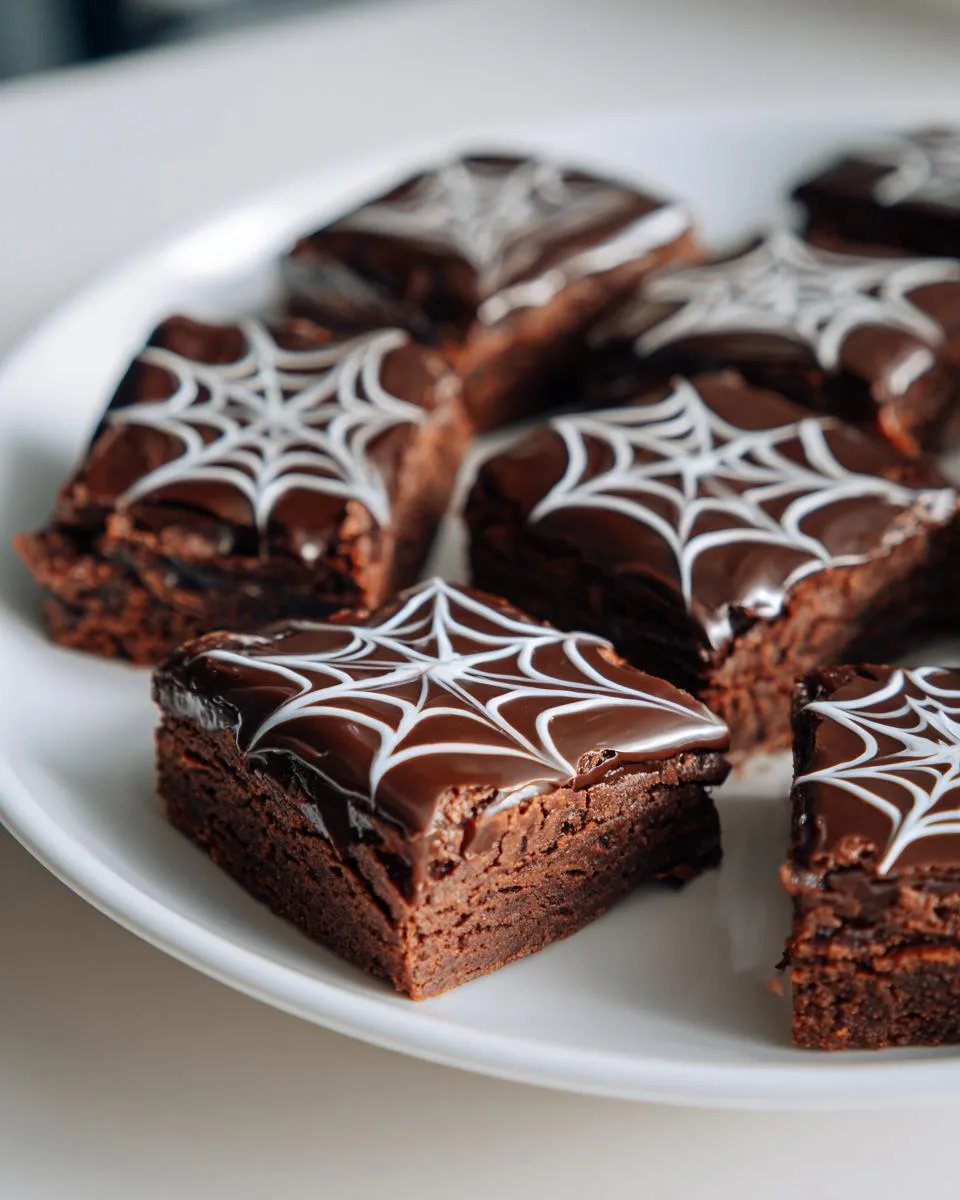
Table of Contents
Table of Contents
Why You’ll Love These Spiderweb Brownies
These brownies aren’t just delicious—they’re downright addictive! Here’s why they’ve become a staple in my kitchen:
- Fudgy perfection: That dense, melt-in-your-mouth texture? Oh yes. The secret’s in the Dutch-process cocoa and just the right amount of eggs.
- Halloween magic: That spiderweb design makes these brownies showstoppers at any spooky gathering—kids and adults alike go crazy for them!
- Easy-peasy: The web design looks fancy but takes seconds—just pipe and drag with a toothpick. No pastry skills required!
- Totally customizable: Swap in gluten-free flour or coconut milk if needed—the recipe’s flexible without sacrificing that rich chocolatey goodness.
Seriously, once you try these, you’ll understand why my family begs for them year-round!
Ingredients for Spiderweb Brownies
Gathering the right ingredients is half the battle when making these showstopping spiderweb brownies. Here’s what you’ll need for that perfect fudgy base and gorgeous web topping:
- Dry ingredients: 1 cup all-purpose flour (can sub gluten-free 1:1 blend), 3/4 cup Dutch-process cocoa powder (trust me, it makes a difference!), 1/4 teaspoon salt
- Wet ingredients: 3/4 cup melted coconut oil or butter (cooled slightly), 1 1/2 cups granulated sugar, 3 large eggs (room temp works best!), 1 tablespoon vanilla extract
- For the toppings: 1 cup semi-sweet chocolate chips, 1/2 cup heavy cream (canned coconut milk works too), 1/2 cup white chocolate chips
Ingredient Notes & Substitutions
While I love the original recipe, here are my tested swaps: Use coconut sugar instead of white for a deeper flavor – just know it’ll darken the batter. Need dairy-free? Canned coconut milk mimics heavy cream beautifully in the ganache. One warning: don’t use natural cocoa powder – Dutch-process gives that signature rich taste and dark color we want in spiderweb brownies!
Equipment You’ll Need
Don’t worry—you probably have most of this already! Here’s what I grab from my kitchen for spiderweb brownies:
- An 8×8 inch baking pan (metal works best for crisp edges)
- Parchment paper (lifesaver for clean removal!)
- Two mixing bowls—one for dry, one for wet ingredients
- A toothpick or skewer (your secret web-making tool)
- Piping bag or zip-top bag for the white chocolate
That’s it! No fancy gadgets needed—just good old-fashioned baking basics.
How to Make Spiderweb Brownies
Okay, here’s where the real magic happens! Making spiderweb brownies is easier than you think—just follow these simple steps for perfect results every time.
Step 1: Prepare the Brownie Batter
First, whisk together your dry ingredients—flour, cocoa powder, and salt—in one bowl. In another bowl, mix the melted coconut oil (or butter) with sugar until it looks like wet sand. Beat in the eggs one at a time, then stir in vanilla. Now, gently fold the dry mix into the wet ingredients until just combined—overmixing makes tough brownies! Fold in chocolate chips if using. That’s it—your batter’s ready!
Step 2: Bake and Cool
Pour the batter into your lined pan and bake at 350°F for 15-20 minutes. The brownies are done when a toothpick comes out with moist crumbs (not wet batter). Let them cool completely in the pan—this is crucial! Then pop them in the fridge for at least an hour. Chilling makes slicing cleaner and the ganache set better.
Step 3: Create the Spiderweb Design
For the ganache, heat cream until steaming (not boiling!), then pour over semi-sweet chocolate. Wait 10 minutes—patience!—then stir until smooth. Spread over cooled brownies. Melt white chocolate, snip a tiny corner off a zip-top bag, and pipe concentric circles onto the ganache. Immediately drag a toothpick from center to edges to create the web. Let set before serving—if you can wait that long!
Print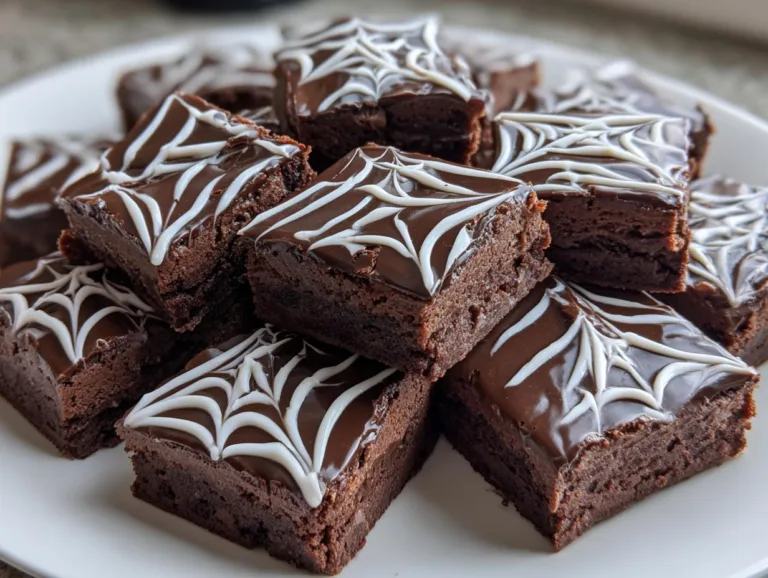
Spiderweb Brownies: 3 Secrets to Spooky Chocolate Bliss
Spiderweb Brownies are a fun and delicious dessert perfect for Halloween or any occasion. These rich, fudgy brownies are topped with a chocolate ganache and decorated with a white chocolate spiderweb design.
- Total Time: 35 minutes
- Yield: 16 brownies 1x
Ingredients
- 1 cup all-purpose flour (or whole wheat, or gluten-free alternatives)
- 3/4 cup refined coconut oil or butter (melted and cooled)
- 1 1/2 cups granulated sugar (or coconut sugar)
- 3/4 cup Dutch-process cocoa powder
- 1 tablespoon vanilla extract
- 3 large eggs (room temperature)
- 1/4 teaspoon salt
- 1 cup semi-sweet chocolate chips (or chopped chocolate)
- 1/2 cup heavy cream (or full-fat canned coconut milk)
- 1/2 cup white chocolate chips (or chopped white chocolate)
Instructions
- Preheat your oven to 350°F (175°C) and line an 8×8 inch pan with parchment paper.
- In a medium bowl, mix together the flour, cocoa powder, and salt.
- In a large bowl, combine the melted coconut oil or butter with the sugar and vanilla extract. Add the eggs one at a time, stirring gently until smooth.
- Stir in the dry ingredients until just combined. Pour the batter into the prepared pan and smooth the top.
- Bake for 15 to 20 minutes. A toothpick inserted should come out with moist crumbs.
- Allow the brownies to cool completely, then chill in the refrigerator for an hour before cutting into squares.
- Prepare the ganache by heating the heavy cream until steaming, then pour it over the semi-sweet chocolate. Let it sit for 10 minutes before stirring until smooth.
- Melt the white chocolate and set aside. Decorate each brownie with the ganache, then pipe the white chocolate in a spiral to create a spiderweb. Use a toothpick to drag lines for the web effect.
- Let the chocolate set before serving. Store in the refrigerator for up to 5 days.
Notes
- For a gluten-free version, use gluten-free flour.
- Substitute coconut milk for heavy cream if needed.
- Chill the brownies before cutting for clean edges.
- Prep Time: 15 minutes
- Cook Time: 20 minutes
- Category: Dessert
- Method: Baking
- Cuisine: American
- Diet: Vegetarian
Nutrition
- Serving Size: 1 brownie
- Calories: 220
- Sugar: 18g
- Sodium: 45mg
- Fat: 12g
- Saturated Fat: 8g
- Unsaturated Fat: 3g
- Trans Fat: 0g
- Carbohydrates: 25g
- Fiber: 2g
- Protein: 3g
- Cholesterol: 40mg
Tips for Perfect Spiderweb Brownies
After making these spiderweb brownies dozens of times, I’ve picked up some foolproof tricks that make all the difference:
- Room temp eggs are key – They incorporate better for that perfect fudgy texture (just leave them out 30 minutes before baking).
- Don’t rush the ganache – Letting it sit for 10 minutes before stirring gives you the silkiest, shiniest topping.
- Chill before cutting – Pop them in the fridge first for super clean slices (a warm knife helps too!).
- Work fast with the web – The white chocolate sets quickly, so pipe and drag immediately for crisp lines.
- Double boil the chocolate – Melting white chocolate gently prevents seize-ups and makes piping smoother.
Follow these tips and your spiderweb brownies will look as amazing as they taste!
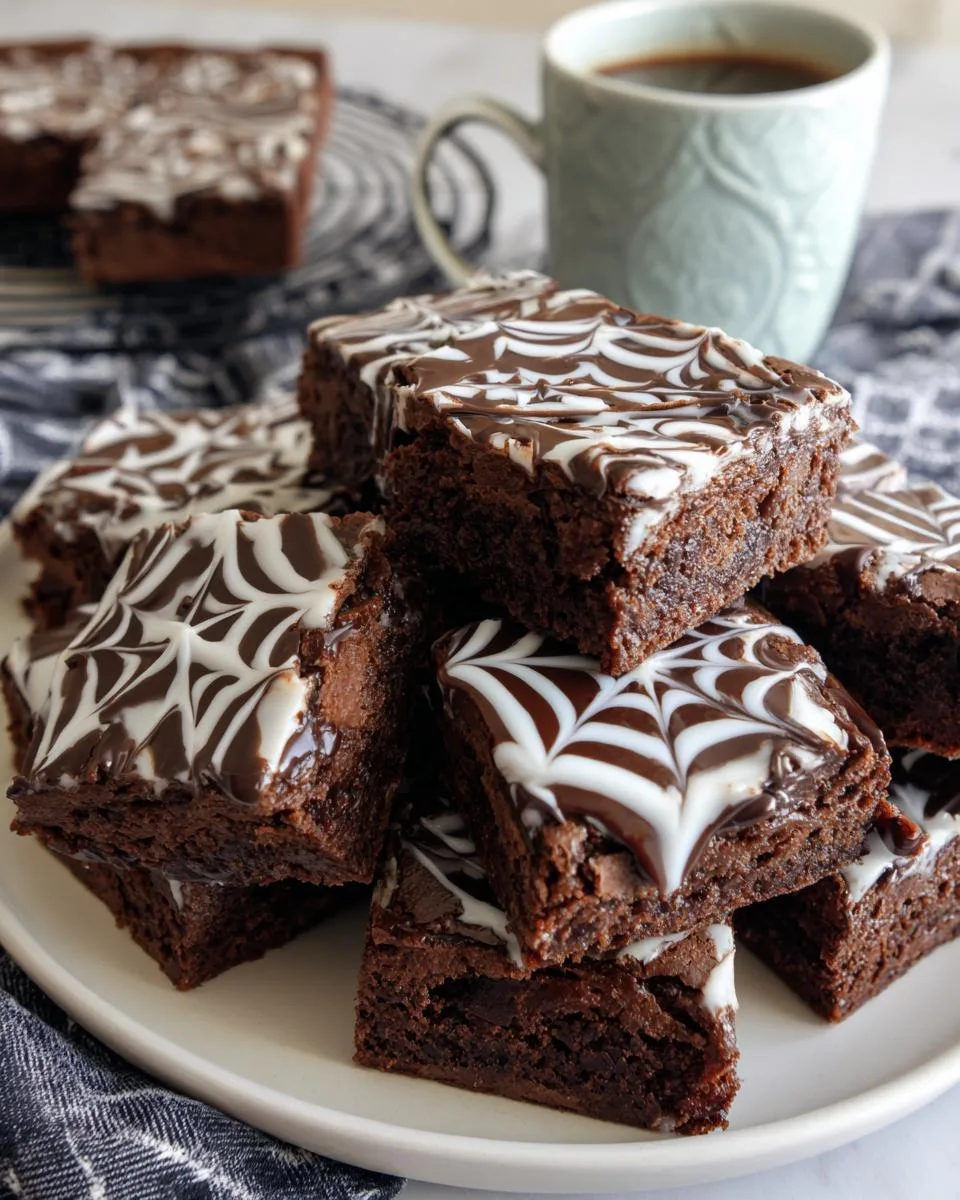
Serving and Storage Suggestions
These spiderweb brownies taste best chilled – that ganache gets extra fudgy when cold! Store leftovers (if you have any!) in an airtight container in the fridge for up to 5 days. Pro tip: Layer parchment between brownies if stacking to keep those gorgeous webs intact. They’re perfect packed in lunchboxes or served as a spooky after-dinner treat!
Spiderweb Brownies Nutritional Information
Now, I’m no nutritionist, but here’s the scoop on what’s in these delicious spiderweb brownies (per serving, based on my recipe). Remember—nutrition will vary if you tweak ingredients! Each fudgy square comes in around 220 calories with 12g fat (8g saturated), 25g carbs (2g fiber, 18g sugar), and 3g protein. They’ve got a bit of sodium (45mg) from the salt and 40mg cholesterol from the eggs. Not exactly health food, but hey—it’s dessert! For lower sugar, try cutting back slightly or using sugar alternatives (just know texture may change).
Frequently Asked Questions
Can I use milk chocolate instead of semi-sweet for the ganache?
Absolutely! The ganache will be sweeter, but still delicious. Just know milk chocolate sets softer than semi-sweet, so your spiderweb brownies might need extra chill time before serving. I sometimes do half milk, half semi-sweet for the perfect balance.
Help—my ganache is runny! How do I fix it?
Don’t panic! Pop it in the fridge for 15 minutes to thicken. If still too thin, whisk in more melted chocolate 1 tablespoon at a time. For future batches, use a 2:1 chocolate-to-cream ratio for thicker ganache that holds those spiderweb lines beautifully.
Can I make spiderweb brownies ahead of time?
You bet! Bake the brownies 1-2 days early (store at room temp), then add ganache and web design the day of serving. The unfrosted brownies actually taste better the next day as flavors deepen!
Why did my white chocolate web crack when I dragged it?
This happens if the ganache was too warm or the white chocolate too cool. Aim for both to be at room temp—the ganache should be spreadable but not hot, and the white chocolate should flow smoothly but not be piping hot. A few practice lines on parchment first helps!
Can kids help decorate these spiderweb brownies?
Oh my gosh, yes! My littles LOVE piping the white chocolate circles (I put the bag in a cup to fill it). The toothpick drag is simple enough for little hands—just supervise near the hot ganache. Messy fingers = happy memories!
Share Your Spiderweb Brownies!
I’d love to see your creepy-cute creations! Tag me @FrostyRecipes on Facebook so I can cheer on your spiderweb masterpieces—nothing makes me happier than seeing your baking adventures!