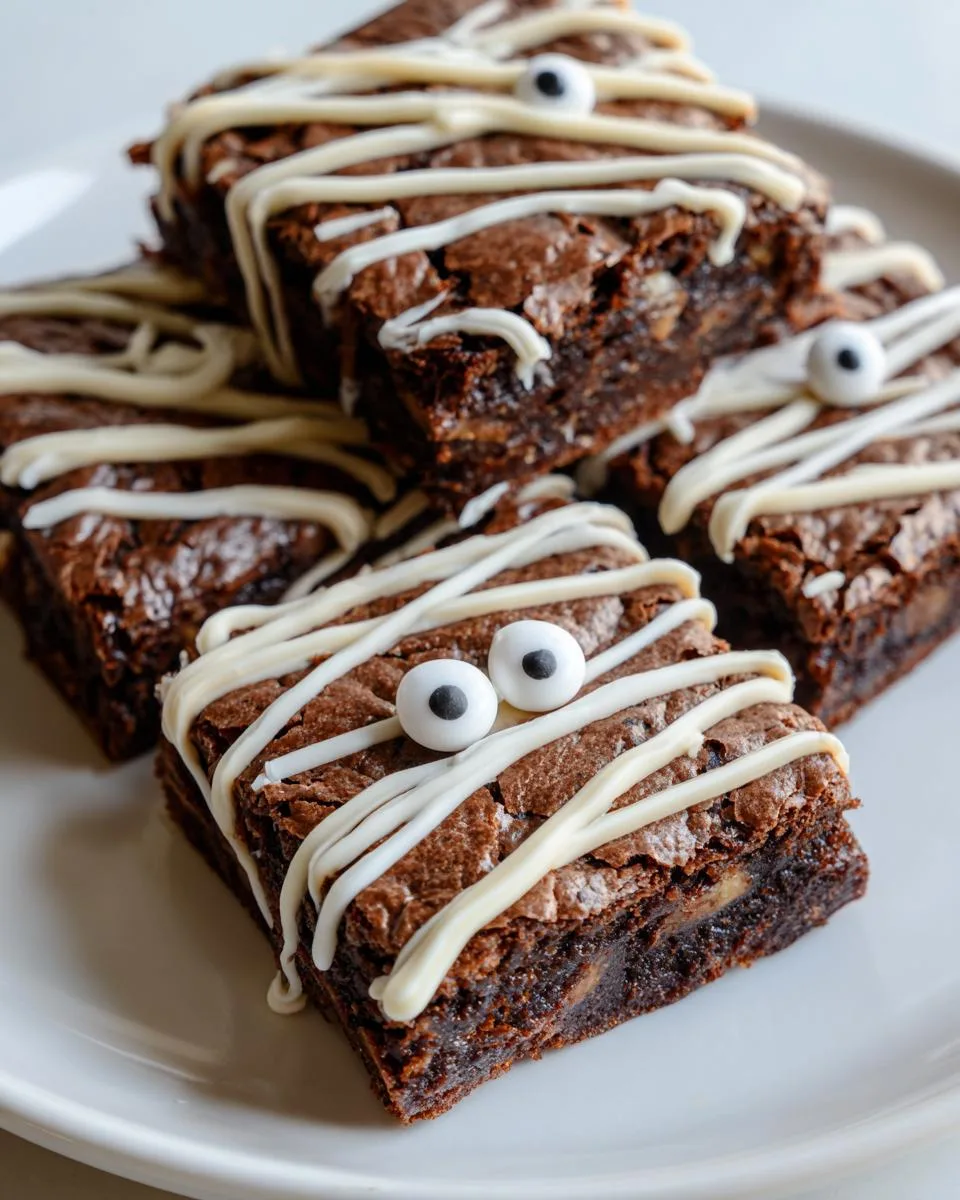
Halloween in our house isn’t just about costumes and candy—it’s about baking up a storm with my kids. Every year, our kitchen turns into a spooky lab where flour flies, chocolate melts, and laughter echoes. But nothing gets my little monsters more excited than when we make these Spooky Mummy Brownies. They’re the perfect blend of fudgy brownie goodness and playful Halloween fun, with candy eyes peeking through swirls of white chocolate “bandages.”
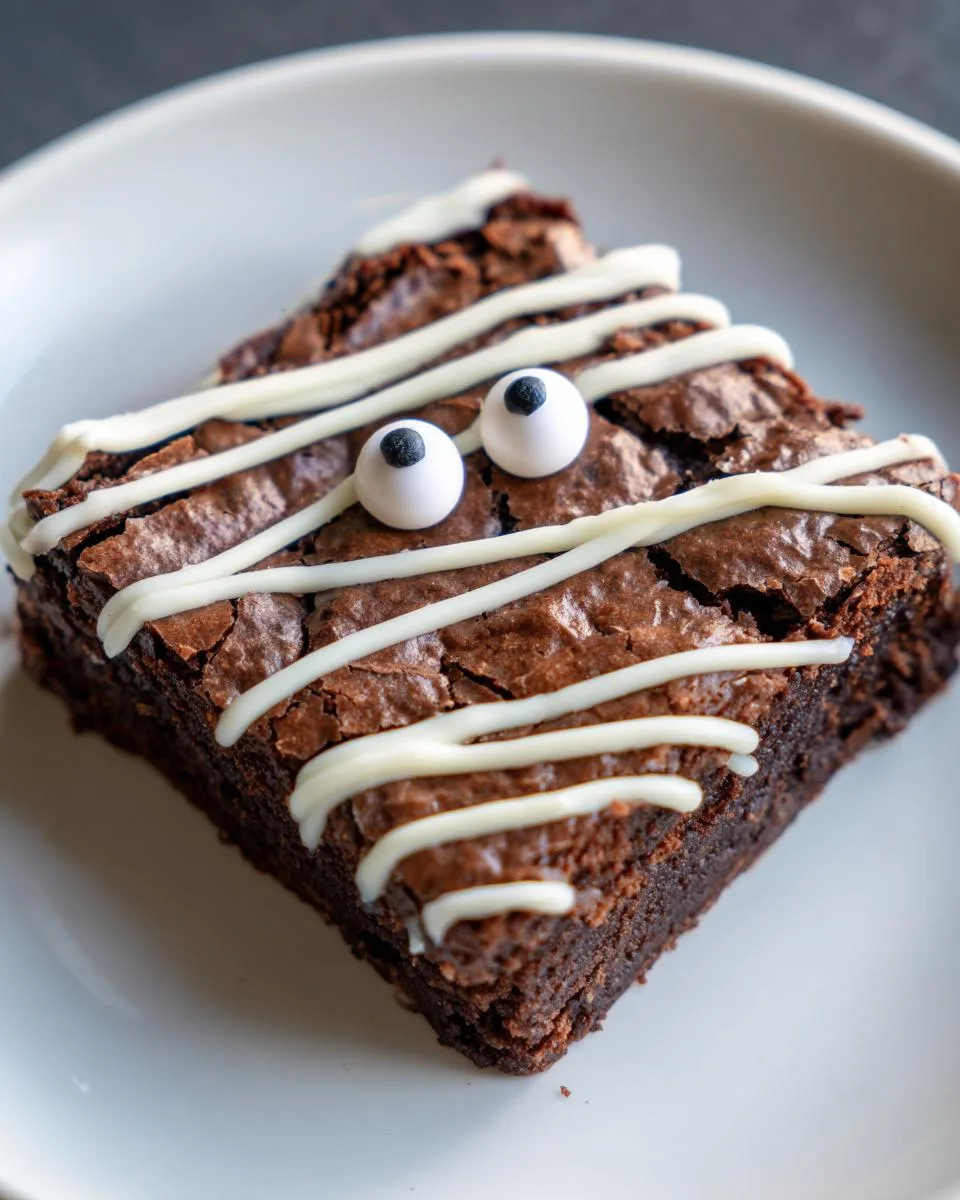
Table of Contents
Table of Contents
I first tried this recipe when my daughter begged for a “not-too-scary” treat for her school party. After three test batches (okay, maybe four—quality control is important!), we nailed the perfect balance. The trick? Using rich Dutch process cocoa for depth, and letting the brownies cool completely before drizzling—otherwise, those mummy wrappings turn into a melty mess. Trust me, I learned that the hard way!
Now, these brownies are our must-make Halloween tradition. Whether you’re a parent wrangling sugar-hyped kids or just young at heart, there’s something magical about watching those candy eyes stare back at you from beneath zigzagging chocolate. And the best part? They’re so easy, even little hands can help decorate (though you might need to supervise the white chocolate—no one wants a mummy with bandages everywhere).
Ingredients for Spooky Mummy Brownies
Gathering the right ingredients is half the battle when making these adorable mummy treats. I’ve learned through trial and error (mostly error!) that precision matters—especially with the chocolate and cocoa. Here’s everything you’ll need, grouped so you can tackle this recipe like a pro:
Wet Ingredients
- ½ cup (1 stick) butter – Melted until just liquid but not bubbling hot (30 seconds in the microwave usually does it)
- ¼ cup semisweet chocolate chips – The mini ones melt faster if you’re in a hurry
- 2 large eggs – Straight from the fridge is fine—they’ll mix better into warm batter
- 2 teaspoons vanilla extract – The good stuff makes all the difference
Dry Ingredients
- ¾ cup (94g) all-purpose flour – Spoon and level it, don’t scoop!
- ½ cup (100g) granulated sugar
- ½ cup (100g) packed brown sugar – Press it firmly into your measuring cup
- ⅓ cup (33g) Dutch process cocoa powder – This gives that deep, rich chocolate flavor
- ¼ teaspoon salt – Just a pinch to balance the sweetness
Spooky Decorations
- 32 candy eyes – The googly kind make the best mummies
- 1 cup white chocolate chips – Or candy melts if you want brighter “bandages”
Pro tip: Measure everything before you start—once those chocolate chips melt, you’ll want to move fast!
How to Make Spooky Mummy Brownies
Making these adorable Halloween treats is easier than you think, but there are a few tricks to get that perfect fudgy texture and those mummy bandages just right. Follow these steps, and you’ll have brownies that taste amazing and look spook-tacular!
Step 1: Melt Chocolate and Butter
First things first—let’s get that chocolatey goodness going! Combine your butter and chocolate chips in a microwave-safe bowl. I zap mine for 30 seconds, then stir like crazy. If there are still some stubborn chocolate chunks, I’ll do another 15-20 seconds—but no more! Overheating makes the chocolate seize up, and nobody wants that. The mixture should be smooth and glossy, like a chocolate lava pool (yum!). Let it cool for just a minute before adding eggs—we don’t want scrambled eggs in our brownies!
Step 2: Combine Dry Ingredients
While your butter-chocolate mix cools slightly, whisk together all the dry ingredients in a separate bowl. I mean really whisk—those cocoa powder lumps can be sneaky! The key here is to get everything evenly distributed so you don’t end up with pockets of flour or cocoa. My kids love helping with this part (though I usually have to clean up the cocoa dust clouds afterwards). Pro tip: If your brown sugar has hardened, pop it in the microwave with a damp paper towel for 10 seconds to soften it up.
Step 3: Mix Wet and Dry Ingredients
Now for the magic! Pour your dry ingredients into the chocolate mixture and stir just until combined—I count to 30 stirs max. Overmixing is the enemy of fudgy Spooky Mummy Brownies! The batter will be thick and gorgeous, like dark chocolate frosting. If it seems too thick, don’t panic—that’s exactly what we want. Pour it into your prepared pan (parchment paper is a lifesaver here) and smooth the top with a spatula. I let my kids “taste test” the spatula—it’s our little tradition!
Step 4: Bake and Cool Brownies
Into the oven they go at 350°F! Set your timer for 25 minutes, then start checking. The toothpick test is your best friend—insert it near the center; it should come out with moist crumbs, not wet batter. These brownies continue cooking as they cool, so don’t overbake them! Once out of the oven, let them cool in the pan for 5 minutes, then lift them out using the parchment paper. This is the hardest part—you MUST let them cool completely (about 30 minutes) before decorating. I learned this the hard way when my first attempt turned into a mummy massacre!
Step 5: Decorate Like Mummies
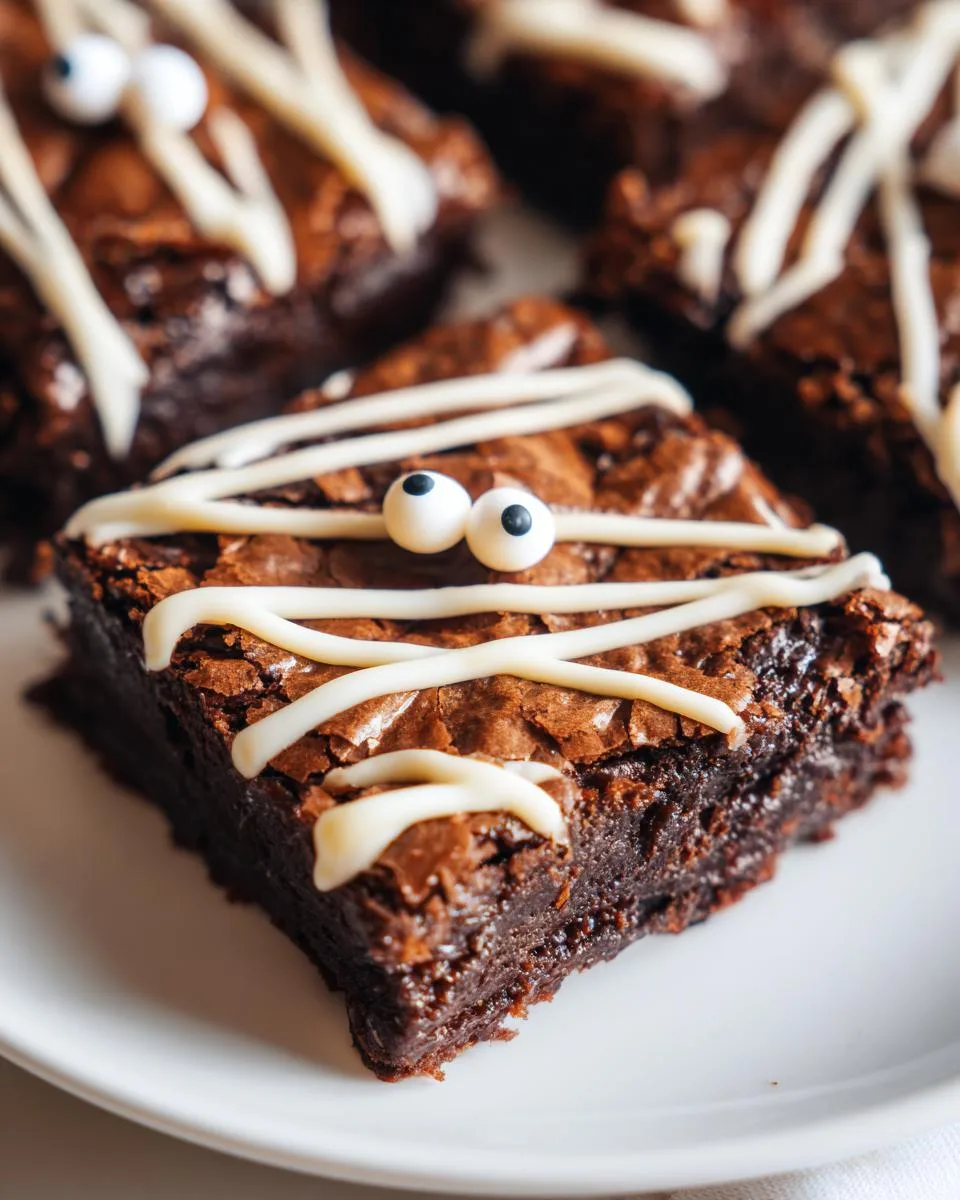
The fun part! Melt your white chocolate in 30-second bursts, stirring between each. Transfer it to a zip-top bag, snip a tiny corner (think pin-sized!), and start drizzling. First, place two candy eyes on each brownie—slightly off-center looks extra spooky. Then zigzag your chocolate “bandages” across, making sure to touch the eyes so they stay put. Don’t stress about perfection—wonky bandages make the mummies look more authentic! Let the chocolate set for 10 minutes before serving. Watch how fast these Spooky Mummy Brownies disappear—they’re almost as fun to eat as they are to make!
Print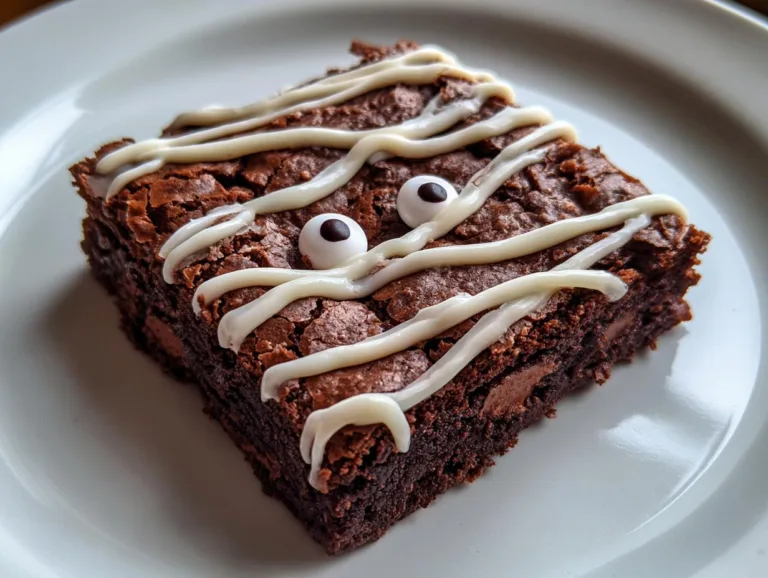
Spooky Mummy Brownies: A Must-Make 4-Step Halloween Treat
Spooky Mummy Brownies are a fun and delicious Halloween treat. These brownies are topped with candy eyes and drizzled with white chocolate to create a mummy effect.
- Total Time: 50 minutes
- Yield: 16 brownies 1x
Ingredients
- ½ Cup Butter
- ¼ Cup Chocolate Chips – Semisweet
- 2 teaspoons Vanilla Extract
- 2 eggs – large
- ¾ Cup Flour – 94g
- ½ Cup Sugar – 100g
- ½ Cup Brown Sugar – 100g
- ⅓ Cup Dutch Process Cocoa – 33g
- ¼ teaspoon Salt
- 32 Candy Eyes
- 1 cup White Chocolate Chips – or Candy Wafers
Instructions
- In a large mixing bowl, melt butter and chocolate chips in the microwave for 30 seconds. Stir and melt for 30 seconds more. Stir until butter is fully melted.
- In a smaller bowl, combine flour, brown sugar, white sugar, cocoa powder, and salt. Mix to combine.
- Mix eggs and vanilla into the butter and chocolate mixture until thoroughly combined.
- Hand stir dry ingredients into wet ingredients until fully combined.
- Bake in a 9×9-inch baking pan lined with parchment paper or sprayed with cooking spray at 350°F for 30-35 minutes or until a toothpick inserted in the center comes out clean.
- Allow to cool in the pan for 5 minutes before lifting brownies out using parchment paper. Cool fully for 30 minutes before slicing.
- Slice cooled brownies into 16 pieces (4 rows by 4 rows) and place on a cooling rack.
- In a small bowl, melt white chocolate chips in the microwave in 30-second intervals, stirring in between until smooth. Do not overcook or the chocolate will burn.
- Place melted chocolate into a sandwich zip-loc bag and snip a small piece off the corner to drizzle chocolate.
- Place 2 candy eyes on each brownie piece.
- Drizzle chocolate starting at the top of the brownie across to the other side and then back, making sure to touch the chocolate on the eyes to help secure them in place.
- Repeat the back-and-forth drizzle down the brownie to create a mummy look.
- Allow chocolate to cool for 10-15 minutes before storing brownies.
Notes
- Use Dutch process cocoa for a richer chocolate flavor.
- Make sure the brownies are fully cooled before drizzling with chocolate.
- Store brownies in an airtight container at room temperature.
- Prep Time: 15 minutes
- Cook Time: 35 minutes
- Category: Dessert
- Method: Baking
- Cuisine: American
- Diet: Vegetarian
Nutrition
- Serving Size: 1 brownie
- Calories: 180
- Sugar: 15g
- Sodium: 70mg
- Fat: 8g
- Saturated Fat: 5g
- Unsaturated Fat: 2g
- Trans Fat: 0g
- Carbohydrates: 25g
- Fiber: 1g
- Protein: 2g
- Cholesterol: 35mg
Tips for Perfect Spooky Mummy Brownies
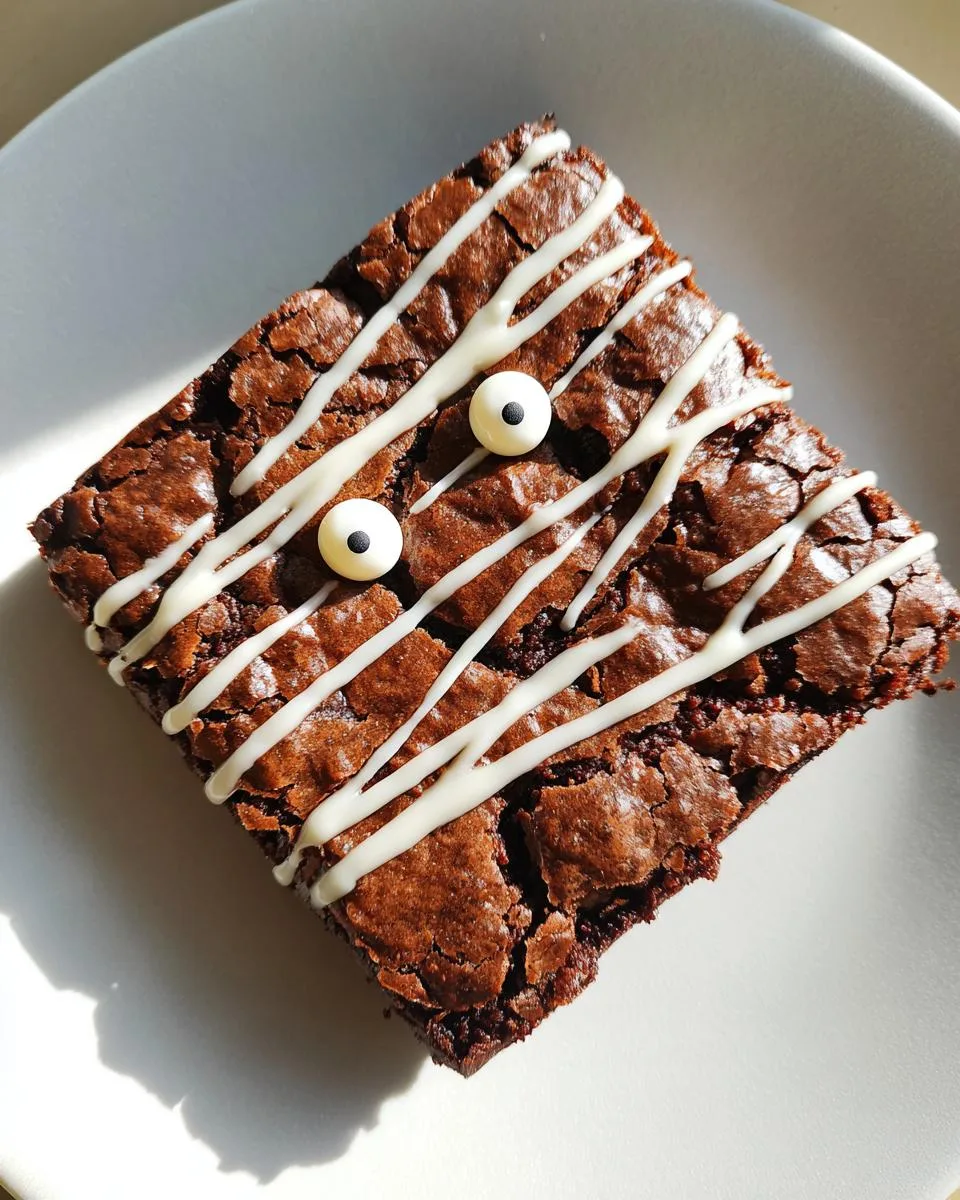
After making more mummy brownies than I can count (and eating my fair share of “failed” batches), I’ve learned a few secrets to make yours turn out just right. First—don’t skip the Dutch process cocoa! Regular cocoa will work, but the Dutch-processed kind gives that deep, rich chocolate flavor that makes these brownies truly special. It’s worth hunting down at your grocery store.
Patience is key when it comes to cooling. I know it’s tempting to dive right in, but decorating warm brownies is a recipe for disaster—your white chocolate will melt right off, and those cute candy eyes might slide right off their mummy faces. Wait until they’re completely cool to the touch, about 30 minutes.
For storage, keep them in an airtight container at room temperature. They’ll stay fresh for 3-4 days—if they last that long! The white chocolate might lose some of its crispness after a day, so if you’re making these for a party, I’d recommend decorating them the same day.
Spooky Mummy Brownies Variations
Want to mix things up? These Spooky Mummy Brownies are like a blank (chocolate) canvas for creativity! For a holiday twist, try adding ¼ teaspoon peppermint extract to the batter—suddenly, you’ve got “Frosty the Snow Mummy” brownies that taste like Christmas and Halloween had a delicious baby. I once made these for a Halloween-Christmas party (yes, that’s a thing in our weird friend group), and they were gone in minutes!
Feeling extra festive? Swirl in a few drops of orange food coloring with your white chocolate drizzle for pumpkin-spiced mummies. Or go nuts—swap the candy eyes for Halloween sprinkles, or use dark chocolate drizzle instead of white for a “dirtier” mummy look. The best part? No matter how you tweak them, they’re still that same fudgy, chocolatey base we all love—just with a little extra personality!
Nutritional Information
Each Spooky Mummy Brownie (of 16) packs about 180 calories with that perfect balance of chocolatey goodness and just-enough sweetness. You’re looking at 15g sugar, 8g fat (mostly from all that delicious butter and chocolate), and a satisfying 2g protein per piece. Estimates vary based on ingredients—like if you go heavy on the white chocolate drizzle (no judgment, we’ve all been there!). These treats are vegetarian-friendly and portioned just right for sharing… or not!
FAQs About Spooky Mummy Brownies
Can I use milk chocolate chips instead of semisweet?
Absolutely! Milk chocolate will make your Spooky Mummy Brownies sweeter and creamier—my kids actually prefer it this way. Just keep an eye on melting time since milk chocolate burns faster. You might want to reduce the sugar slightly if you go this route (maybe ¼ cup instead of ½ cup).
How long do these Halloween brownies stay fresh?
They’ll keep for 3-4 days in an airtight container at room temperature. The white chocolate “bandages” might soften after day two, but they’ll still taste amazing. Pro tip: Layer them with parchment paper so the decorations don’t stick together!
Can I freeze the mummy brownies?
You bet! Freeze them undecorated for up to 3 months—thaw overnight before adding the eyes and white chocolate. Decorated brownies can be frozen too, but the candy eyes might get foggy. I always make an extra batch to freeze because Halloween sneaks up faster than a mummy in the night!
Show Us Your Spooky Mummy Brownies!
Did you make these adorable Halloween treats? I’d love to see your creations! Snap a pic and tag me @FrostyRecipes—nothing makes me happier than seeing your kitchen adventures. Bonus points if your little monsters helped decorate (or “taste test” the batter!). Happy haunting, bakers!
For more baking inspiration, check out our recipes or follow us on Facebook!

