Nothing says Halloween quite like a batch of adorable (and delicious!) Mummy Halloween Brownies staring up at you from the plate. I still remember the first time my kids and I made these – their little faces lit up when we added those googly candy eyes! What I love most about this recipe is how simple it is – rich, fudgy brownies transform into spooky treats with just some melted white chocolate and a steady drizzle hand (or a slightly wobbly one – hey, mummies aren’t perfect!). These have become our must-make Halloween tradition, and I can’t wait for you to try them with your family too.
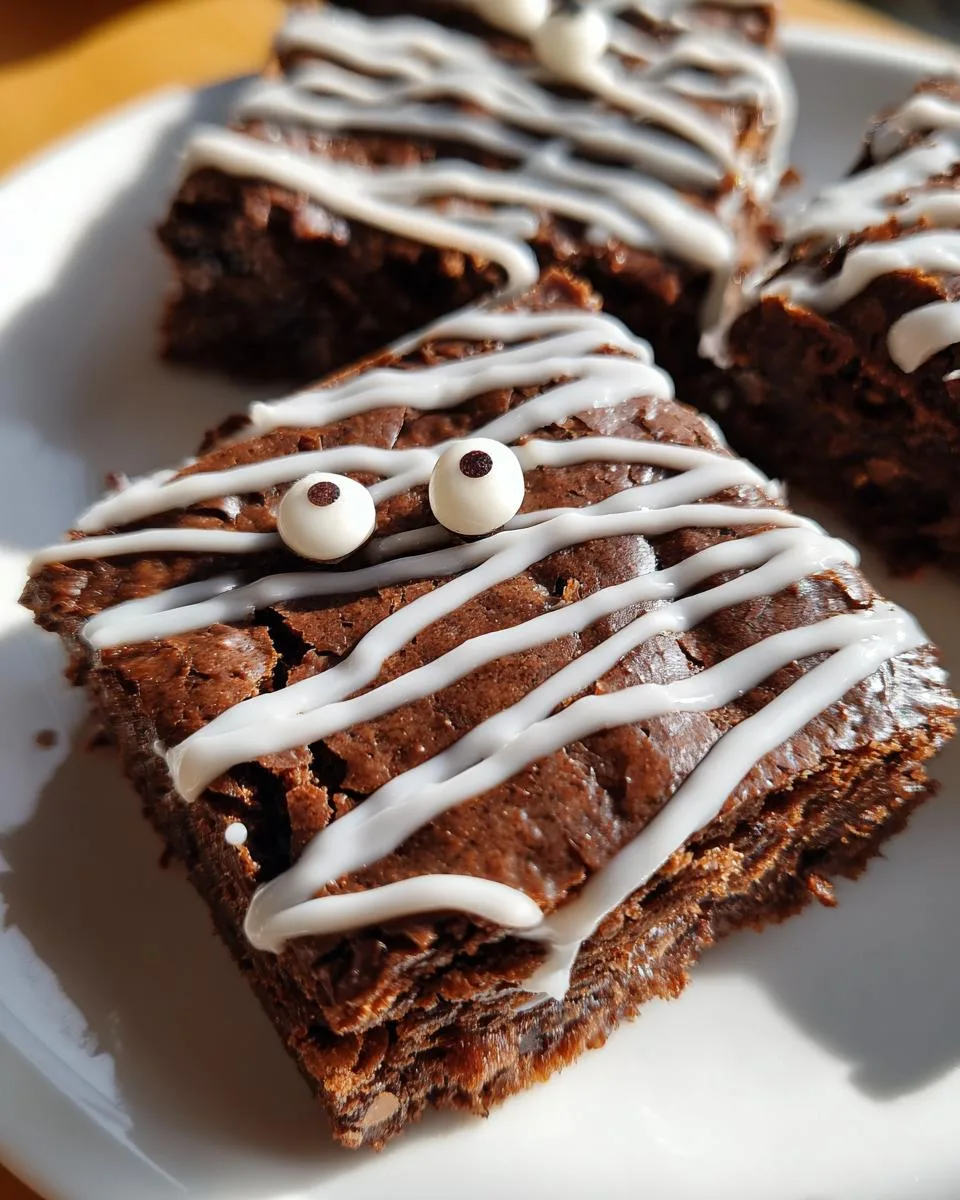
Table of Contents
Table of Contents
Ingredients for Mummy Halloween Brownies
Gathering your ingredients is the first step to mummy magic! Here’s what you’ll need to make these adorable (and delicious) Halloween treats. I’ve learned through trial and error that having everything measured and ready makes the whole process smoother – especially when little hands want to help!
Key Ingredients
The secret to these brownies’ rich flavor starts with Dutch process cocoa – it’s less acidic than natural cocoa and gives that deep, chocolatey taste we all love. Don’t skip the brown sugar either – its molasses content adds moisture and chewiness that makes these brownies irresistible. And those candy eyes? They’re not just cute – they’re the whole personality of our mummies!
Ingredient Substitutions
No white chocolate chips? No problem! Candy wafers work beautifully for the mummy wrappings and often melt smoother. If you’re out of semisweet chocolate chips, bittersweet will do in a pinch (just know your brownies will be slightly less sweet). And while we love the classic version, you could swap the candy eyes for small dollops of icing if needed – though I’ll admit, the googly eyes make me smile every time!
- ½ Cup Butter
- ¼ Cup Chocolate Chips – Semisweet
- 2 teaspoons Vanilla Extract
- 2 eggs – large
- ¾ Cup Flour – 94g
- ½ Cup Sugar – 100g
- ½ Cup Brown Sugar – 100g
- ⅓ Cup Dutch Process Cocoa – 33g
- ¼ teaspoon Salt
- 32 Candy Eyes
- 1 cup White Chocolate Chips – or Candy Wafers
How to Make Mummy Halloween Brownies
Now for the fun part – turning ordinary brownie batter into adorable mummy treats! I’ve made these so many times with my kids that I could probably do it in my sleep (though I don’t recommend that – hot chocolate is involved!). The secret is taking your time with each step – especially the decorating. Trust me, rushing leads to mummies that look more like they’ve been in a sandstorm than a cozy sarcophagus!
Preparing the Brownie Batter
First, let’s make those rich, fudgy brownies that’ll be our mummy’s “body.” Melt your butter and chocolate chips together – I do 30-second bursts in the microwave, stirring between each. You want it smooth but not scorching hot (learned that the hard way when I splashed some on my finger – ouch!). While that cools slightly, whisk together all your dry ingredients. This is where my kids love to help – they think sifting flour is like making it snow in the kitchen!
When the chocolate mixture is warm but not hot, stir in the eggs and vanilla. Then gently fold in your dry ingredients just until combined – overmixing makes tough brownies, and nobody wants a tough mummy! Pour into your prepared pan (parchment paper is my lifesaver here) and bake until the edges pull away slightly from the sides. A toothpick should come out with moist crumbs, not wet batter – remember, they’ll keep cooking a bit as they cool.
Decorating the Mummy Brownies
Here’s where the magic happens! Let those brownies cool completely – I know it’s hard to wait, but warm brownies will make your chocolate drizzle melt right in. While you wait, melt your white chocolate chips (again, 30-second intervals are your friend) until smooth. Transfer it to a zip-top bag and snip a tiny corner – think “thin drizzle,” not “waterfall.”
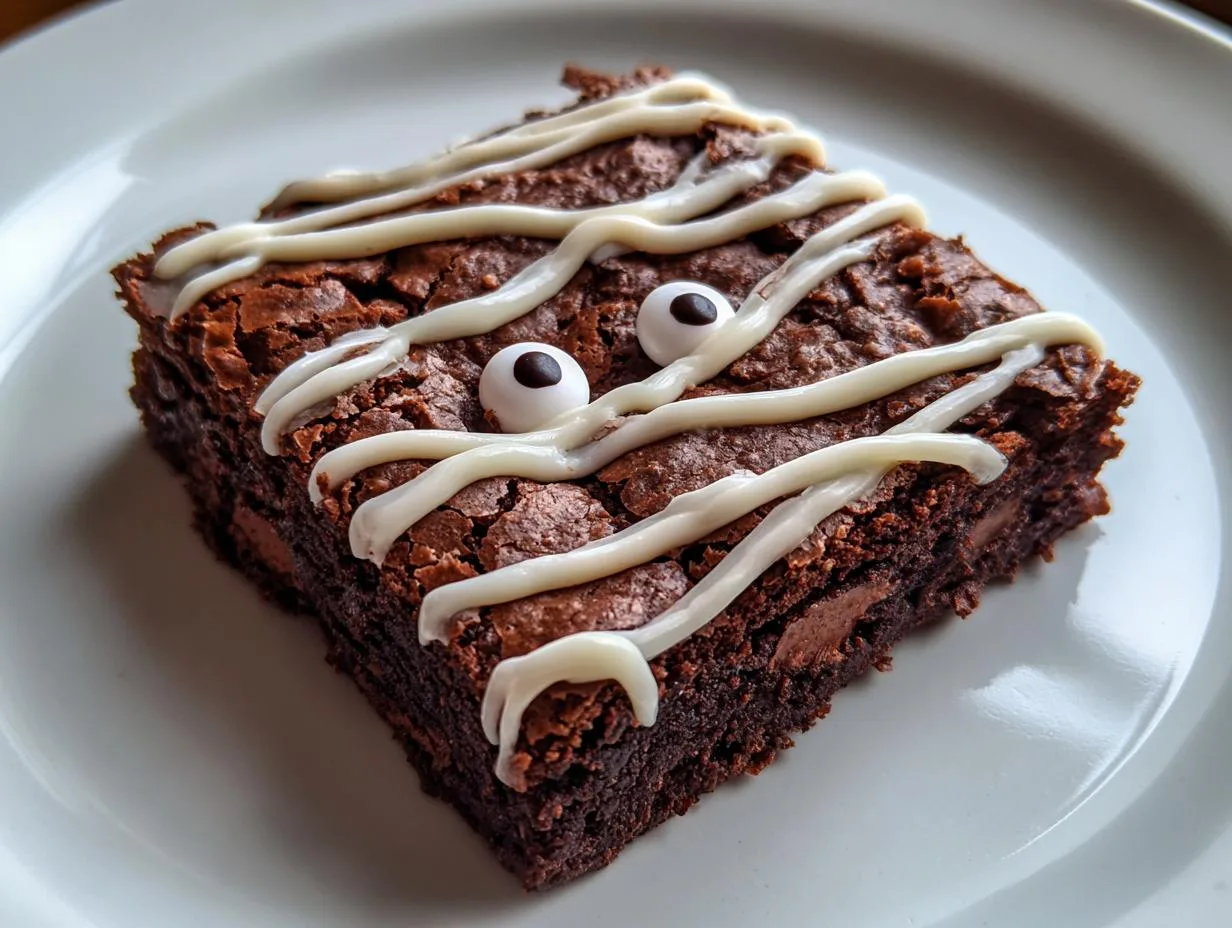
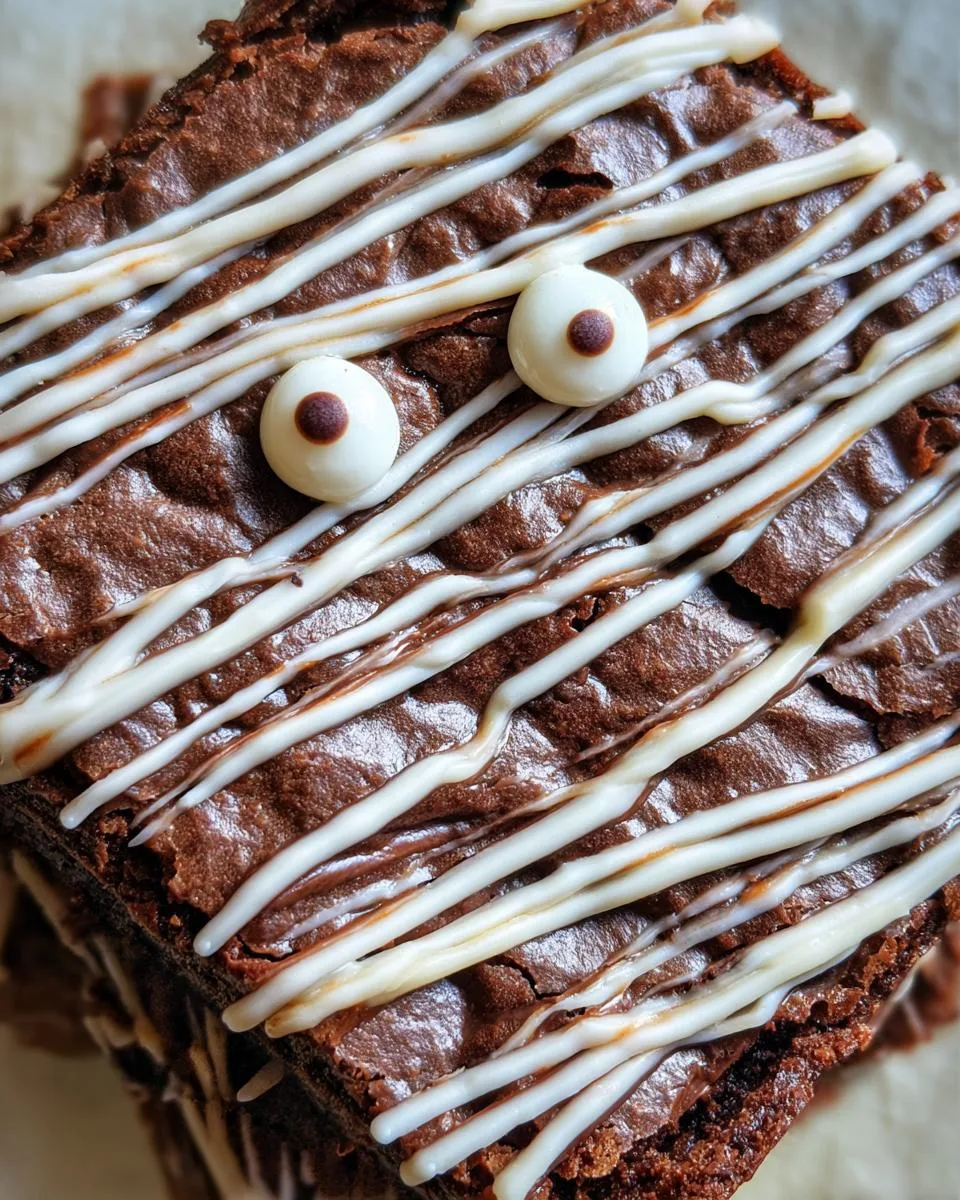
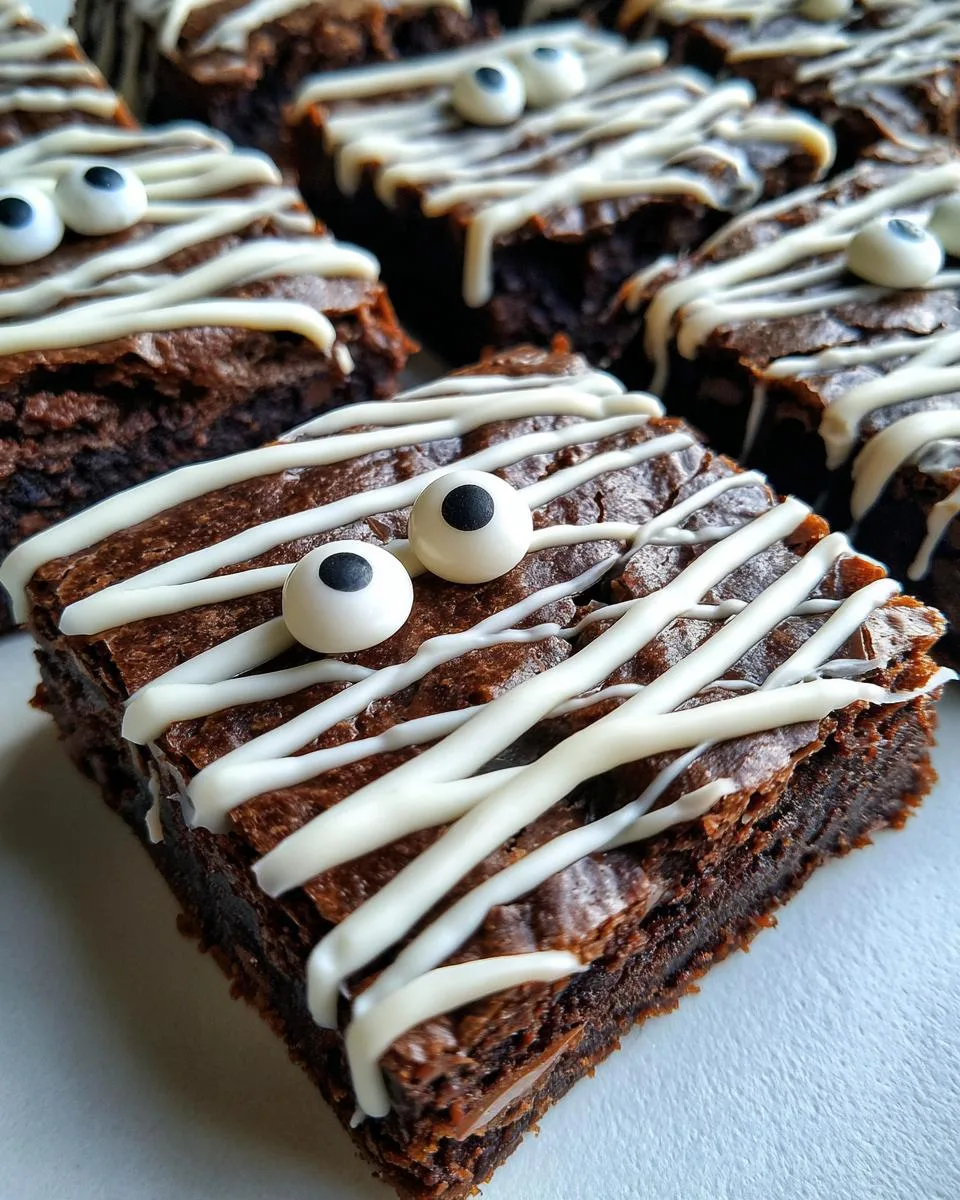
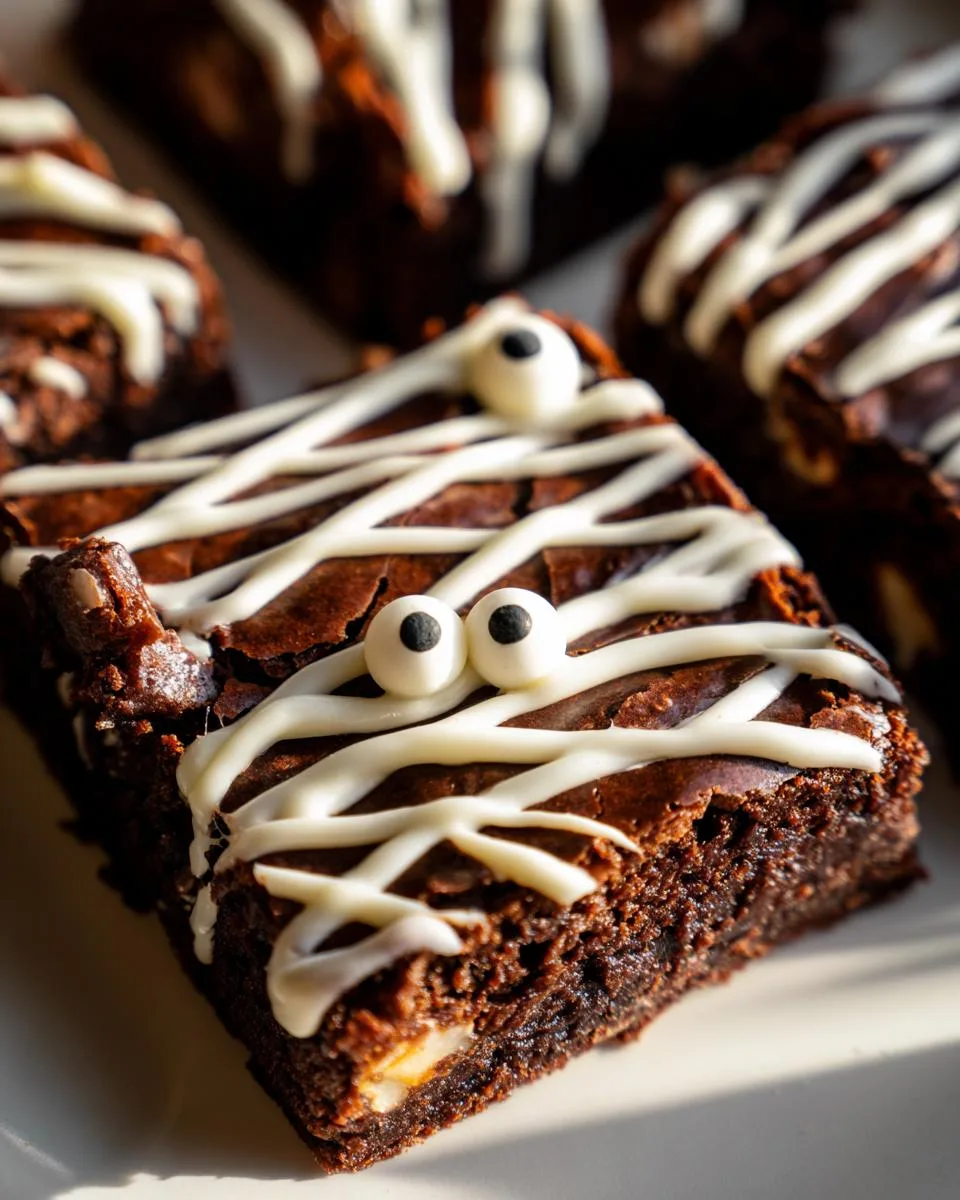
Now the fun part – place two candy eyes on each brownie square, then zigzag your white chocolate back and forth to create those perfect mummy bandages. Pro tip: touch some chocolate to the backs of the eyes to glue them down first – nothing sadder than a mummy losing its eyes! Let the chocolate set for about 15 minutes before serving. Watch how fast these disappear at your Halloween party – they’re almost too cute to eat!
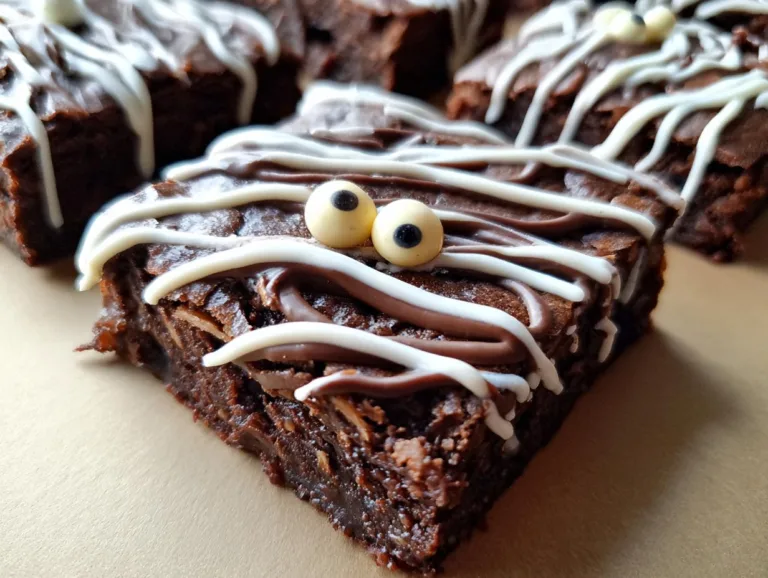
Spooky Mummy Halloween Brownies
Delicious Halloween-themed brownies decorated to look like mummies, perfect for spooky season treats. Easy to make with simple ingredients and fun for kids to decorate.
- Total Time: 50 minutes
- Yield: 16 brownies 1x
Ingredients
- ½ Cup Butter
- ¼ Cup Chocolate Chips – Semisweet
- 2 teaspoons Vanilla Extract
- 2 eggs – large
- ¾ Cup Flour – 94g
- ½ Cup Sugar – 100g
- ½ Cup Brown Sugar – 100g
- ⅓ Cup Dutch Process Cocoa – 33g
- ¼ teaspoon Salt
- 32 Candy Eyes
- 1 cup White Chocolate Chips – or Candy Wafers
Instructions
- In a large mixing bowl melt butter and chocolate chips in microwave for 30 seconds. Stir and melt for 30 seconds more. Stir until butter is fully melted.
- In a smaller bowl combine flour, brown sugar, white sugar, cocoa powder and salt. Mix to combine.
- Mix eggs and vanilla to butter and chocolate mixture until thoroughly combined.
- Hand stir dry ingredients into wet ingredients until fully combined.
- Bake in a 9x9in baking pan lined with parchment paper or spray with cooking spray.
- Bake at 350F Degrees for 30-35 minutes or until toothpick in center comes out clean.
- Allow to cool in pan for 5 mins before lifting brownies out using parchment paper and allow to fully cool for 30 minutes before slicing.
- Slice cooled brownies into 16 pieces. 4 rows by 4 rows and place on cooling rack.
- In a small bowl melt white chocolate chips in microwave in 30 second intervals stirring in between until smooth. Do not over cook or chocolate will burn.
- Place melted chocolate into a sandwich zip-loc bag and snip a small piece off the corner to drizzle chocolate.
- Place 2 eyeballs on each brownie piece.
- Drizzle chocolate starting at the top of the brownie across to the other side and then back making sure to touch chocolate with eyes to help secure in place and continue below eyes making sure to touch chocolate on eyes.
- Repeat the back and forth drizzle down the brownie to create a mummy look.
- Allow chocolate to cool for 10-15 minutes before storing brownies.
Notes
- Use parchment paper for easy removal.
- Cool brownies completely before decorating.
- Store in an airtight container.
- Prep Time: 15 minutes
- Cook Time: 35 minutes
- Category: Dessert
- Method: Baking
- Cuisine: American
- Diet: Vegetarian
Nutrition
- Serving Size: 1 brownie
- Calories: 180
- Sugar: 15g
- Sodium: 80mg
- Fat: 8g
- Saturated Fat: 5g
- Unsaturated Fat: 2g
- Trans Fat: 0g
- Carbohydrates: 25g
- Fiber: 1g
- Protein: 2g
- Cholesterol: 35mg
Tips for Perfect Mummy Halloween Brownies
After making these adorable treats more times than I can count (and yes, burning a batch or two along the way!), I’ve picked up some tricks that’ll guarantee mummy perfection every time. First – parchment paper is your best friend – it makes removing those brownies so much easier, and you won’t lose any precious edges to sticking. Second, watch that bake time like a hawk! Overbaked brownies turn crumbly, and nobody wants a mummy that falls apart. Pull them out when they’re just set – they’ll firm up as they cool.
When decorating, keep your white chocolate warm by placing the bag in a bowl of warm water between uses – cold chocolate makes lumpy bandages. And if your drizzle isn’t perfect? Hey, mummies are ancient – their wrappings should look a little messy! The most important tip? Have fun with it – these are supposed to be silly and delicious, not perfect.
Storing and Serving Mummy Halloween Brownies
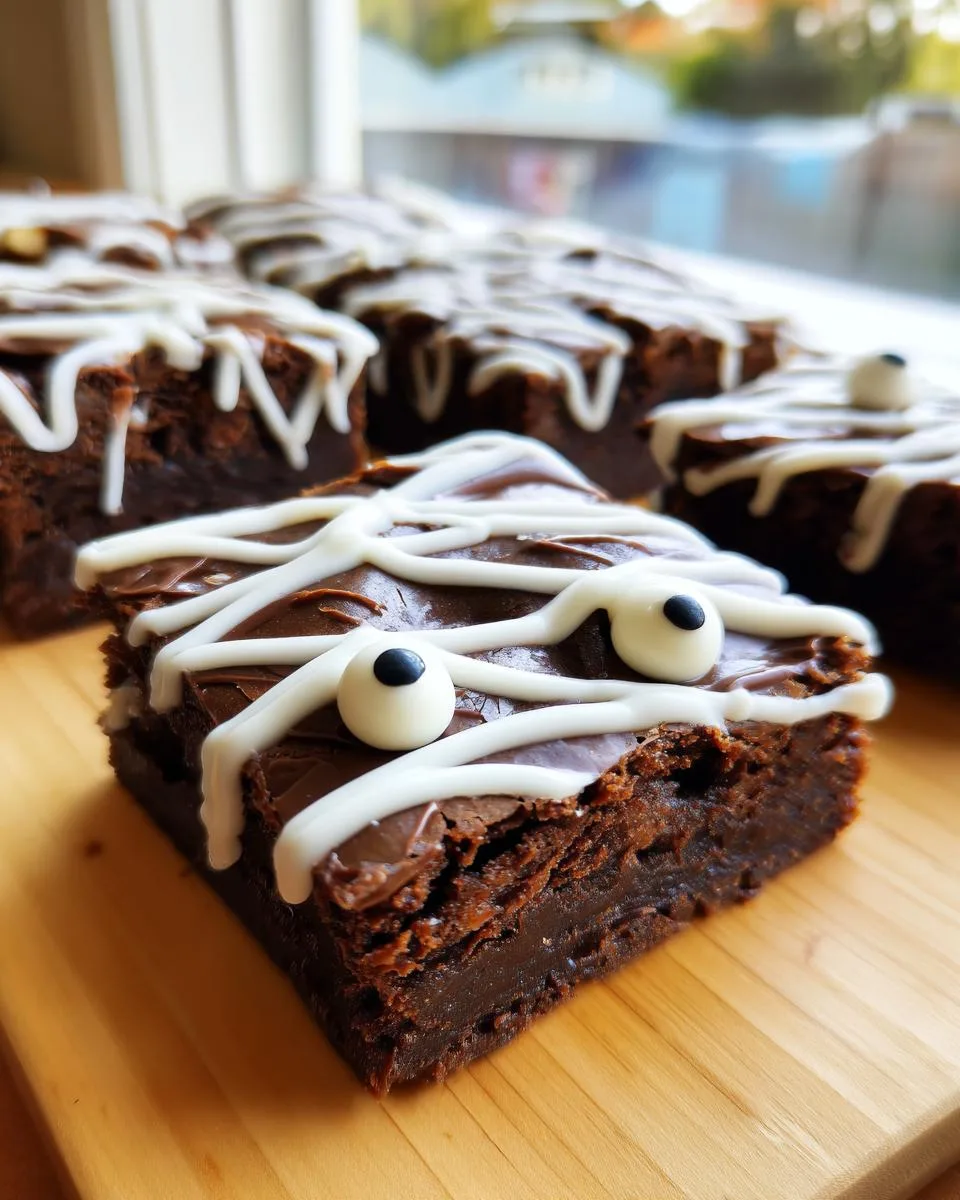
These little mummies keep surprisingly well – just store them in an airtight container at room temperature for up to 3 days (if they last that long!). For parties, I love arranging them on a spooky platter with some extra candy eyes scattered around – it always gets laughs and disappears fast!
Nutritional Information for Mummy Halloween Brownies
Each adorable mummy brownie comes in at about 180 calories, with that perfect balance of chocolatey goodness and just-enough sweetness. Here’s the breakdown per brownie: 8g fat (5g saturated), 25g carbs (1g fiber), and 2g protein. Keep in mind these numbers can vary slightly depending on your specific ingredients – especially the type of chocolate you use. I always say these count as “healthy” because they make everyone smile… right?
Frequently Asked Questions
Q1. Can I use milk chocolate instead of semisweet chips?
Absolutely! Milk chocolate will make your mummy brownies sweeter – my kids actually prefer it this way. Just watch your bake time since milk chocolate burns more easily. The white chocolate drizzle still works perfectly for the mummy wrappings!
Q2. How long do these Halloween brownies stay fresh?
Stored properly in an airtight container, they’ll stay delicious for about 3 days. The white chocolate drizzle might lose some shine after day 2, but the flavor stays great. Pro tip: I sometimes make the brownies ahead and add the decorations the day of serving.
Q3. My white chocolate drizzle keeps hardening too fast – help!
Been there! Keep your melted chocolate warm by placing the bag in a bowl of warm water while you work. If it does harden, just microwave the bag for 5-10 seconds to soften it again. And remember – uneven drizzles just make your mummies look more authentic!
Q4. Can I freeze mummy brownies?
You sure can! Freeze them undecorated for up to 2 months. Thaw completely before adding the white chocolate and eyes. The decorations don’t freeze well, so always add those fresh.
Share Your Spooky Creations!
I’d love to see your mummy masterpieces! Snap a photo of your Halloween brownies and tag me – nothing makes me happier than seeing families creating sweet memories together. Got questions or your own decorating tips? Drop them in the comments below. Happy baking, and may your Halloween be deliciously spooky!
For More recipes Follow me on Facebook!