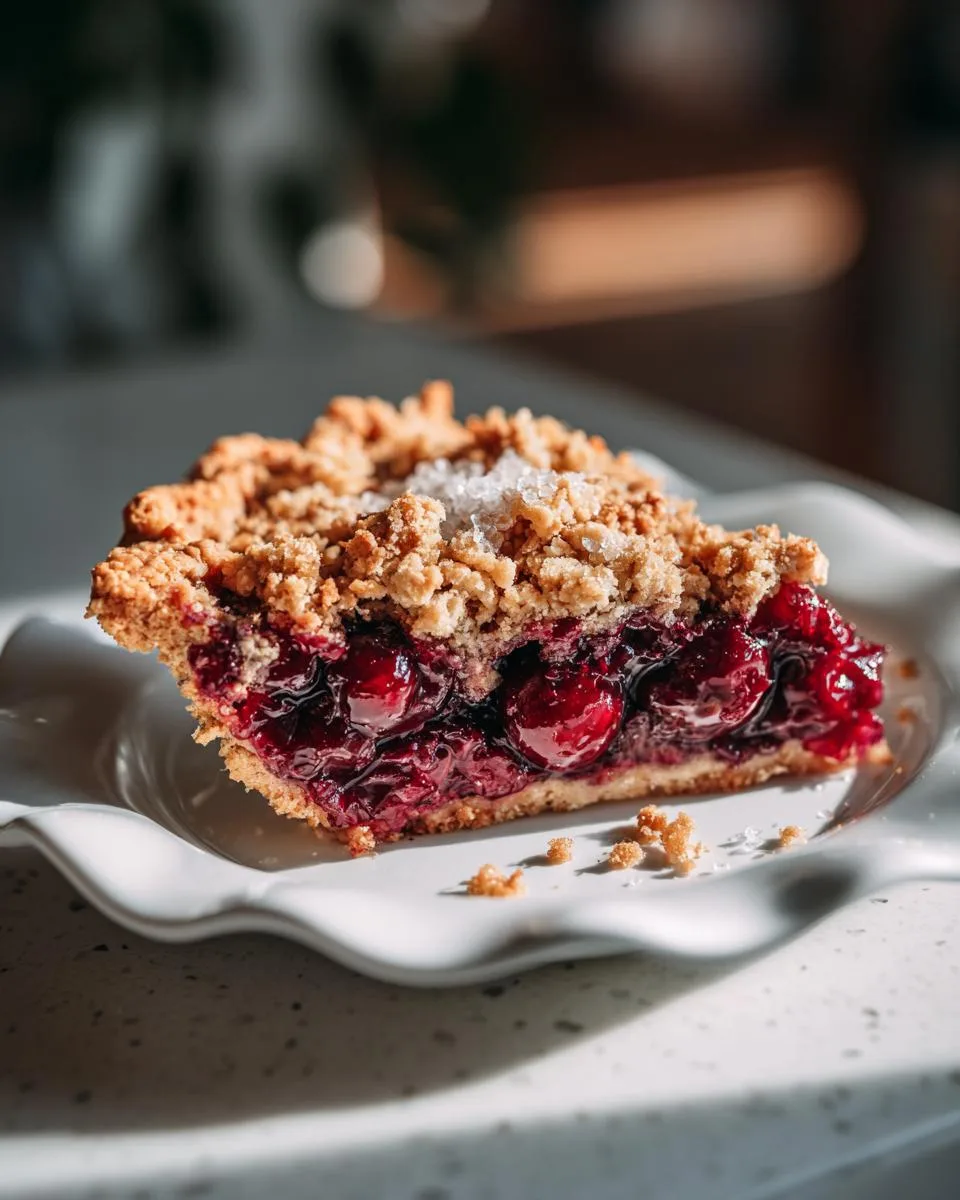
There’s something magical about pulling a bubbling cherry crumble pie from the oven – that sweet, jammy filling peeking through a golden, buttery oat topping gets me every time. This cherry crumble pie recipe has been my go-to dessert for years because it’s ridiculously simple (just 5 ingredients!) yet tastes like you spent all day in the kitchen. I’ll never forget the first time I made it for a family potluck – my aunt actually licked her plate clean and demanded the recipe immediately. Now it’s our signature dessert for summer barbecues and cozy winter nights alike.

What I love most is how the tart cherries play off that crunchy-sweet topping. Unlike fussy pie crusts that can shrink or tear, this oat mixture forgives all my baking mistakes. One bite of this warm cherry crumble with a scoop of vanilla ice cream melting over the top, and you’ll understand why it’s become my most-requested recipe. The best part? It comes together faster than you can preheat your oven!
Table of Contents
Table of Contents
Why You’ll Love This Cherry Crumble Pie Recipe
This isn’t just another dessert—it’s the kind of recipe that makes people beg for seconds (and thirds!). Here’s why it’s my absolute favorite:
- Effortless magic: Five simple ingredients transform into something spectacular with minimal prep
- Texture heaven: That perfect combo of crisp oat topping and luscious cherry filling gets me every time
- Weeknight warrior: Ready in under an hour start-to-finish, even with oven preheating
- Crowd-pleaser: I’ve yet to meet someone who doesn’t go wild for that buttery crumble topping
- No-fail crust: The pressed-in oat mixture means no rolling pins or crust disasters
Trust me—once this beauty comes out of your oven, your kitchen will smell like a cozy bakery and your family will be hovering with spoons ready!
Ingredients for Cherry Crumble Pie Recipe
Here’s the beautiful part—you only need five simple ingredients to make magic happen! But I’ve learned the hard way that quality matters with such a short ingredient list. These aregenuine game-changers:
- ½ cup cold butter – Not softened! Straight from the fridge gives that perfect crumbly texture
- 1 cup packed brown sugar – Press it firmly into your measuring cup for that deep molasses flavor
- 1 cup all-purpose flour – Just regular unbleached works beautifully here
- 1 cup quick oats – Not instant! Quick oats give the ideal crisp-tender bite
- 21-ounce can cherry pie filling – Look for the standard size, or use 2½ cups homemade
See? No obscure ingredients—just pantry staples that come together in the most delicious way. The cold butter trick is my secret weapon for getting that irresistible crisp topping!
How to Make Cherry Crumble Pie
Okay friends, here’s where the magic happens! I’ve made this cherry crumble pie dozens of times, and I’ve learned a few tricks along the way to guarantee perfect results every time. Let’s walk through the steps together – I promise it’s easier than you think!
Step 1: Prepare the Crust
First things first – preheat that oven to 350°F (trust me, starting with a hot oven makes all the difference!). Grab your favorite pie plate – I use a standard 9-inch one – and give it a quick spritz with cooking spray. Now for the fun part! In a big mixing bowl, combine the cold butter (cut into chunks), packed brown sugar, flour and oats. I like to use my hands to really work the butter into the dry ingredients until it looks like wet sand with some pebble-sized bits – those melt into delicious buttery pockets!
Here’s my secret: press HALF of this mixture firmly into your pie plate. I mean really pack it down with your fingers – this creates that perfect sturdy base that won’t get soggy. Don’t worry about making it perfect; rustic is charming!
Step 2: Add the Cherry Filling
Now for the star of the show! Pour your cherry pie filling (whether canned or homemade) over the crust and spread it evenly with a spoon. I leave about a 1/4-inch border around the edges – this prevents bubbling over and makes for prettier slices. Pro tip: if your filling seems too thick straight from the can, give it a quick stir to loosen it up first.
Step 3: Top and Bake
Take the remaining oat mixture and sprinkle it evenly over the cherries – no need to press this time! Those crumbles will toast up beautifully in the oven. Slide your pie into the middle rack and bake for 30 minutes. You’ll know it’s done when the topping turns golden brown and those ruby-red juices start bubbling up around the edges.
Here’s the hardest part – resist diving in immediately! Let it cool for at least 10-15 minutes (if you can wait that long). This little rest lets the filling set up so you get perfect slices instead of cherry soup. Though honestly, I won’t judge if you grab a spoon and eat it straight from the pan…
Tips for the Best Cherry Crumble Pie Recipe
After making this cherry crumble pie more times than I can count, I’ve picked up some foolproof tricks that take it from good to “Oh-my-goodness-can-I-have-your-recipe?” amazing:
- Butter temperature matters: Cold, cubed butter creates those perfect crisp crumbles – if it softens too much, pop the mixture in the fridge for 10 minutes
- Don’t skip the cool-down: That 10-15 minute wait lets the juices thicken into jammy perfection (though I totally understand if you sneak a warm bite!)
- Oven check: Every oven runs differently – mine runs hot, so I start checking at 25 minutes for that ideal golden-brown color
- Storage secret: Cover leftovers with foil at room temperature – refrigerating can make the topping lose its crunch
These small touches make all the difference between a decent dessert and the kind people beg you to bring to every gathering!
Print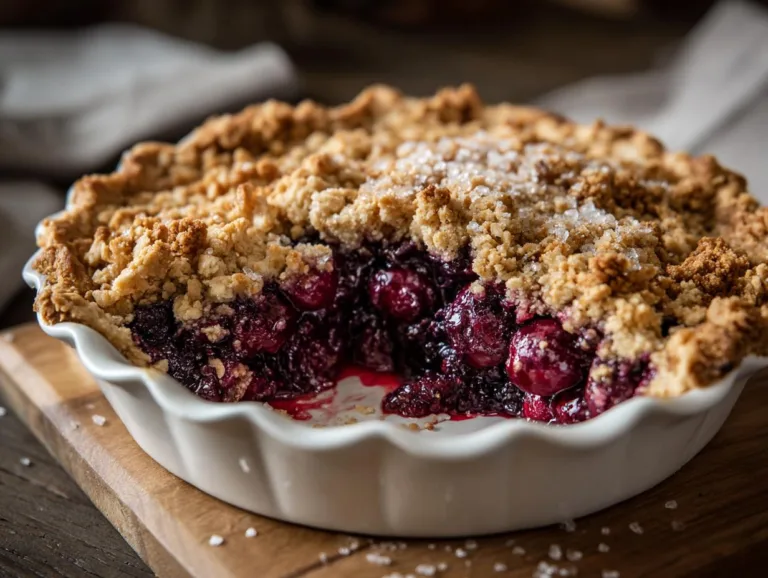
Perfect Cherry Crumble Pie Ready in Under an Hour
A simple and delicious cherry crumble pie with a buttery oat topping, perfect for any occasion.
- Total Time: 40 mins
- Yield: 1 pie (8 servings) 1x
Ingredients
- ½ cup butter, softened
- 1 cup brown sugar, packed
- 1 cup all-purpose flour
- 1 cup quick oats
- 21 ounces cherry pie filling (1 can)
Instructions
- Preheat oven to 350°F. Spray a pie plate with non-stick spray and set aside.
- In a mixing bowl, combine butter, brown sugar, flour, and quick oats.
- Press half of the mixture firmly into the pie plate to form the crust.
- Spread cherry pie filling evenly over the crust.
- Sprinkle the remaining oat mixture on top.
- Bake for 30 minutes or until golden brown.
- Let cool for 10-15 minutes before serving. Enjoy with whipped cream or ice cream if desired.
Notes
- Use cold butter for a crispier topping.
- Store leftovers in the refrigerator for up to 3 days.
- You can use homemade cherry filling instead of canned.
- Prep Time: 10 mins
- Cook Time: 30 mins
- Category: Dessert
- Method: Baking
- Cuisine: American
- Diet: Vegetarian
Nutrition
- Serving Size: 1 slice
- Calories: 320
- Sugar: 24g
- Sodium: 120mg
- Fat: 12g
- Saturated Fat: 7g
- Unsaturated Fat: 4g
- Trans Fat: 0g
- Carbohydrates: 50g
- Fiber: 2g
- Protein: 3g
- Cholesterol: 30mg
Cherry Crumble Pie Recipe Variations
One of my favorite things about this recipe is how easily you can mix it up! Here are some fun twists I’ve tried over the years:
- Almond lovers: Stir ½ teaspoon almond extract into the cherry filling – it complements the fruit beautifully
- Nutty crunch: Replace half the oats with chopped pecans or walnuts for extra texture
- Fresh is best: In summer, use 3 cups pitted fresh cherries mixed with 2 tablespoons cornstarch and ¼ cup sugar
- Berry blend: Swap half the cherries for raspberries or blueberries when you want something different
The basic recipe is perfection, but don’t be afraid to play with flavors – that’s how new family favorites are born! If you want more cherry inspiration, check out my cherry cinnamon rolls recipe.

Serving and Storing Cherry Crumble Pie
Oh, serving this cherry crumble pie is half the fun! I always dish it up warm – that’s when the vanilla ice cream melts into those cherry pockets and creates pure magic. For special occasions, I’ll drizzle caramel sauce over the top or sprinkle with toasted almonds. Leftovers? (If you have any!) Just cover them loosely with foil – no need to refrigerate unless your kitchen’s really warm. The topping stays crisp for about two days at room temperature, though mine never lasts that long! If you must refrigerate, pop slices in the microwave for 10 seconds to bring back that fresh-from-the-oven warmth.
Cherry Crumble Pie Recipe FAQs
I get asked these questions all the time, so let me save you some trial and error with my hard-earned cherry crumble wisdom!
Can I use frozen cherries instead of canned filling?
Absolutely! Thaw 3 cups of frozen cherries first, then toss with 2 tablespoons cornstarch and 1/4 cup sugar. The cornstarch thickens those delicious juices just right.
How do I keep the bottom crust from getting soggy?
Two tricks: First, really press that bottom layer firmly. Second, let the baked pie rest before cutting – those 10 minutes make all the difference!
Can I make this cherry crisp ahead of time?
You bet! Assemble up to 4 hours before baking and refrigerate. Add 5 extra minutes if baking straight from the fridge. The crumble topping still gets perfectly crisp.
What’s the best way to reheat leftovers?
A quick 10-second zap in the microwave works, but for maximum crispness, pop slices in a 350°F oven for 5 minutes. Worth it!
Can I freeze cherry crumble pie?
Freeze before baking for best results. Just wrap tightly and bake frozen (add 10-15 extra minutes). Already baked? It’ll lose some crunch but still taste delicious.
Nutritional Information
Here’s the nutritional breakdown per slice (based on 8 servings), but remember – sleeve up, these are just estimates! Actual values can vary depending on your specific ingredients and brands used. A single serving packs about 320 calories with that perfect balance of sweet cherries and hearty oats.
Share Your Cherry Crumble Pie Experience
Did you try this recipe? I’d love to hear how it turned out! Leave me a comment below – tell me about your cherry crumble adventures or any fun twists you added. Happy baking! You can also follow along for more quick recipes on our Facebook page.